How to Make Your Own Blackout Curtains
Home Decor · Curtain Making
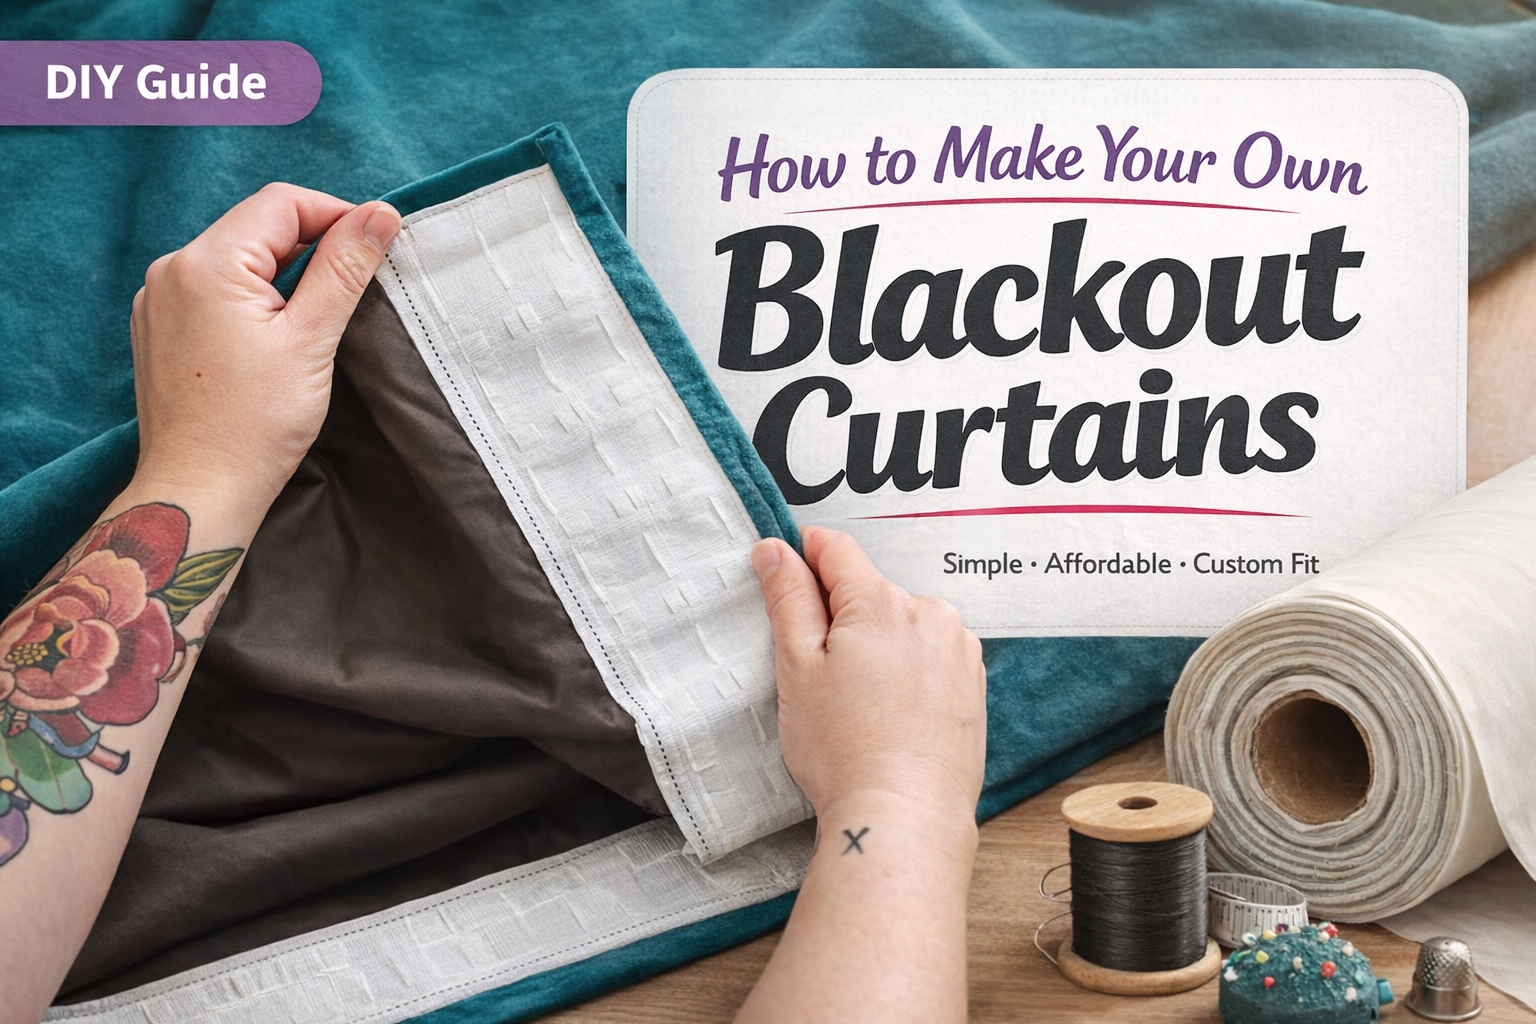
How to Make Your
Own Blackout
Curtains
It's 4 AM and the sun's already pouring in. Sound familiar? Good news - you can fix it yourself, this weekend, for a fraction of ready-made prices.
By the numbers
4:43
Earliest June sunrise in southern England
3×
Cheaper than ready-made blackout curtains
1 day
Start Saturday, hang by Sunday
Summers are beautiful - but from 4 AM onwards, they can be brutal on your sleep. If you're making do with thin curtains or a standard lining, you're leaving easy comfort on the table. Making blackout curtains is one of the most beginner-friendly sewing projects there is. Get the fabric right and the rest practically takes care of itself.
01 - Why Blackout
The Case is Real
This isn't just about wanting a lie-in (though that counts). In the UK, sunrise in June can hit as early as 4:43 AM. Standard curtain fabric - even a lined one - lets through enough light to disrupt your sleep cycle. Add in street lighting, and lightweight bedroom curtains become a year-round problem.
Blackout lining solves it at the source. Rather than buying expensive ready-mades, you choose your own face fabric, add a blackout layer behind it, and get exactly the look and function you want - for significantly less money and a Saturday afternoon of effort.
Sunrise Reality Check
During British Summer Time, the sun rises between 4:30–5:30 AM across most of England and Scotland. If your bedroom faces east or south, standard curtains simply won't cut it in summer.
02 — Face Fabric
Choosing What Your Room Sees
The face fabric carries the entire look — it's worth taking your time here. Two categories work especially well for blackout curtains:
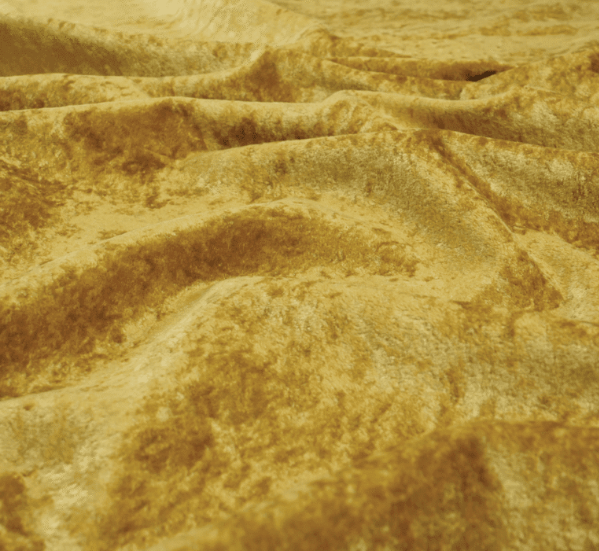
Most Popular
Velvet Fabric
Heavy, naturally light-reducing, and luxurious. Easier to sew than it looks.
Shop Velvet →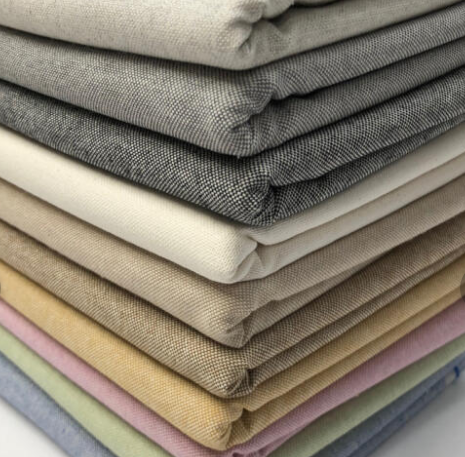
Clean & Contemporary
Linoso Linen
Woven linen-effect with excellent drape. Beautiful with blackout lining.
Shop Linens →| Fabric | Drape | Light Reduction | Beginner? |
|---|---|---|---|
| Velvet | Excellent | High - even without lining | Yes Best Pick |
| Linoso / Linen-effect | Good | Medium - needs blackout lining | Yes |
| Cotton Interlined | Very Good | Medium - needs blackout lining | Yes |
| Sheer / Voile | Light | None | Not for blackout |
03 - The Lining
Your Key Ingredient
The blackout lining does the heavy lifting. It's sewn to the back of your face fabric and stops light at the source. Don't skip this step - it's the difference between curtains that look nice and curtains that actually work.
- Three-Pass Technology - each coating layer increases blockage. True 3-pass means no light through the fabric itself.
- Machine Washable at 30°C - no dry-cleaning bills.
- Multiple Colours - ivory, white, grey, black. Choose ivory or white behind lighter face fabrics.
- Thermal Benefit - adds insulation, great for draught-prone UK windows.
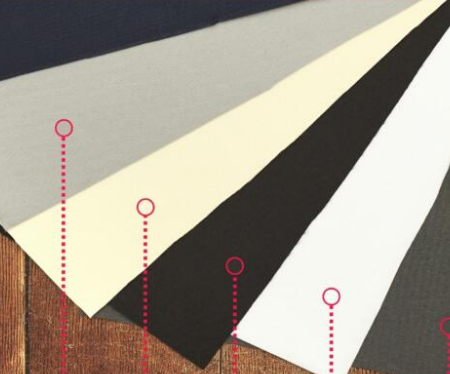
[ Blackout Lining ]
Core Ingredient
Blackout Curtain Lining
3-pass. Machine washable. Total light blockage through the fabric.
Shop Lining →
[ Cotton Sateen ]
Professional Finish
Cotton Sateen Lining
Silky, weighted drape. Pair with a blackout layer for the full effect.
Shop Sateen →Important
Blackout lining only guarantees the fabric is light-proof. Light still creeps around edges and eyelet holes. Make your curtains wider than the window and use a track that extends past the frame on both sides.
04 - Step by Step
Your First Blackout Curtain
No advanced sewing skills required. If you can sew a straight line, you can make these. Here's the process stripped back to the essentials:
01
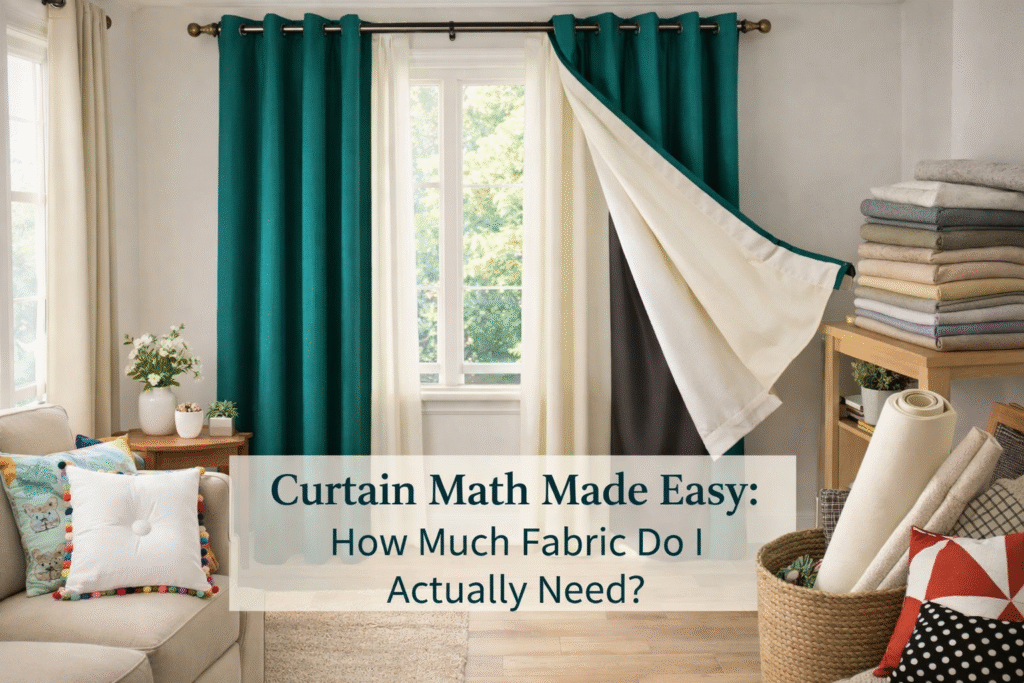
Measure Your Window
Measure the track or pole width - not the window. Multiply by 2–2.5 for fullness. For height, measure from the track top to the floor, plus 20cm for hems and headers.
02
Cut Fabric & Lining
Cut both to the same dimensions. Cut the lining 2–3cm shorter on all edges so it doesn't show from the front.
03
Lock Stitch the Lining In
Place fabrics wrong sides together. Fold face fabric sides over the lining and slip stitch or machine stitch. A locked lining keeps everything flat and professional.
04
Attach Heading Tape
Standard pencil pleat is the most beginner-friendly. Pin and machine stitch along the top edge.
05
Hem the Base & Hang
Turn up a double 8cm hem, press, and slip stitch. Hang, gather the heading cords, and enjoy your first full night of proper sleep.
05 - Finishing Touch
Heading Tape Options
Heading tape creates the pleats at the top and attaches to your track. Three styles to know:
Pencil Pleat
Classic, works with any track. Tight even folds. Best for beginners.
Eyelet
Modern ring-top look. No tape - uses an eyelet kit instead.
Triple Pleat
Formal, structured finish. Great for living rooms and traditional spaces.
Before You Order
Order a free sample of your face fabric and lining. Seeing the colours and weights together in real life saves you from ordering the wrong thing. Available from the product page.


 Patterns