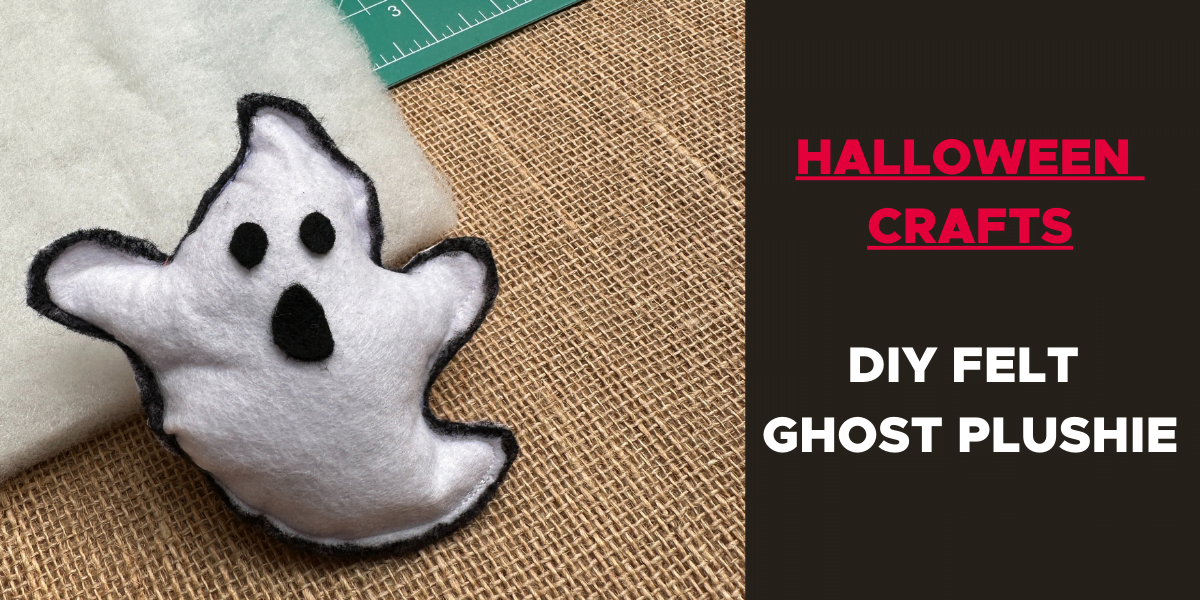
October’s chill is here, and what’s better than curling up and diving into a fun Halloween plushie craft project?
Our Ghost Felt Plushie tutorial is not just adorable but is also easy for crafters of all ages. Whether you’re new to sewing or an experienced hand, this little spook is sure to bring a smile to your face.
We’ve included a step-by-step guide below, but if you’re more of a visual learner, don’t worry! We’ve got a video tutorial on YouTube to guide you through each step. Plus, a FREE PDF template is waiting for you.
So gather your materials, summon your Halloween spirit, and let’s get crafting!
What You’ll Need:
- White Felt (A5 size)
- Black Felt Scraps (or a black pen)
- Sewing Machine & White Thread
- 8 oz Wadding
- Fabrics Glue
- FREE PDF Template – Click Here
Steps to Your Own Ghostly Plushie:
- Start with the PDF template. Trace it onto your white felt and cut out two ghostly shapes.
- With your sewing machine, stitch the two ghost outlines together, but remember to leave a little gap for the wadding.
- Fluff up your ghost with the wadding! Ensure every corner is filled to give our ghost its plump look.
- Close up your ghost with a few more stitches.
- It’s face time! Cut out tiny eyes and a mouth from the black felt and use fabric glue to adhere them.
- To finish, outline your ghost with a black marker for added detail and definition.
There you have it! A cute and cuddly ghost plushie to amp up your Halloween decor or gift to a friend. Remember to check out our YouTube video, happy crafting!


