


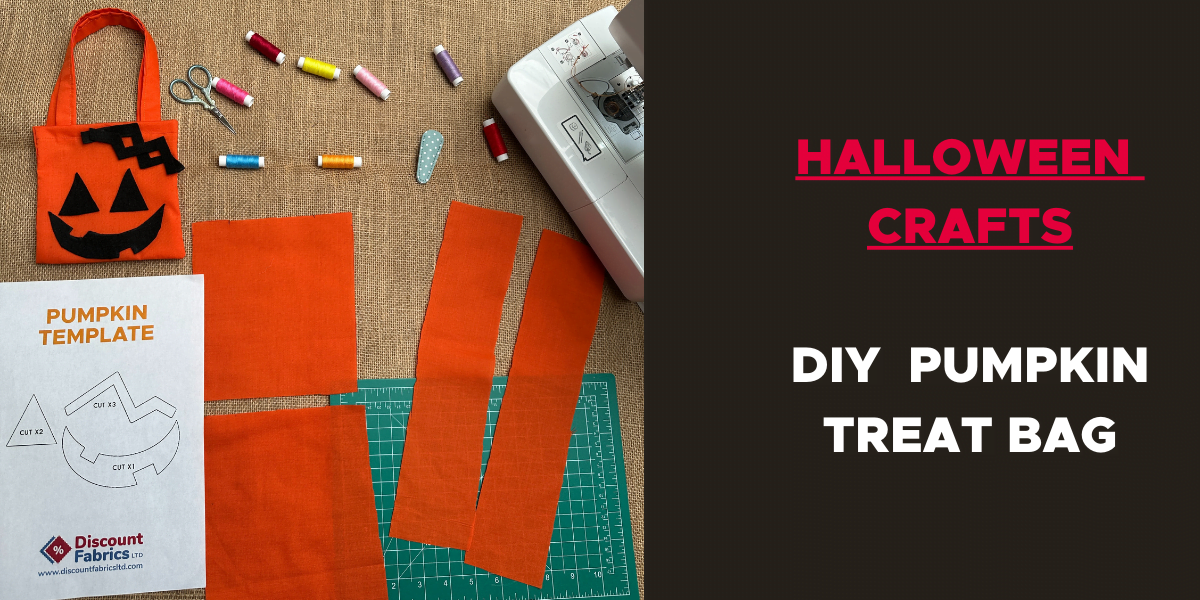
Halloween is just around the corner, and what better way to get into the spooky spirit than by crafting your own pumpkin tote bag? This DIY project is not only adorable but also eco-friendly and reusable year after year. Whether you’re planning to fill it with candy or just flaunt it as an accessory. This tote is sure to catch eyes and fetch compliments!
Materials You’ll Need:
- Orange Cotton Fabric (Half Metre)
- A4 Sheet of Black Felt
- Fabric Glue
- Sharp Scissors
- Vibrant Orange Thread
- Trusty Sewing Machine
- PDF Template – Click Here
Step-by-Step Instructions For a Halloween Treat Bag:
- Begin with the Basics: First, start by cutting two rectangles from the orange cotton fabric. Each rectangle should measure 7 inches by 6.5 inches. These will form the main body of your pumpkin treat bag. Therefore, make sure to measure accurately for a neat and professional look.
- Craft the Handle: Next, cut two strips from the same orange cotton fabric for the handles. Each strip should measure 13 inches by 2 inches. After cutting, iron them smooth to remove any creases. Then, sew one handle onto the inside of each fabric square, ensuring they are securely attached. Properly attaching the handles will ensure the bag is easy to carry and durable enough for holding treats.
- Template Time: After that, download and print our handy PDF template designed for the pumpkin face. Place the template onto your black felt sheet and trace around it carefully. Once done, cut out the pumpkin face design from the black felt. Furthermore, take your time with this step to ensure the face pieces are neat and match the template accurately.
- Sew it All Together: Now, it’s time to assemble the bag. Then, place the two orange fabric squares together with the right sides facing each other. Sew around the edges of the squares, leaving the top side open. Also, while sewing, ensure that the handles are facing outward and firmly attached. This step is crucial for the structural integrity of your bag. Moreover, ensure the seams are even to give your bag a professional finish.
- Final Touch: Finally, to complete your Halloween pumpkin treat bag, use fabric glue to adhere the black felt pumpkin face onto one side of the bag. Press firmly to ensure the felt pieces stick well. Furthermore, allow the glue to dry completely before using the bag to make sure the decorations remain securely in place. As a result, this final touch gives your treat bag its festive and spooky appearance, perfect for Halloween.
Voila! You now have a festive pumpkin tote bag, perfect for Halloween festivities. If you’re a visual learner, we have a step-by-step tutorial on YouTube. Click here to watch and follow along!