How to Sew a Blouse Using a Pattern: A Step-by-Step Tutorial

Key Takeaways
Sewing a blouse is a rewarding and creative process that allows you to express your unique style while ensuring a perfect fit. Not only does it give you control over fabric choices, colours, and patterns, but it also promotes sustainability by reducing fast fashion consumption. Whether you’re a beginner or an experienced seamstress, making a blouse from a pattern is a fantastic way to develop your skills and create a handmade wardrobe staple.
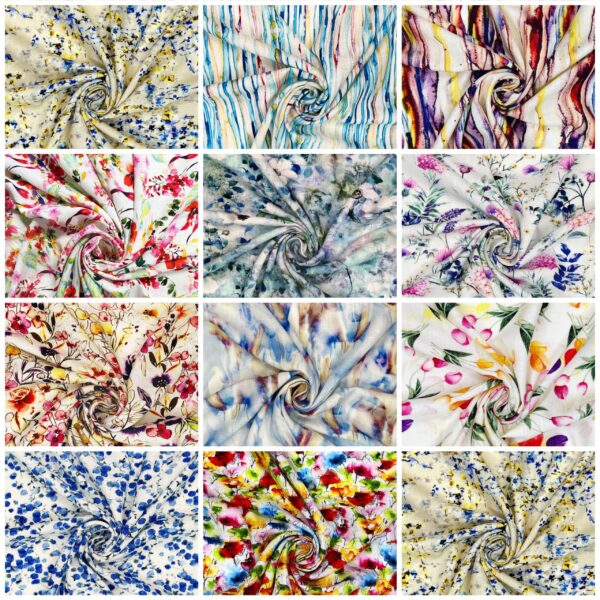
Before you begin, it’s important to choose the right fabric. Fabric for dressmaking can also be perfect for blouses, depending on the look and feel you want to achieve.
In this tutorial, we’ll walk you through how to sew a blouse using the Butterick B6632 pattern, guiding you step by step. However, you don’t need to use the exact pattern we use as these steps are very easy follow along for any pattern!
Link to our YouTube Tutorial – https://youtu.be/KzkcEE3aMrc
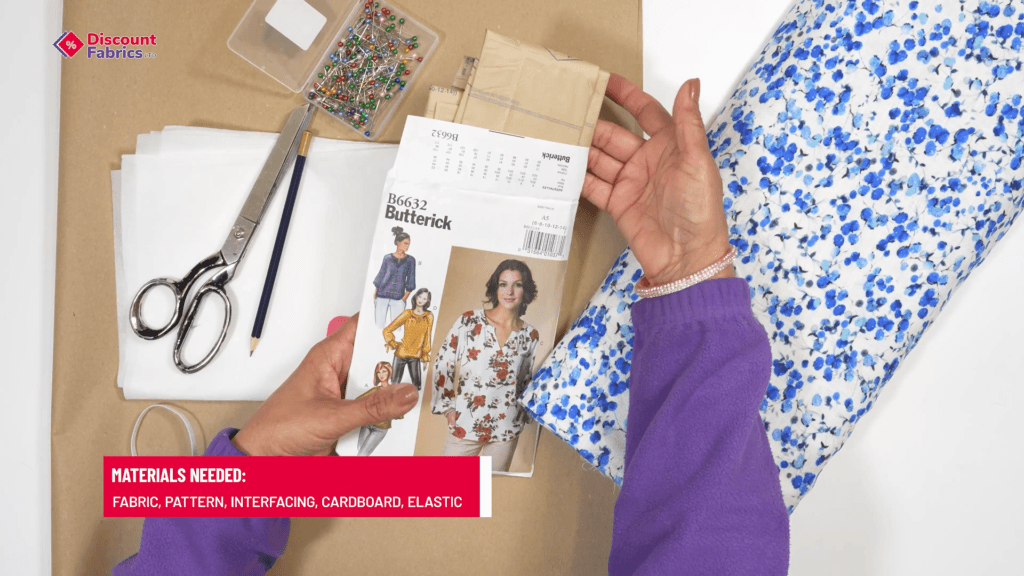
What Will I Need to sew a blouse?
Before getting started, ensure you have all the necessary materials:
- Fabric of your choice
- A blouse pattern (Butterick B6632 or any other similar pattern)
- Interfacing
- Cardboard (to create durable templates)
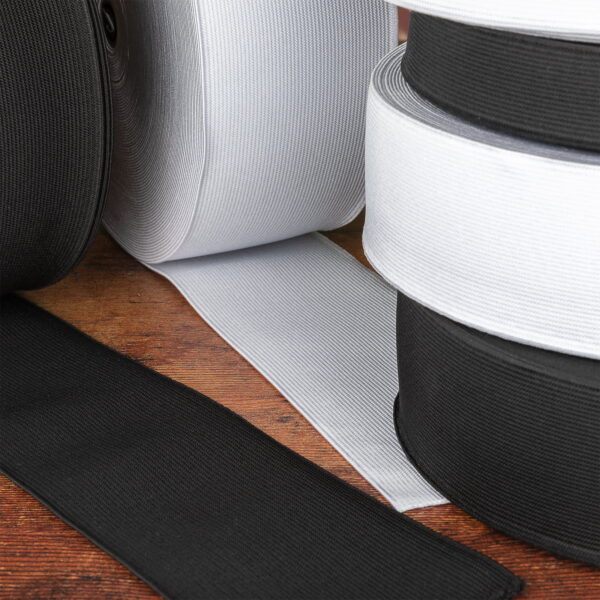
- Elastic (for sleeve cuffs)
- Pins
- Scissors or rotary cutter
- Sewing machine
- Iron
- Measuring tape
Step-by-Step Guide to Sewing a Blouse
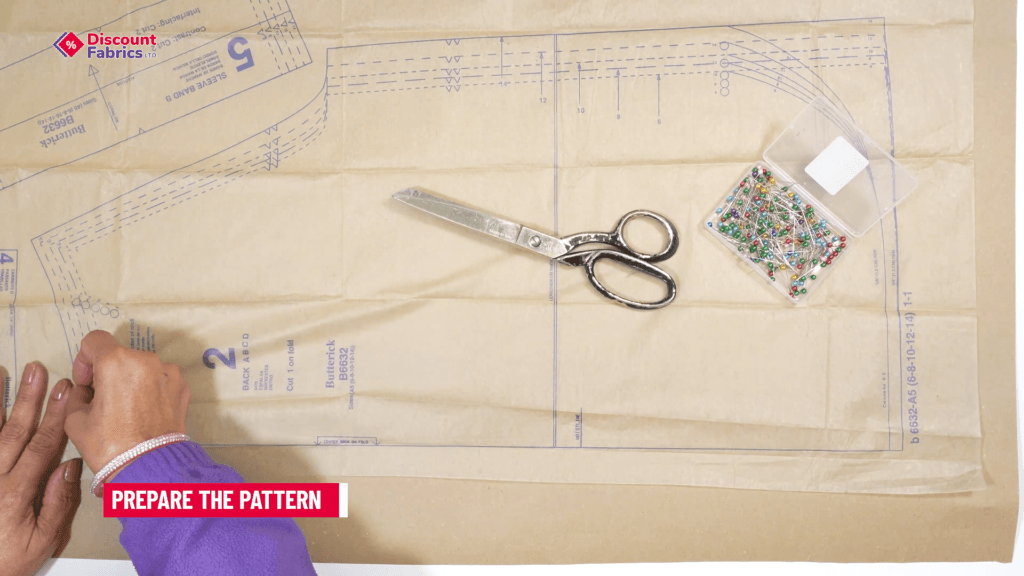
Prepare the Pattern
- Lay out your pattern pieces.
- Use pins to poke holes into the marked areas of the pattern to help transfer important markings onto your fabric for accurate cutting and sewing.
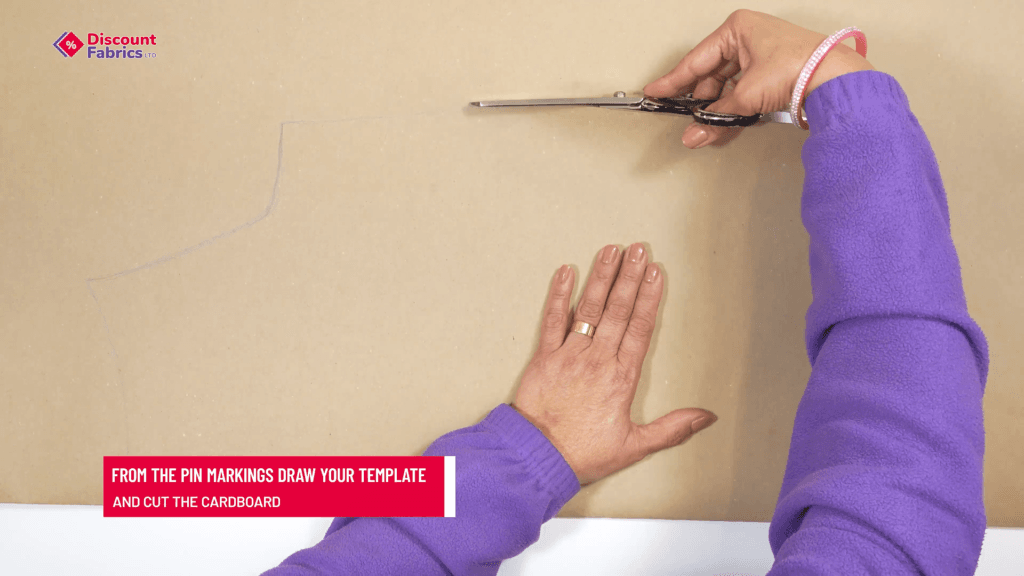
- Using the pin markers as a guide, trace the template onto cardboard and cut it out.
- Repeat this process for all pattern sections to create sturdy templates.
Cut the Fabric
- Place the cardboard templates onto your fabric and carefully cut around them.
- Repeat for all pattern pieces.
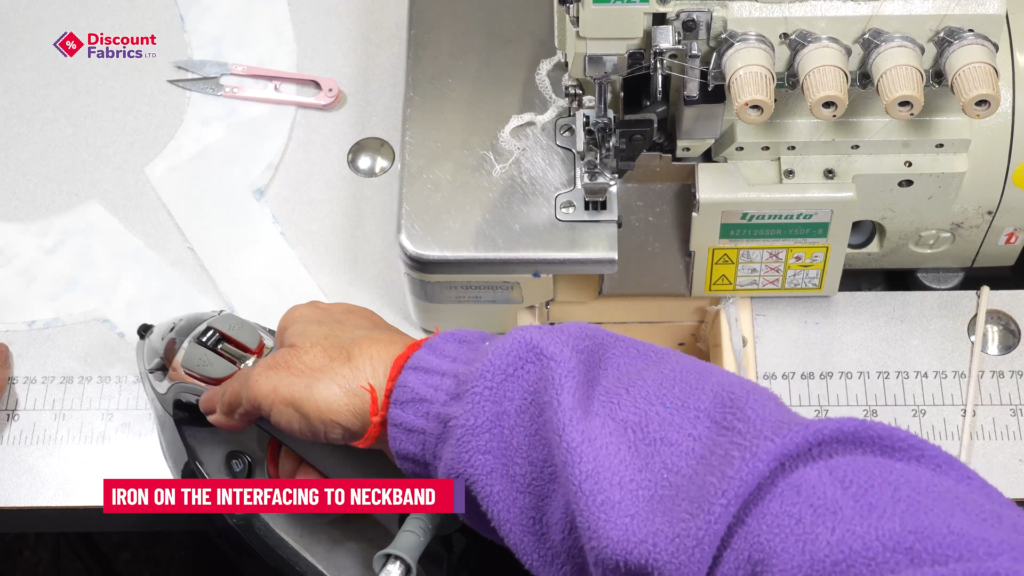
Preparing and Sewing the Neckband
- Use pins to secure the neckband pieces together.
- Iron interfacing onto the neckband for added structure.
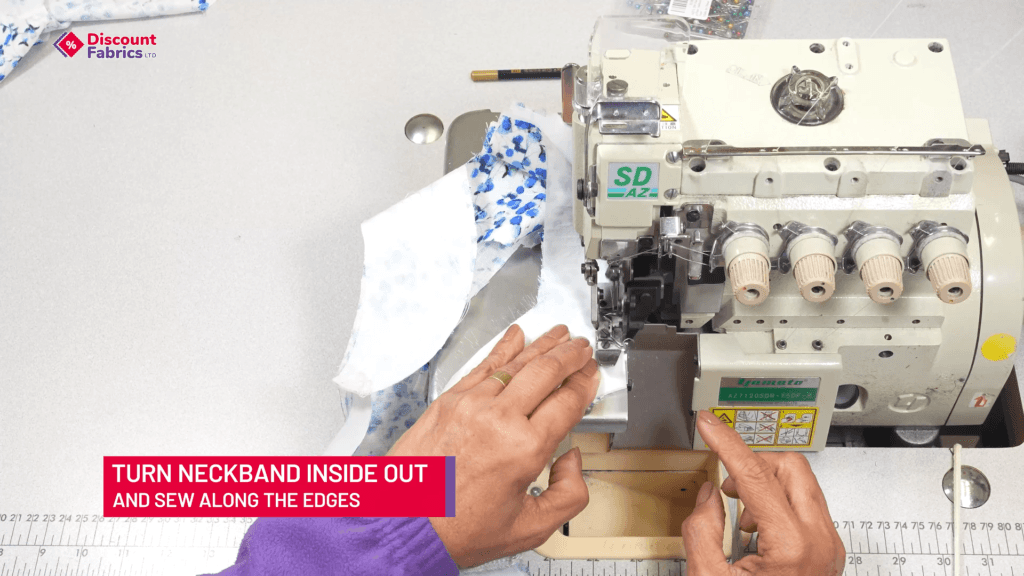
Sewing the Neckband of the blouse
- Turn the neckband inside out and sew along the edges, using a 1cm seam allowance for a precise finish. Trim excess fabric and clip curves. Next, turn it right side out to achieve a smooth edge.
- If you’re new to sewing, check out our handy guide on how to thread your sewing machine to help ensure neat stitching.
- Sew along the edges again to create a neat finish.
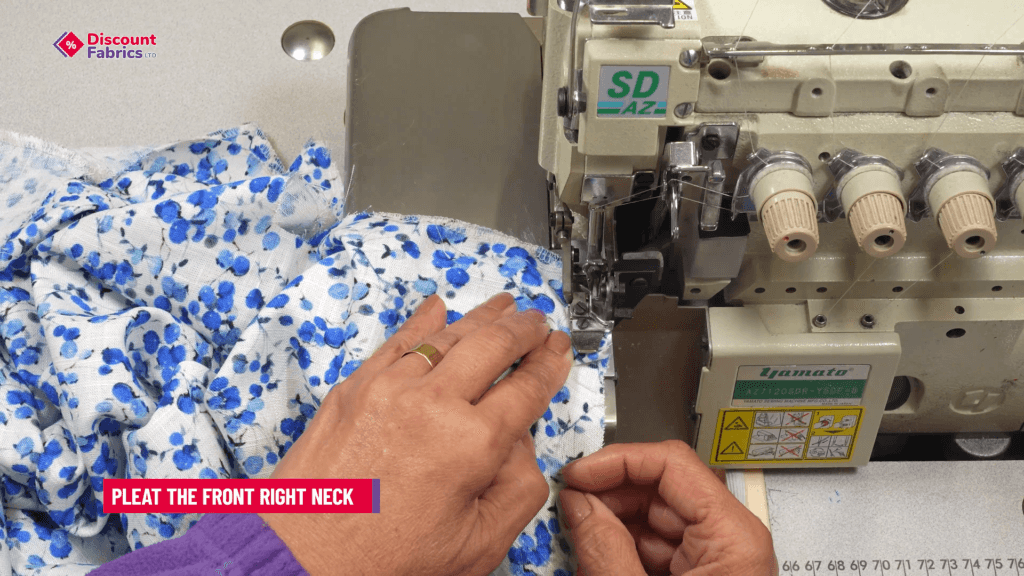
Pleating the Front Right Neck
- Follow the sewing pattern’s pleating guide to create evenly spaced pleats.
- Carefully pin and press the pleats in place before sewing to ensure crisp, even folds. This will help keep them secure and create a polished finish.

Pleating the Back Neck
- Repeat the pleating process for the back neckline.
- Ensure pleats align neatly with the front pleats for a cohesive look.
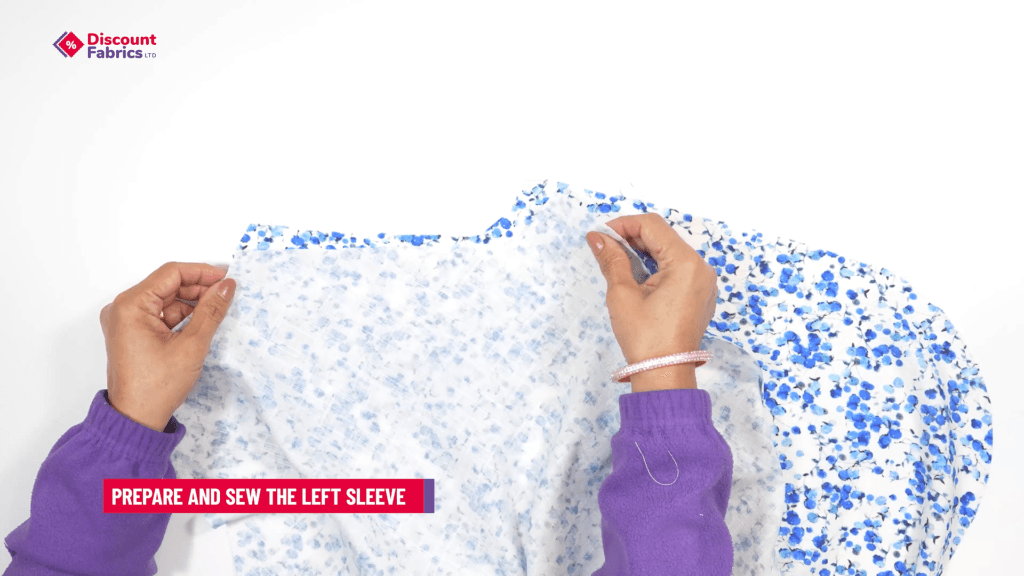
Preparing and Sewing the Left Sleeve
- Finish the raw edges of the sleeve with a zigzag stitch or overlock.
- Before stitching, fold and press the hem to create a clean and professional finish. This helps keep the fabric in place and ensures a neater edge when sewing.
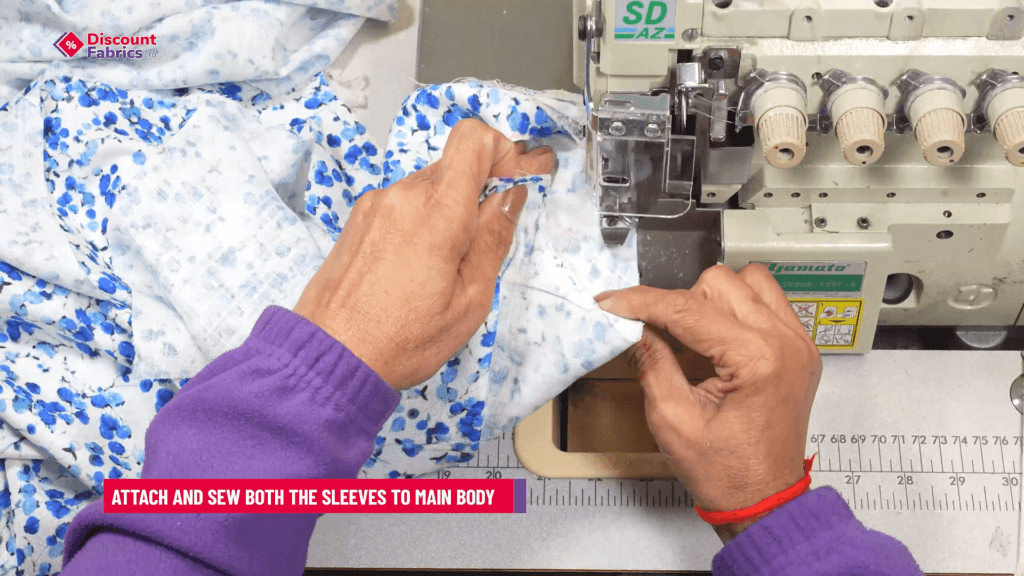
Attaching and Sewing Both Sleeves to the Main Body
- Pin the sleeves to the armholes, ensuring they align correctly.
- Sew the sleeves to the blouse, backstitching at the start and end for durability.
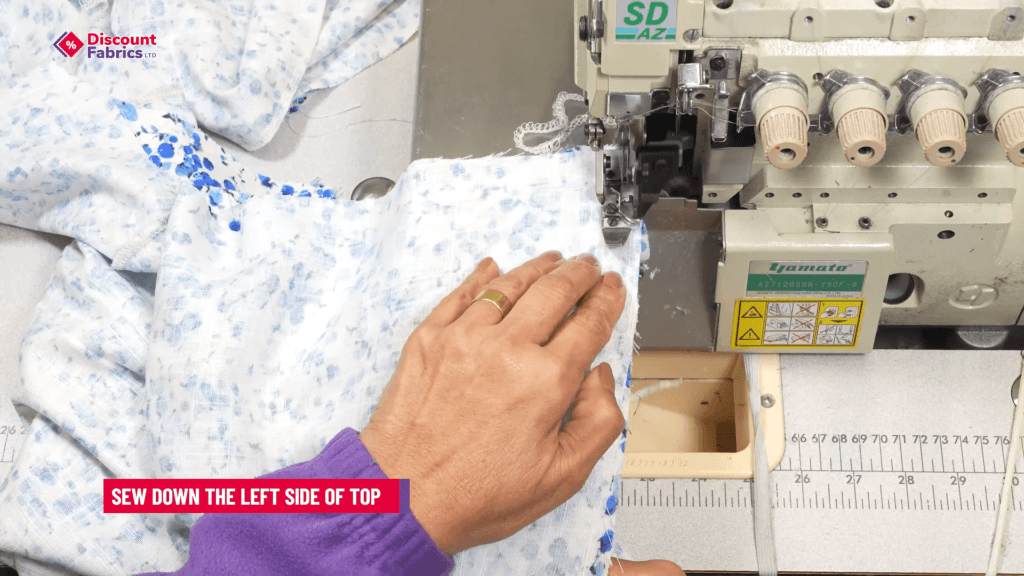
Sewing Down the Left Side of the Top
- With right sides together, pin and sew the left side seam of the blouse.
- Finish the seam edges for a polished look.
Stitching the Left Side Seam
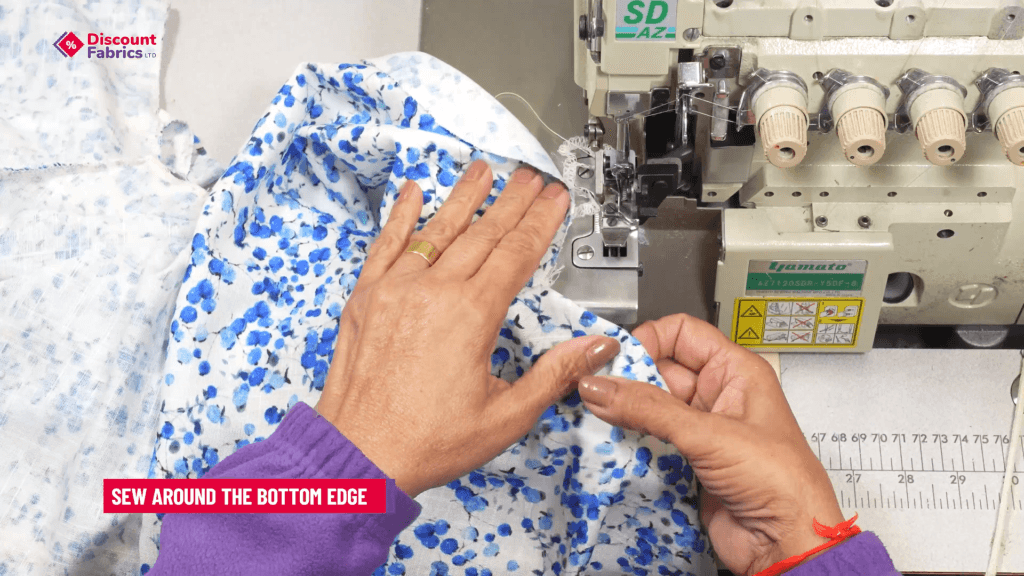
- Fold and press the bottom hem.
- Sew around the edge to secure the hem in place.
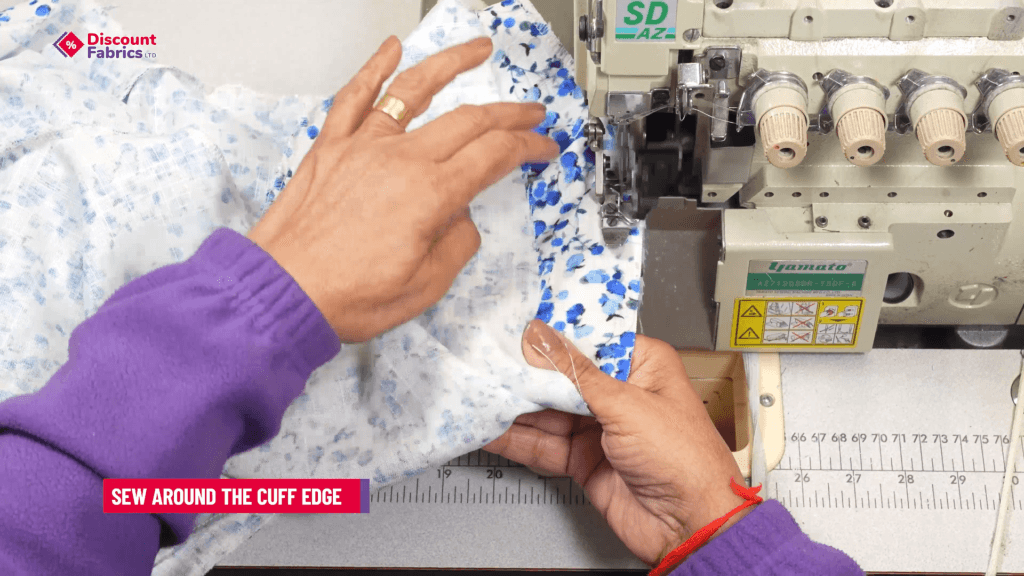
Finishing the Bottom Edge
- Fold and press the sleeve cuffs.
- Sew around the edge, leaving space for the elastic.

Step 12: Hemming the Bottom Edge
- Double-fold the fabric to create a clean hem.
- Stitch along the folded edge for a professional finish.
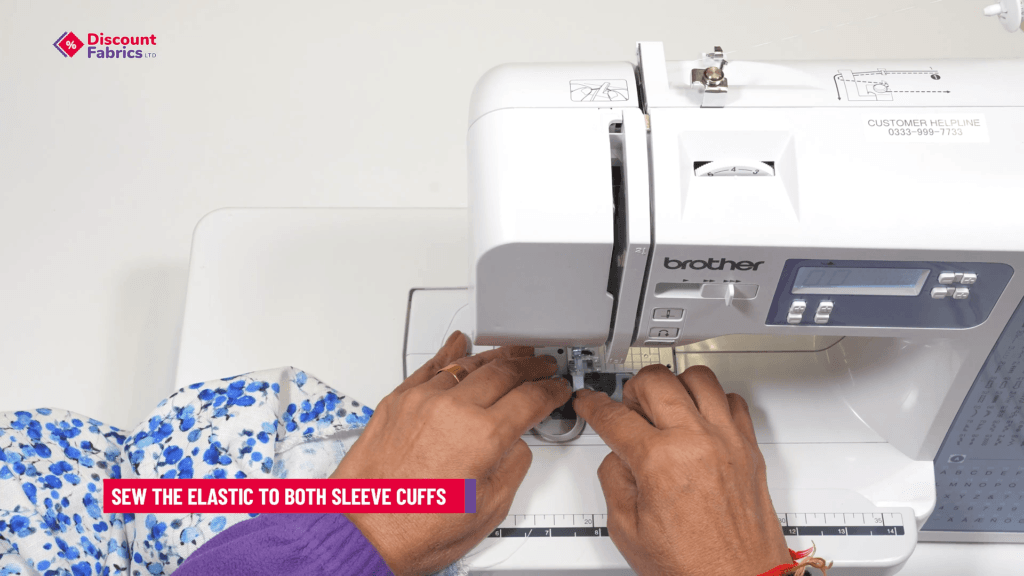
Sewing Elastic to Sleeve Cuffs
- Measure and cut a piece of elastic to fit my wrist.
- Sew the ends together to create a ring.
- Place the elastic at the sleeve’s edge, evenly distributing the gathers.
- Sew the elastic in place, ensuring it’s secure and comfortable.
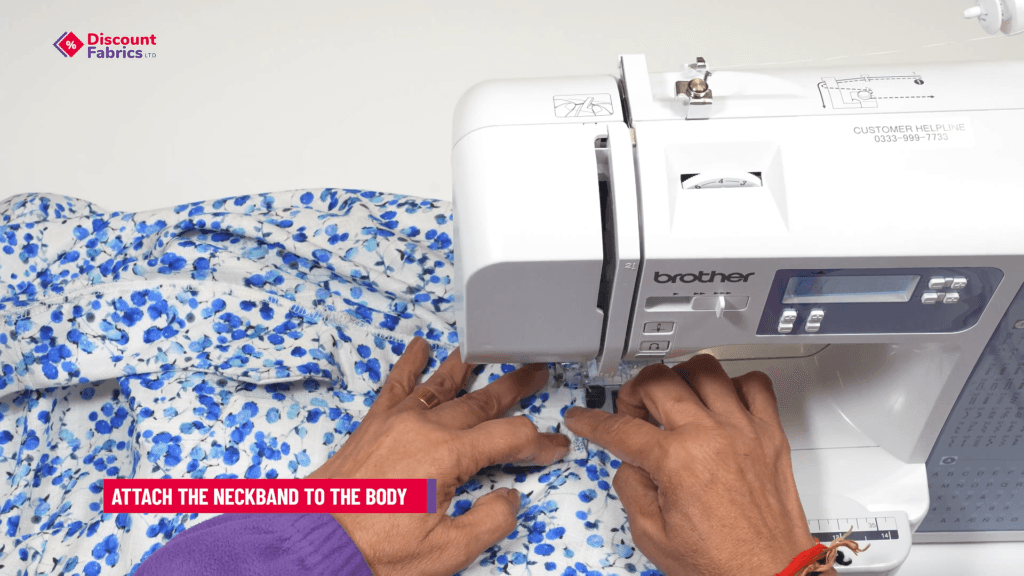
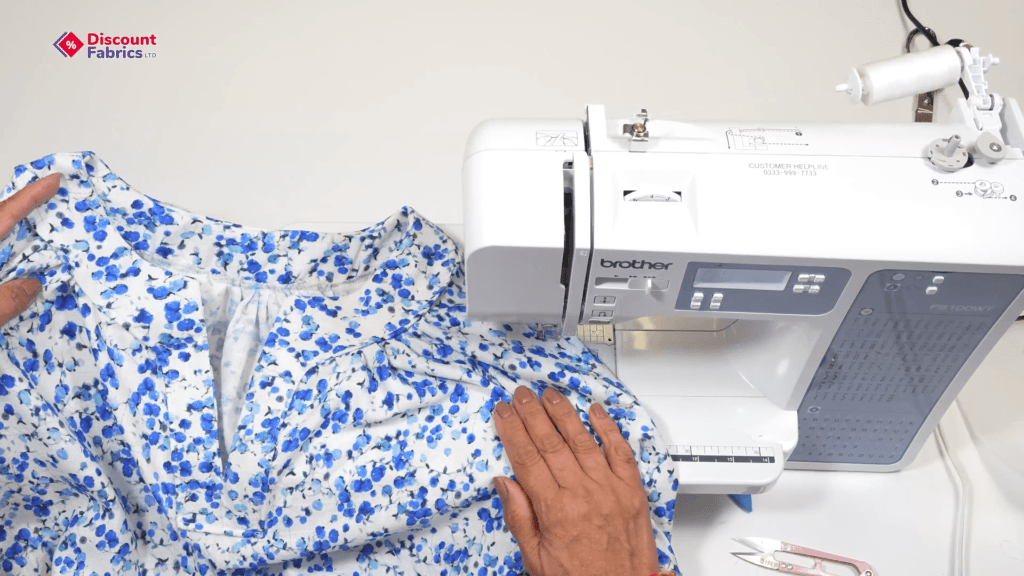
Attaching the Neckband to the Body
- Pin the neckband to the neckline, ensuring it aligns properly.
- Sew around the neckline, attaching the neckband securely.
- Press the finished neckline for a crisp look.
How to sew a blouse –Final Thoughts
To sum it up, sewing a blouse from a sewing pattern is not only an enjoyable but also a highly satisfying experience. I love having full control over my sewing projects, from choosing my fabric to the final stitches. Moreover, if you enjoy crafting, this project is a great way to enhance your skills and make something unique that fits perfectly.
In addition, using high-quality fabric and haberdashery supplies makes all the difference. That’s why at Discount Fabrics Ltd, we offer a range of beautiful fabrics, sewing patterns, and sewing machine accessories to help bring your projects to life.
Finally, if you found this guide helpful, then why not check out our YouTube channel for more sewing tips and tutorials? Happy sewing!
-
 Dressmaking Fabric | Linen Fabric | Linen ViscosePrice range: £10.69 through £13.98 Metre
 -
Elastic Band | Elastic for Sewing| 12mm to 75mm WidePrice range: £0.43 through £3.29 Metre
 Patterns