How To Guide – DIY Christmas Stocking

A Simple and Festive Project – DIY Christmas Stocking
With Christmas just around the corner, there’s no better time to immerse yourself in some festive crafting. Handmade stockings have always held a unique charm and sentimentality. This season, why not create your own? In this blog post, we’ll guide you through a simple and delightful DIY Christmas stocking project.
Watch our YouTube tutorial – Watch Now
What You’ll Need:
- Main Fabric: Use Organic Christmas Prints, Tartan, or Cotton Velvet, measuring 18″ x 26″
- Lining Fabric: Polycotton or Lifestyle Cotton works best, again measuring 18″ x 26″
- Cuff Fabric: Choose from Anti Polar Fleece or Brushed Cotton/Wynciette Flannel, measuring 16″x 5″
- Hanging Loop Fabric: A piece of Polycotton or 100% Cotton measuring 3″ x 10″
- Essential Tools: Scissors and Sewing Machine
- Stocking Pattern: Download our FREE PDF Stocking pattern
Step by Step Instructions:
- Template Prep: Begin by trimming any excess from the PDF template.
- Assembly: Carefully stick the template pieces together.
- Main Fabric Cut-out: With the right sides of the main fabric pieces together, place the pattern on top and cut around the fabric.
- Lining Prep: Repeat the above step for the lining fabric.
- Cuff Creation: Use the fleece material and cut out the cuff on the fold. Then, fold the cuff with the right sides together, allowing for a 1cm seam allowance. Sew along the width.
- Loop (cut and sew): Cut the loop fabric (3″ x 10″) and sew around the edges.
- Bringing it Together: Lay all fabric pieces with the right sides together. Use pins or clips to keep them in place.
- Stitching: Sew along the edges, maintaining a 1cm seam allowance. Be sure to clip around any curves.
- Revealing the Design: Turn the main fabric piece right side out.
- Lining Insertion: Tuck the lining fabric into the main fabric piece. Ensure the open-end seams of both fabrics align and clip them together.
- Cuff and Loop Addition: Insert the fleece material cuff into the open end of the stocking, then place the hanging loop between the lining and main fabric at one side. Sew around the top, connecting all raw edges.
- The Final Touch: Gently pull out the cuff, turn it downwards, and there you have it! Your very own personalised Christmas stocking!
Crafting your own Christmas stocking not only adds a personal touch to your festive decor, but it also creates cherished memories. This project is ideal for both beginners and experienced sewers, and the final product is something you’ll treasure for years to come. So, light up your fireplace, play your favourite Christmas carol, and let’s craft away!
-
Product on sale
 Brushed Cotton | 100% Cotton | Winceyette FabricPrice range: £2.37 through £7.18 Metre
 -
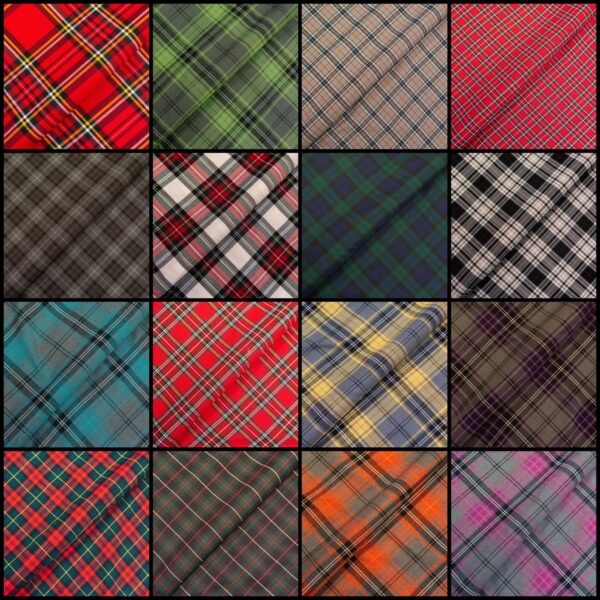
Product on salePolyviscose Tartan Fabric | Wool-Touch & Washable | 58″ WidePrice range: £5.10 through £10.78 Metre
-
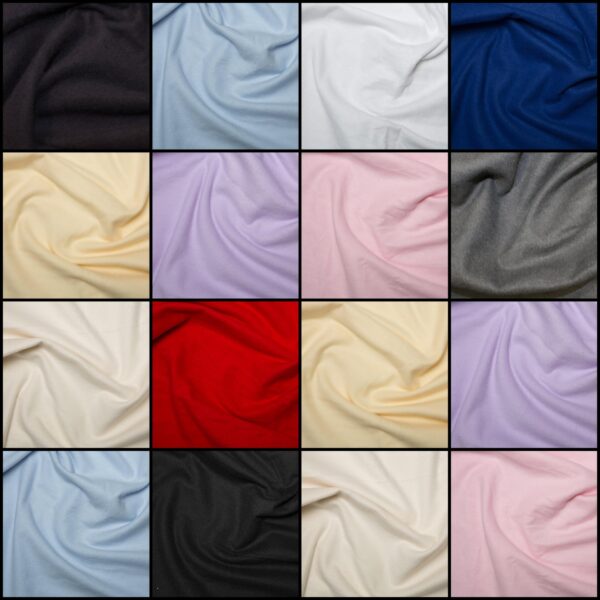
Product on salePlain 100% Cotton Fabric | 60″ Extra Wide | 50 Colours (140gsm)Price range: £1.65 through £3.59 Metre

 Patterns