


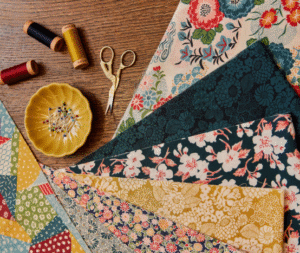

Christmas is around the corner, and what’s better than creating your own Christmas decorations, maybe with a little help from your family? Here are five cool last-minute DIY Christmas Decorations that‚Äôll only take a few minutes to make but will look spectacular nonetheless! Enjoy!
DIY Christmas Card:
What you will need:
How to create your Christmas card
Cut the paper in the size you want and fold it. Use your marker and draw the designs you want, then cut out your pieces. We love Christmas trees so we designed a Christmas tree and a few colourful Christmas balls that we glued on the tree. Run a glue stick along the back of your fabric pieces and press them to the front of the card. If you feel creative, you can glue sequins for extra sparkle. Let them dry and your Christmas card is ready!
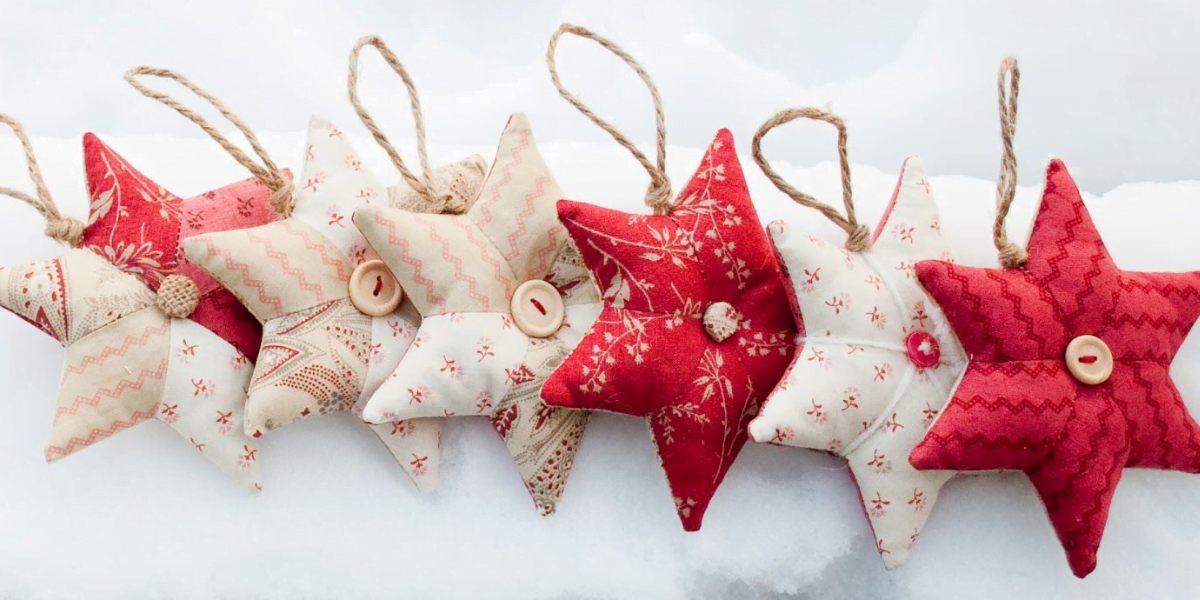
A Star Ornament:
What you will need:
- scissors
- needle and thread
- star cookie cutter or stencil
- marker
- wadding/batting
- a soft fabric
- Craft gems/sequins (optional)
How to create your stuffed star
Using a star shaped cookie cutter or a stencil, cut out two stars. Sew the two pieces together with twine using a running stitch.
Make the knot of the twine end in the middle of the two pieces so it won’t show. Stitch around the points until you reach the last point next to your starting point. A small opening remains for inserting pillow stuffing. Once you have the stuffing in place, continue stitching the star closed.
Make a loop for hanging and tie it off at the back of the ornament after passing the twine through. By doing this, you will only need one length of twine.
You will then make one more small stitch to finish at the back of the ornament for tying the knot. Your star is ready, and you can now use it to decorate your tree or even your Christmas gifts!
A Christmas ball
What you will need:
- scissors
- hot glue
- fabric of your choice
- ribbon
- Craft gems/sequins (optional)
How to create your Christmas ball
Cut a square of fabric. Wrap your square around a ball ornament, cinching it at the top. Tie a piece of ribbon around the cinch to hold closed and create a hanger. Tie a bow from the same ribbon and attach with hot glue. Attach gems and sequins craft beads with hot glue.
Santa Mittens
What you will need:
- Quarters or scraps of soft fabric in red and white
- 1/4″ red ribbon
- Batting/wadding
- Template paper or plastic
- Contrasting thread for topstitching
- Fabric marker
- Basic sewing supplies
How to create Santa’s mittens
Draw two mittens on a piece of cardboard.. Stitch together two pieces of fabric, the one for the cuff in white and the one for the mitten in red then place the templates on the wrong side of the fabrics, and trace them around them.
Repeat it on the front and on the front of the mitten. After that, cut around the outline, and align both the front and back parts of the mitten with the right sides together. Place on top a piece of batting and pin it in place.
Stitch on the outline and trim 1/8″ from the seam leaving a small opening on the cuff. Turn the mitten inside out and press it. Cut a 6″ piece of ribbon, slide both ends into the cuff opening and pin. Topstitch the mitten catching the opening and ribbon.
Looking for more inspiration?
We hope that you enjoyed this project and that you’re ready for the festive season. If you have any questions about our offering or about crafting, then please don’t hesitate to get in touch. Contact us today by completing an online form or by phoning 0116 40 30 269. We can’t wait to hear from you.
Ready to read more about all things fabric? Then be sure to take a look at our other blog posts!