

How to Line Your Curtains for Winter: The Complete Guide to 3-Pass Thermal Blackout Lining

Curtain Making 26 September 2026 9 min read
How to Line Your Curtains for Winter: The Complete Guide to 3-Pass Thermal Blackout Lining
Your curtains are the largest uninsulated surface in most rooms. Lining them properly is the cheapest draught-proofing job in the house, and it takes one weekend with a domestic sewing machine.

3Coated passes per side
54″Lining fabric width
100%Light blocked when closed
2.5×Fullness for pencil pleats
What this guide covers
Five sections, from the physics of a dead-air pocket to the fabric you hang in front of it.
The physics
Why thermal lining cuts heating bills — the dead-air pocket explained
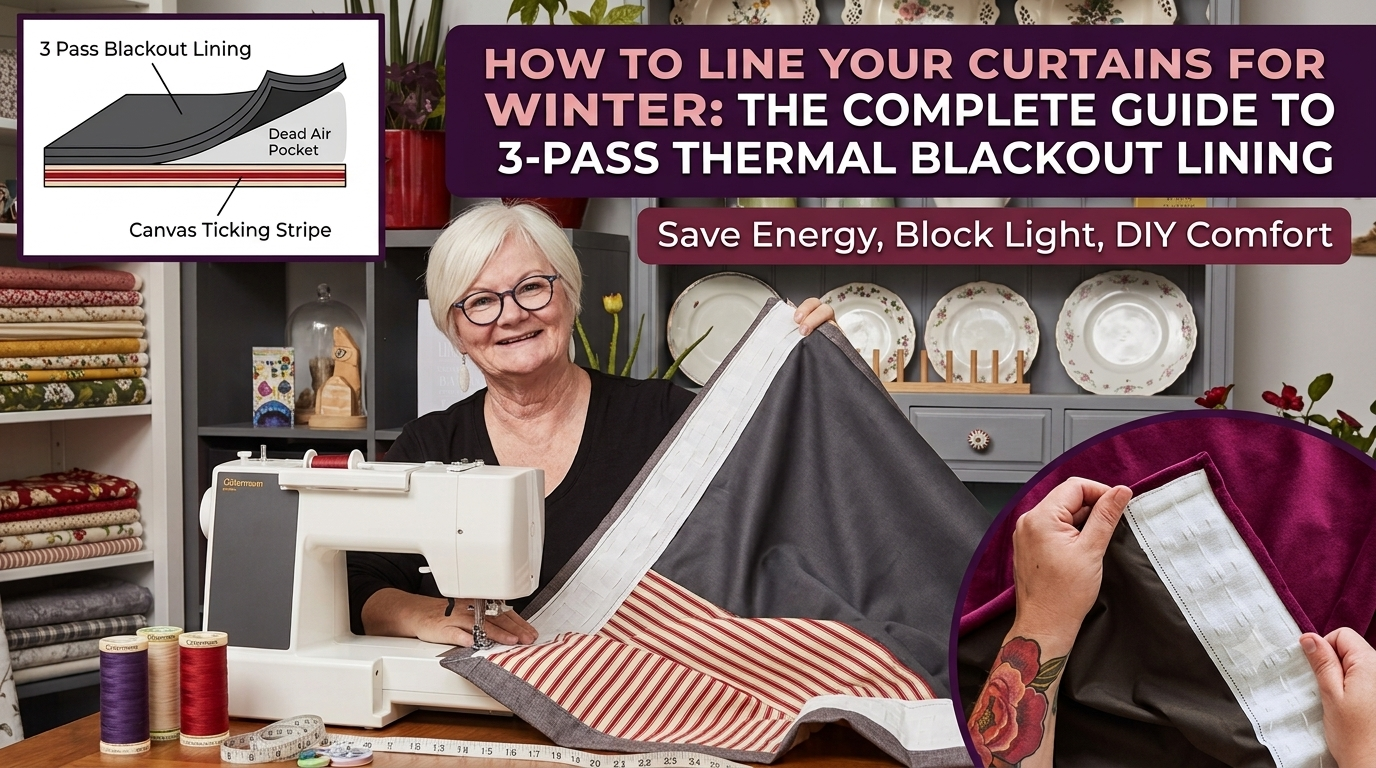
A lined curtain does not keep heat in because the fabric is thick. It works because of the thin layer of still air trapped between the lining and the glass, and that layer only exists if you hang the curtain correctly.
Room side — your face fabricWhatever you have chosen to look at
3-pass coated liningThree acrylic foam passes on a woven base
Dead air
The insulating layerStill air is a poor conductor — this gap does the work
Window glassThe coldest surface in the room
OutsideWhere the heat is trying to go
Three passes, three jobs
A 3-pass lining is a woven base carrying three separate coated layers. The first pass bonds to the cloth, the second is the dense light-blocking layer, and the third gives the face a soft finish that will not crack when the curtain is drawn back every day.
Those coatings do two things at once. They stop light completely, which is why the same product is sold for bedrooms and caravans, and they stop air moving through the curtain — which is the part that matters in September.
Heat leaves a room by moving air. An unlined curtain lets warm air drift through the weave, hit the cold glass, cool and fall back into the room as a draught at ankle height. A sealed lining converts that flow into a trapped, still pocket of air, and still air conducts heat poorly. That is the whole mechanism.
Tip
The pocket only seals if the curtain overlaps the window on all four sides. Run the pole at least 15cm wider than the frame on each side, let the curtain fall below the sill rather than to it, and close the gap at the top with a pelmet or a ceiling-mounted track. A beautifully lined curtain hung tight to the frame leaks heat out of every edge.
Before you cut
Measuring for curtain lining: calculating drop and width
Almost every curtain that hangs badly was cut from a bad measurement, not sewn badly. Measure the track or pole rather than the window, and do the fullness maths before you buy a single metre.
Step one — the drop
Pole eyelet to finished hem, plus 25cm
Measure from the bottom of the curtain ring down to where you want the hem to sit, then add roughly 25cm to cover a 15cm double hem and an 8cm heading turn-down. Measure at both ends of the pole and use the longer figure, because very few floors are level.
Step two — the width
Pole length × 2.5 for pencil pleats
Multiply the full pole length by 2.5 for a standard pencil pleat heading. Anything below 2 looks flat and mean once it is hanging, and a heavy lined curtain needs the fullness more than a light unlined one to fall into a proper wave.
Step three — the lining
Face fabric width, minus 10cm
The lining is always cut narrower than the face fabric so the side seams roll to the back and no white edge shows from the front. Cut it about 5cm shorter on the drop too, so the lining hem sits clear above the curtain hem.
Worked example
A 180cm pole, 220cm drop to the floor, one pair of curtains
Pole length180cm
× 2.5 fullness450cm
Face fabric at 140cm wide4 widths
Cut drop (220 + 25)245cm
Face fabric needed9.8m
Lining at 54″ wide4 widths
Lining cut drop (245 − 5)240cm
Lining needed9.6m
Tip
Always round widths up to the next whole number and buy a little over. Joining an extra half width later almost never matches, and offcuts from a lined curtain project are genuinely useful — they become tie-backs, a pelmet face, or the lining for a draught excluder along the bottom of a door.
The method
Attaching 3-pass lining — lock stitch vs bagging out
There are two accepted ways to join lining to face fabric, and they suit different makers. One is the traditional workroom method, the other is faster and entirely machine-sewn.
Method one
Lock stitch
The traditional approach. The lining hangs loosely against the face fabric and is tacked to it down each seam line with long, slack hand stitches so the two layers move together without pulling.
- Best for
- Long, heavy curtains where you want a soft, flowing drape with no rippling.
- How it works
- Fold the lining back on itself down a seam and take a small stitch every 10cm, leaving the thread deliberately loose.
- The trade-off
- It is hand sewing and it takes an evening per curtain, but the finish is the one you see in proper workrooms.
Method two
Bagging out
The machine method. Face fabric and lining are stitched right sides together down both sides like a giant pillowcase, then turned through so all the raw side edges finish inside.
- Best for
- A first lined curtain, and for shorter drops where a crisp flat edge looks right.
- How it works
- Because the lining is cut narrower, the side seams pull round to the back on their own once you turn it through.
- The trade-off
- Quick and clean, but the layers are fixed at the edges, so a very long curtain can pull slightly at the sides.
Tip
Whichever method you pick, hem the face fabric and the lining separately and never together. The two fabrics settle at different rates once the curtain is hanging under its own weight, and a shared hem is what causes that pulled, puckered line along the bottom a few weeks after you hang them.
The heading
Deep pleat heading tape for heavy lined curtains
A lined curtain is several times the weight of an unlined one, and a narrow standard tape will not carry it. A deep tape spreads that load across the whole heading and holds the pleats upright instead of letting them collapse forward.
1
Go deeper than you would unlined
A deep heading tape gives the pleats enough structure to stand up under the weight of three coated passes plus the face fabric.
2
Sew the tape through every layer
Catch the face fabric, the lining and the turn-down in the same rows of stitching so nothing is carrying the weight on its own.
3
Knot the cords, never cut them
Knot at the outer edge and leave the cords loose at the centre so you can pull the pleats flat again before washing.
4
Pull the cords evenly from both ends
Gather a little from one side, then the other, working towards the middle so the pleats end up the same depth across the whole width.
5
Use more hooks than feels necessary
Space hooks closer than you would on a light curtain. A hook every few centimetres stops the heading sagging between rings.
6
Dress the curtain once it is hung
Draw it open, run your hand down each fold to set the wave, then leave it tied loosely overnight so the pleats learn the shape.
The face fabric
Canvas Ticking Stripe as a base fabric for new heavy curtains
If you are making curtains from scratch rather than lining a pair you already own, the face fabric needs enough weight to hang with the lining rather than fight it. A canvas ticking stripe is a straightforward, hard-wearing choice.

Why a canvas weight works here
Lightweight cottons look wonderful flat and disappointing once a heavy lining is hanging off them. A canvas has the body to carry that weight, and the extra density adds its own small contribution to the draught barrier.
- →Run the stripe vertically and match it across every seam before you cut.
- →A woven stripe gives you a straight line to square the fabric against on the table.
- →Pair with the lining cut 10cm narrower so no lining shows at the leading edge.
- →Keep the offcuts for matching tie-backs or a simple flat pelmet.
Shop the guide
Everything in this project
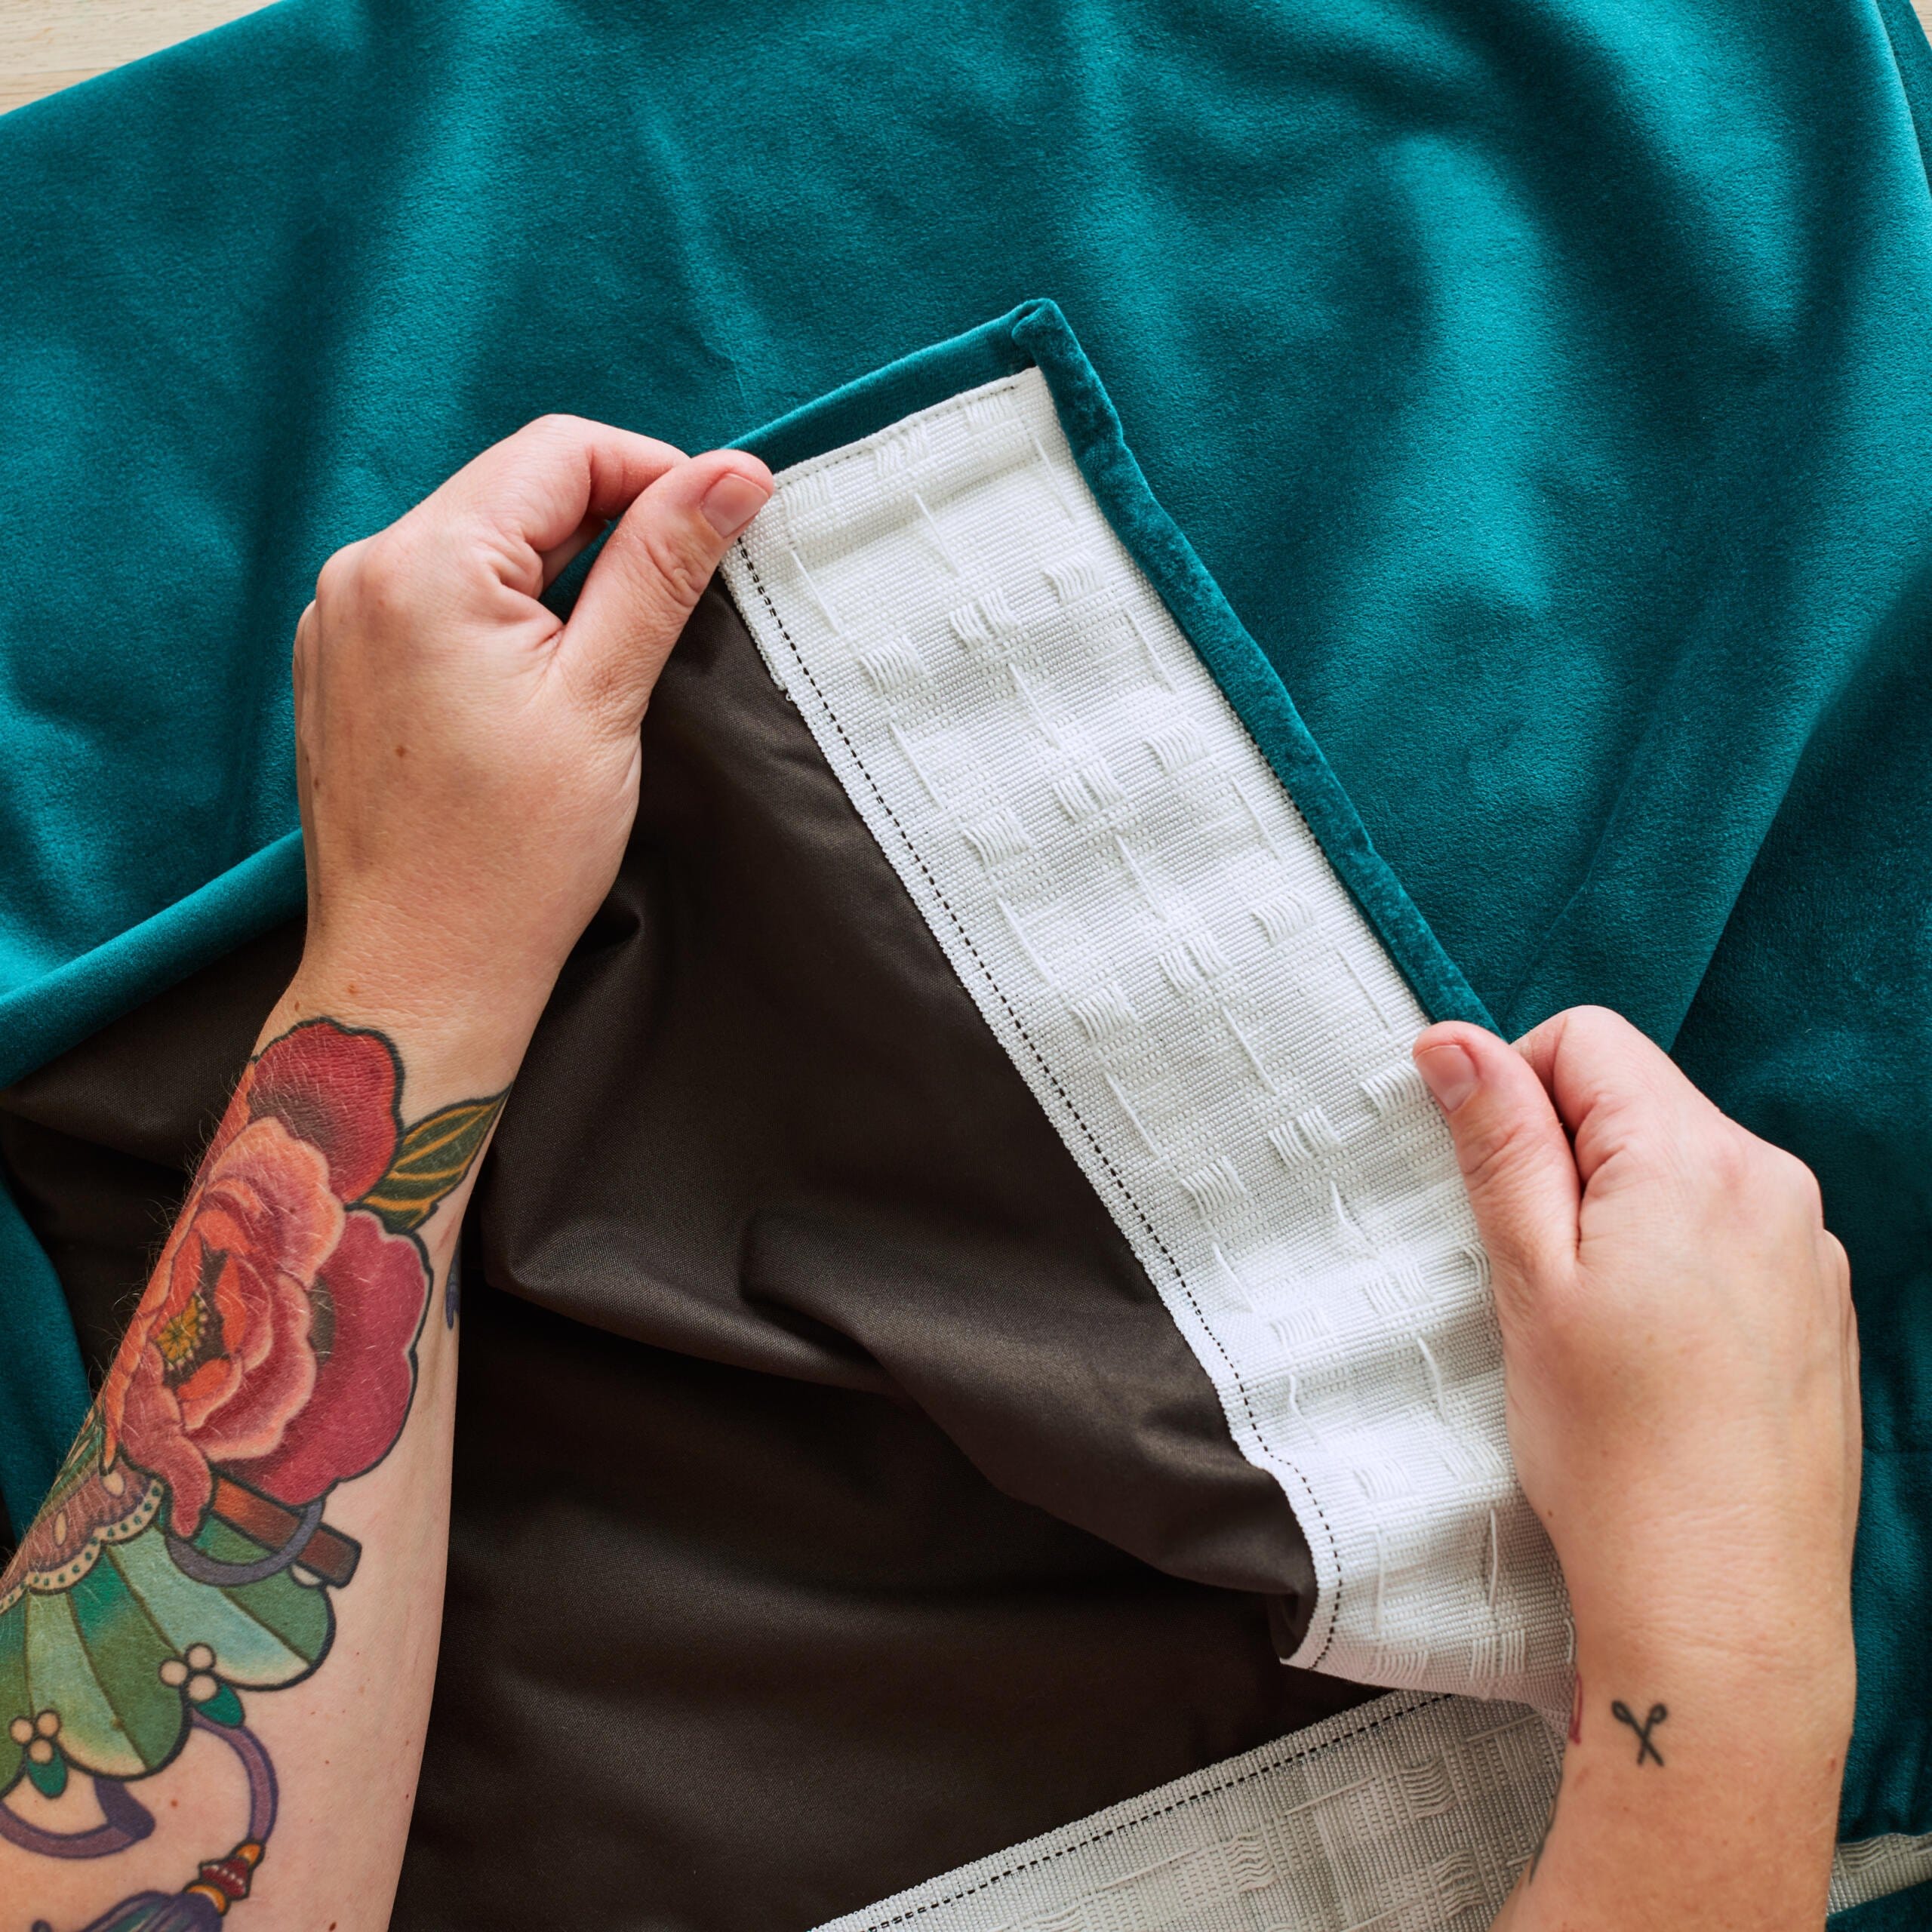
Lining
3-Pass Thermal Blackout Lining
54″ wide, blocks light completely and seals the air pocket.
Shop now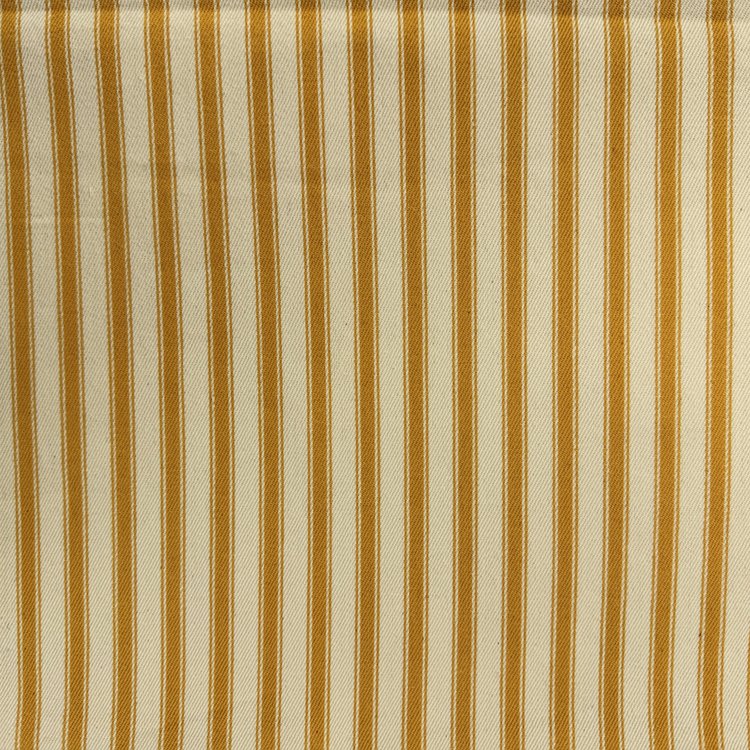
Face fabric
Canvas Ticking Stripe Fabric
Heavy canvas with the body to hang properly once lined.
Shop now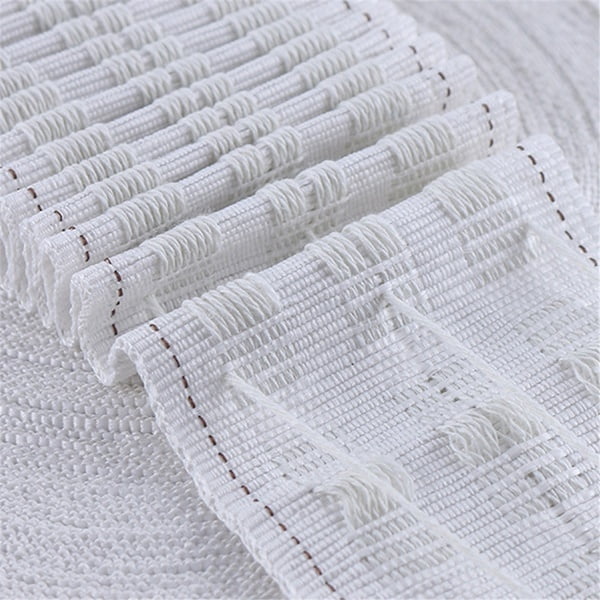
Heading
Curtain Heading Tape
Carries the weight of a lined curtain and holds the pleats upright.
Shop now
Keep the heat where you put it
Thermal blackout lining, canvas base fabrics and heading tapes, cut to the metre and dispatched the same day on orders placed before 2 PM.


 Patterns