

3 Last-Minute DIY Halloween Costumes You Can Sew This Weekend

Halloween Sewing · 6 October 2026 · 9 min read
3 Last-Minute DIY Halloween Costumes You Can Sew This Weekend
One cutting method, three costumes, and no paper pattern to buy. Learn the half-circle cloak once and you can turn out a vampire, a witch and a pair of bat wings before the high-street shelves are picked clean.
1Pattern to learn
3Costumes from it
30 minFastest make
2 PMSame-day dispatch cut-off
Why sew it yourself
Beat the high-street rush
By the last fortnight of October, costume aisles across the UK are down to the wrong sizes and the thinnest fabric. Sewing your own takes one weekend, fits properly, and is still in the dressing-up box next year.
Shop-bought Last minute
×Sized by age band, so it is either swamping or too short.
×Thin, shiny fabric that tears on the first doorstep.
×The same outfit as half the class at the school disco.
×Worn once, then straight in the bin.
Sewn at home This weekend
✓Cut to the wearer's actual neck-to-hem length.
✓Proper satin, polycotton or felt that survives the night.
✓Your colours, your lining, your finishing touches.
✓A cloak that gets worn again for plays, parties and next October.
Your weekend plan
1Order by 2 PM
Same-day dispatch means fabric leaves the warehouse the day you order.
2Measure up
While it is on the way, take neck size and neck-to-hem length.
3Cut and sew
One half-circle per costume. Most of the work is done in an afternoon.
4Trick or treat
Wear it on the night, then hang it up for next year.
The one pattern you need
The half-circle Halloween cloak pattern
Every costume in this guide starts from the same shape: a half circle with a smaller half circle cut out at the neck. You draw it straight onto the fabric with chalk and a tape measure, so there is no paper pattern to print or buy.
Straight edge — this becomes the front opening
R = neck to hem
Two measurements, two numbers
Lay the fabric flat and work from the centre of one long edge. That point becomes the back of the neck, and the straight edge either side of it hangs down the front of the wearer.
The neck cut-out
Neck radius = neck size ÷ 3.14
A 38cm child's neck gives a 12cm radius. Mark it from the centre point and cut that small half circle out first.
The outer edge
Outer radius = neck radius + neck-to-hem length
Swing your tape from the same centre point, marking every few centimetres, then join the dots into a smooth curve.
How much fabric
Length needed = outer radius × 2
Around 1.5m for most children and 2.3m for an adult, as long as the fabric is at least as wide as the outer radius.
Tip
Pin the end of your tape measure to the centre point with a drawing pin into a cutting mat, or have someone hold it. Swinging the tape like a compass is the only way to get a curve that hangs evenly all the way round instead of dipping at one side.
Three costumes, one weekend
Three DIY Halloween costumes from the same cut
Each costume below starts with the half-circle cloak and adds one or two details. Pick the fabric, cut the shape, then follow the finishing steps for the character you want.
01The Vampire Cloak
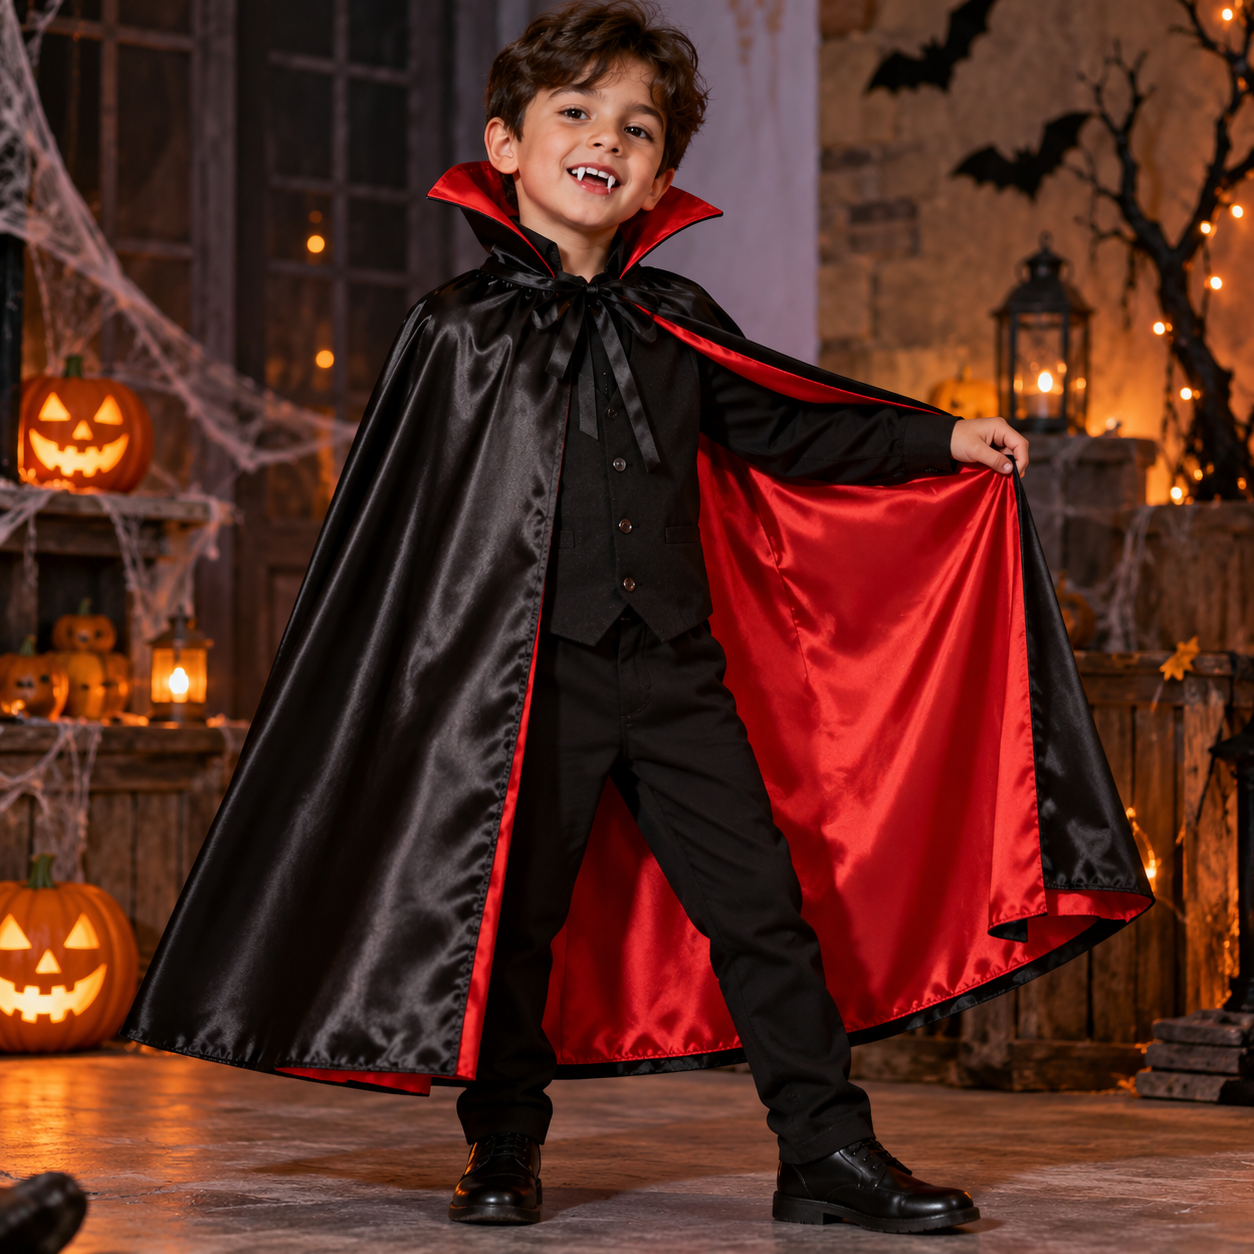
The classic. Black satin outside, red satin inside, and a tall collar that stands up behind the head. The lining means there are no raw edges to hem at all.
You will need
- →Black satin, cut to your half circle
- →Red satin, the same amount again
- →Two 50cm lengths of ribbon for ties
- →A strip of stiff interfacing for the collar
How to finish it
- 1Cut one half circle in each colour.
- 2Sew them right sides together around the outside and front edges.
- 3Turn through the neck, press, then sew the interfaced collar on.
- 4Stitch a ribbon tie to each side of the neck.
Shop satin
Pick black and red in the colour options
02The Hooded Witch
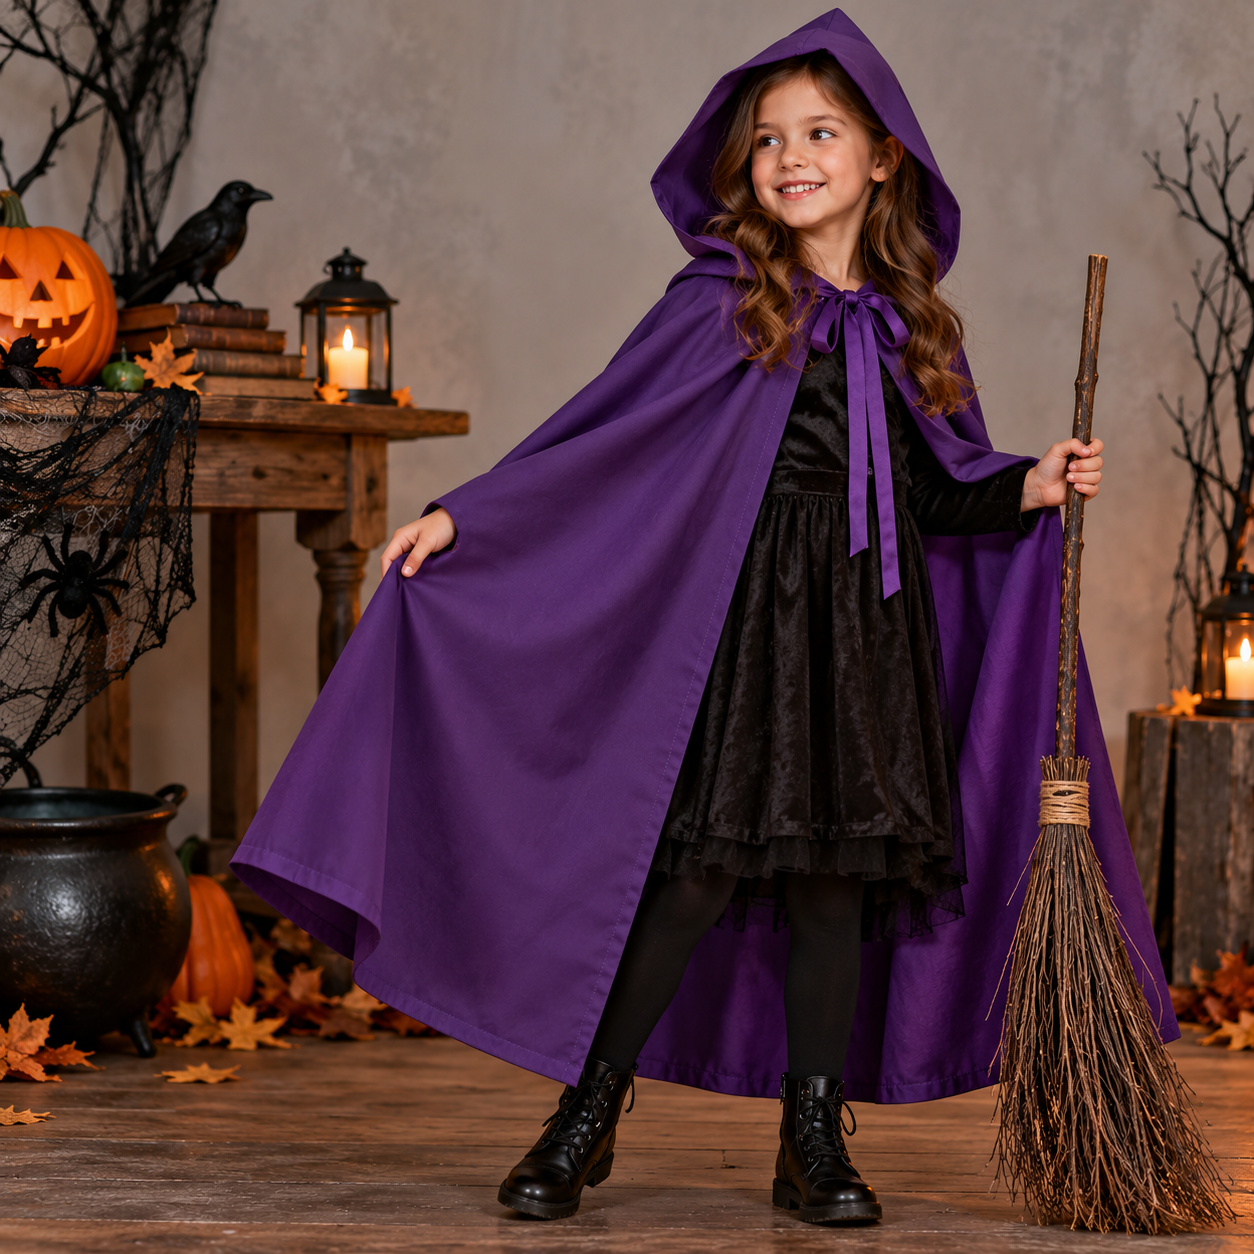
An unlined cape in polycotton with a pointed hood. Polycotton is light enough for a child to run in, holds a crisp fold, and comes in purples, greens and blacks that read instantly as witch.
You will need
- →Polycotton for the half circle plus 0.5m for the hood
- →About 5m of bias binding for the edges
- →Two lengths of ribbon or a hook and eye
How to finish it
- 1Cut the half circle and two hood pieces with a pointed back.
- 2Sew the hood pieces together along the back and point.
- 3Attach the hood to the neck edge of the cloak.
- 4Bind every raw edge with bias binding in one continuous run.
03The Bat Wings
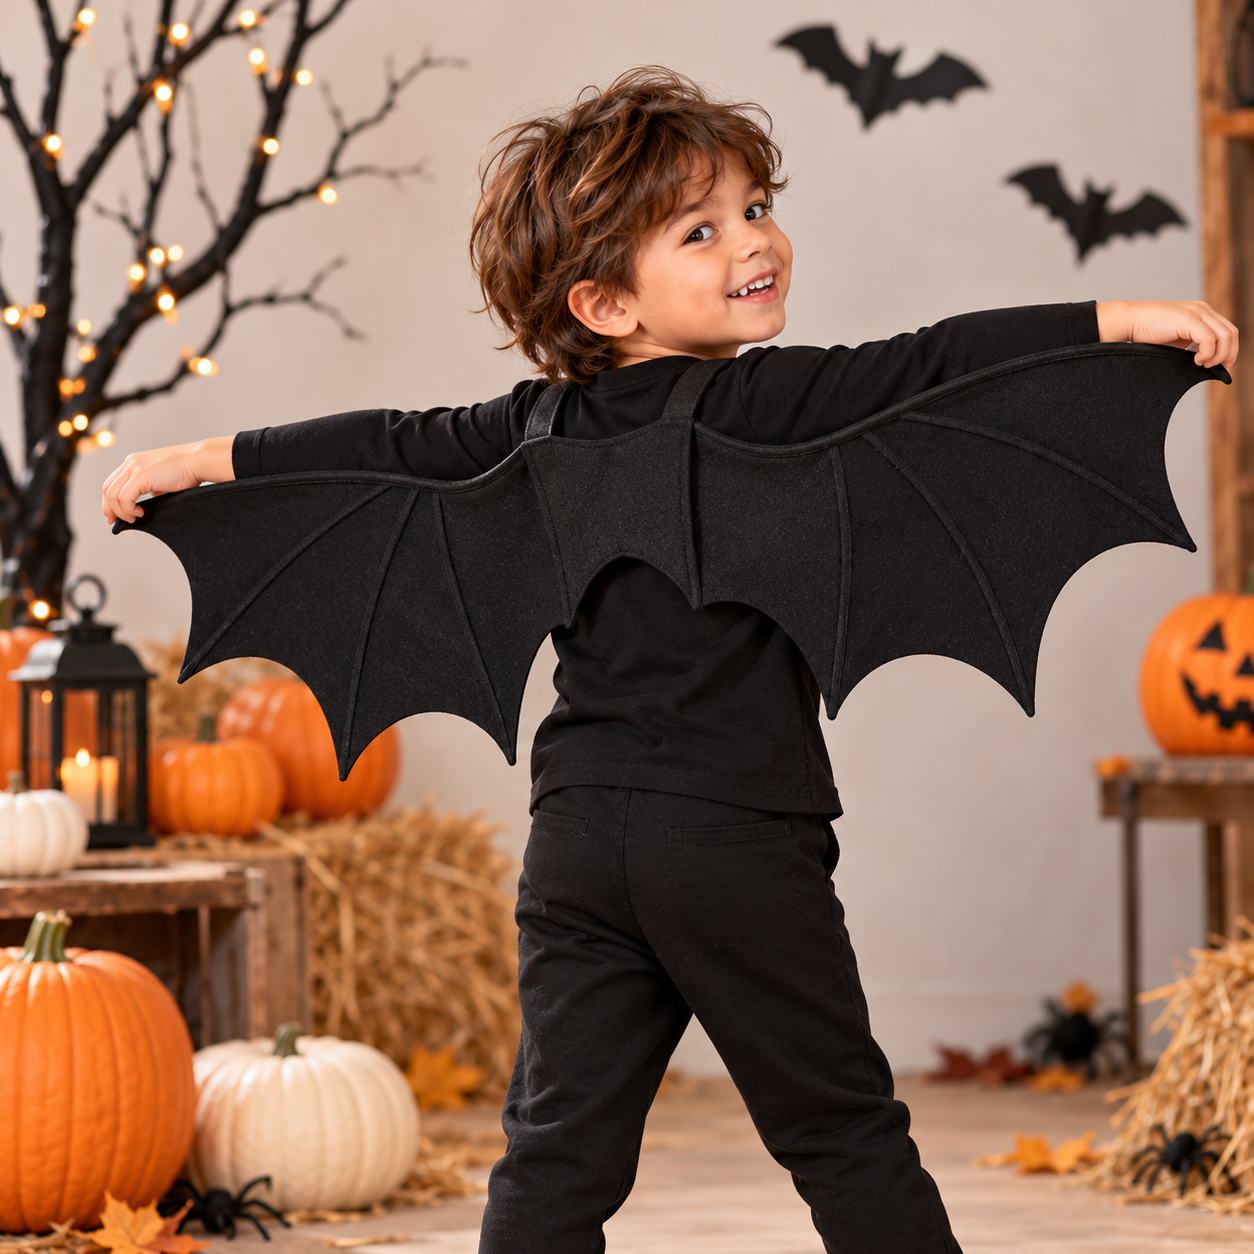
The fastest make in the guide and the one children love most. Craft felt does not fray, so you cut the scalloped wing edge and it is finished. No hems, no lining, no binding.
You will need
- →Black craft felt, cut to your half circle
- →Two strips of elastic for the wrist loops
- →Velcro or a ribbon tie for the neck
How to finish it
- 1Cut the half circle with the neck shape.
- 2Mark wing scallops round the outer curve with a dinner plate.
- 3Cut the scallops and stitch a wrist loop at each wing tip.
- 4Add the neck fastening and it is ready to wear.
Shop craft felt
60″ wide, so one cut covers most children
Tip
Satin slips and shifts under the foot. Use plenty of pins, a fresh fine needle and a slightly longer stitch, and sew with the satin on the bottom layer where possible so the feed dogs grip it instead of the presser foot pushing it out of line.
Decorate the house too
Reusable bunting from clearance fat quarters
The offcuts from your cloaks and a few clearance fat quarters make a run of bunting that goes up every Halloween. A single fat quarter gives you around four double-sided flags, so five is plenty for a doorway or mantelpiece.
01
Make a template
Draw a triangle 20cm across the top and 25cm deep on card and cut it out.
02
Cut in pairs
Flip the template top-to-tail along the fabric so the triangles nest with no waste.
03
Sew and turn
Stitch each pair right sides together down the two long sides, then turn and press.
04
Bind the top
Sandwich the flags inside a long run of bias binding and topstitch along its length.
October
Black, orange and purple flags from clearance fat quarters and your cloak offcuts.
Shop party clearance →→
December
Make a second set in festive prints and swap them over on 1 November.
Shop Christmas cotton →Go premium
No-fray upgrade: Boiled Wool for premium cloaks
If you want a cloak that outlives Halloween and becomes a proper winter cape, the fabric to reach for is boiled wool.
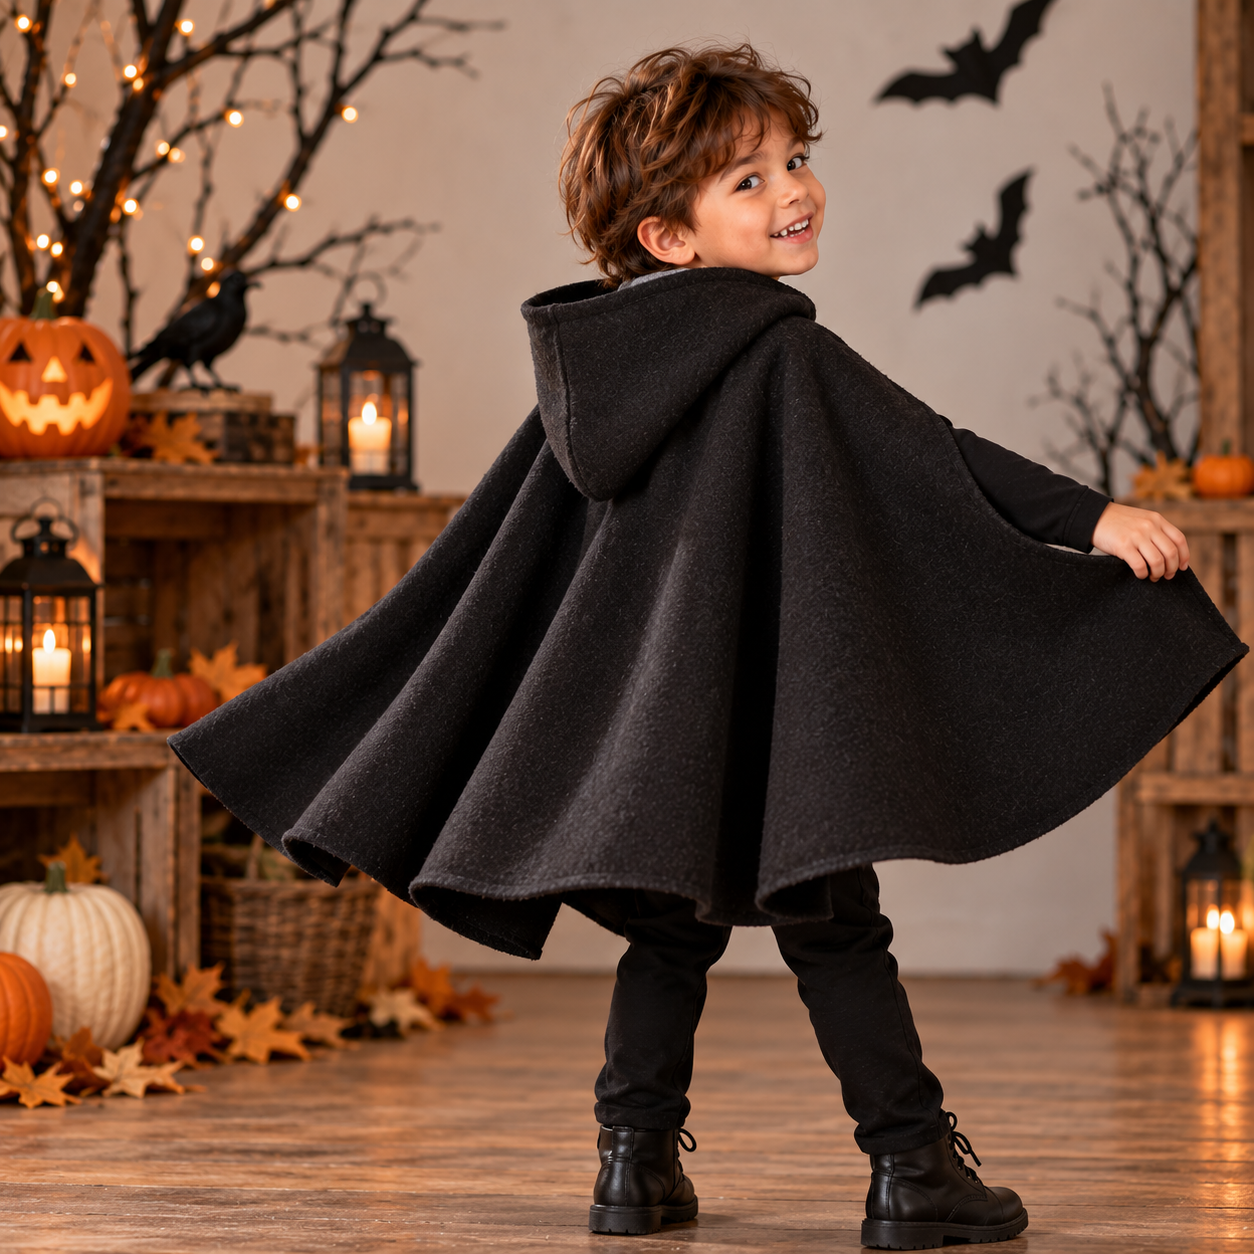
Winter upgrade
Same half circle. Zero hemming. Warm enough for November.
Boiled wool is knitted, then felted with heat and agitation until the fibres lock together. The result is dense, windproof, and does not fray, which means the half-circle cloak in this guide can be cut and worn with the edges left raw.
- ✓Raw edges stay clean, so there is nothing to hem or bind.
- ✓Dense enough to block the wind on a cold October night.
- ✓Smart enough to wear as a winter cape long after the 31st.
Shop the guide
Everything for all three costumes
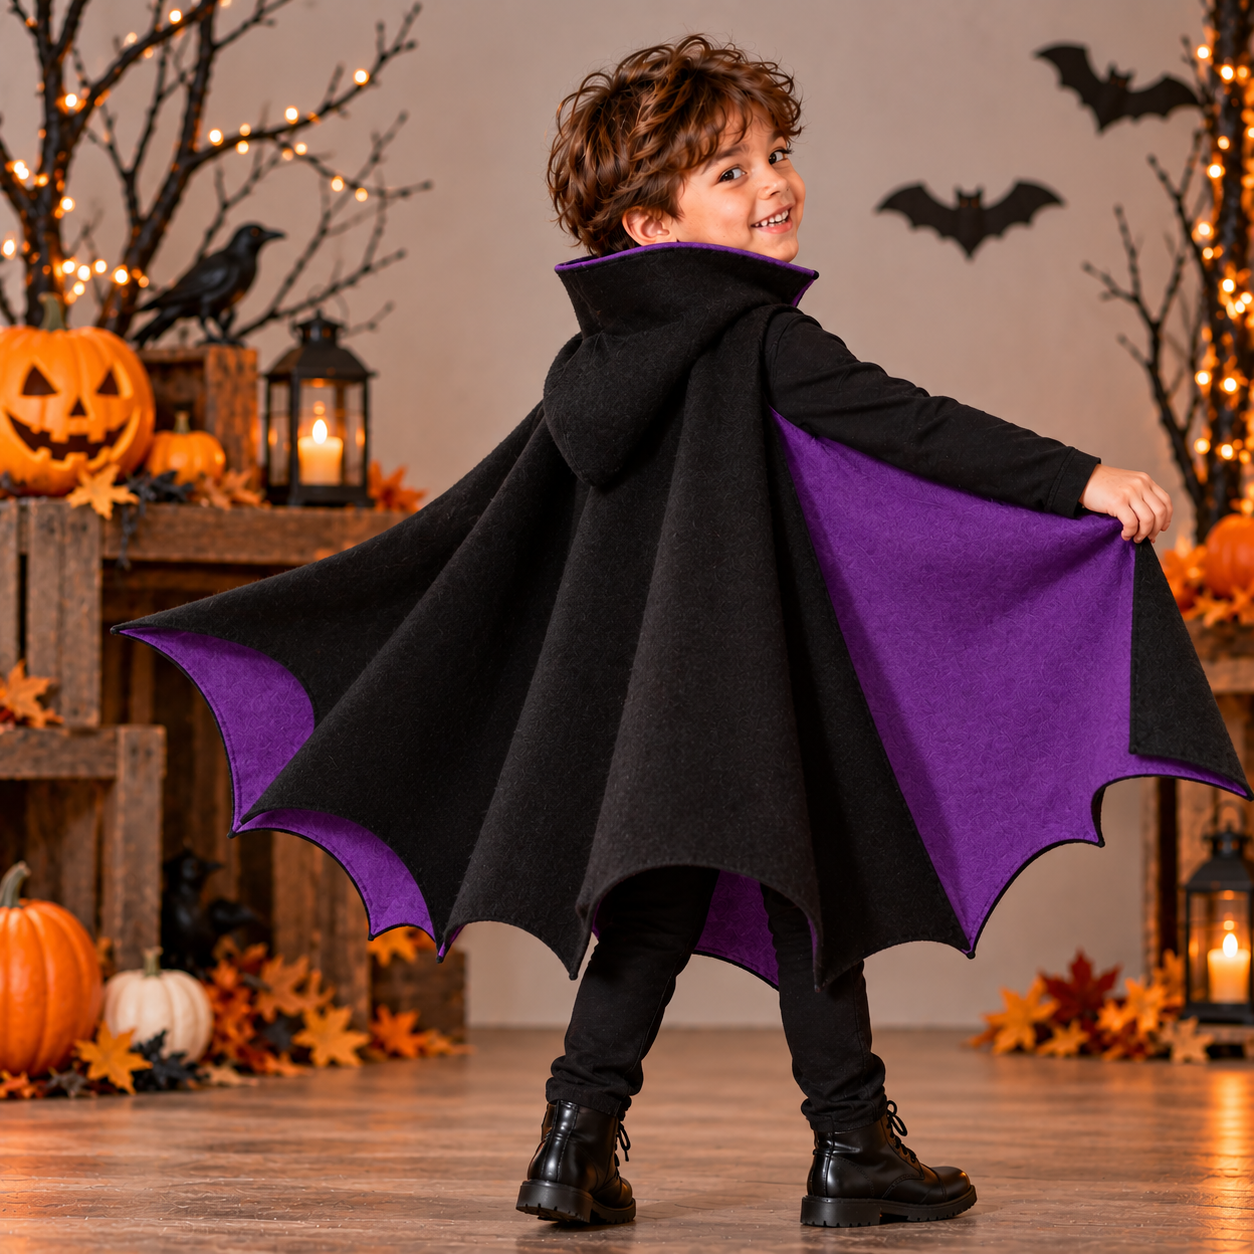
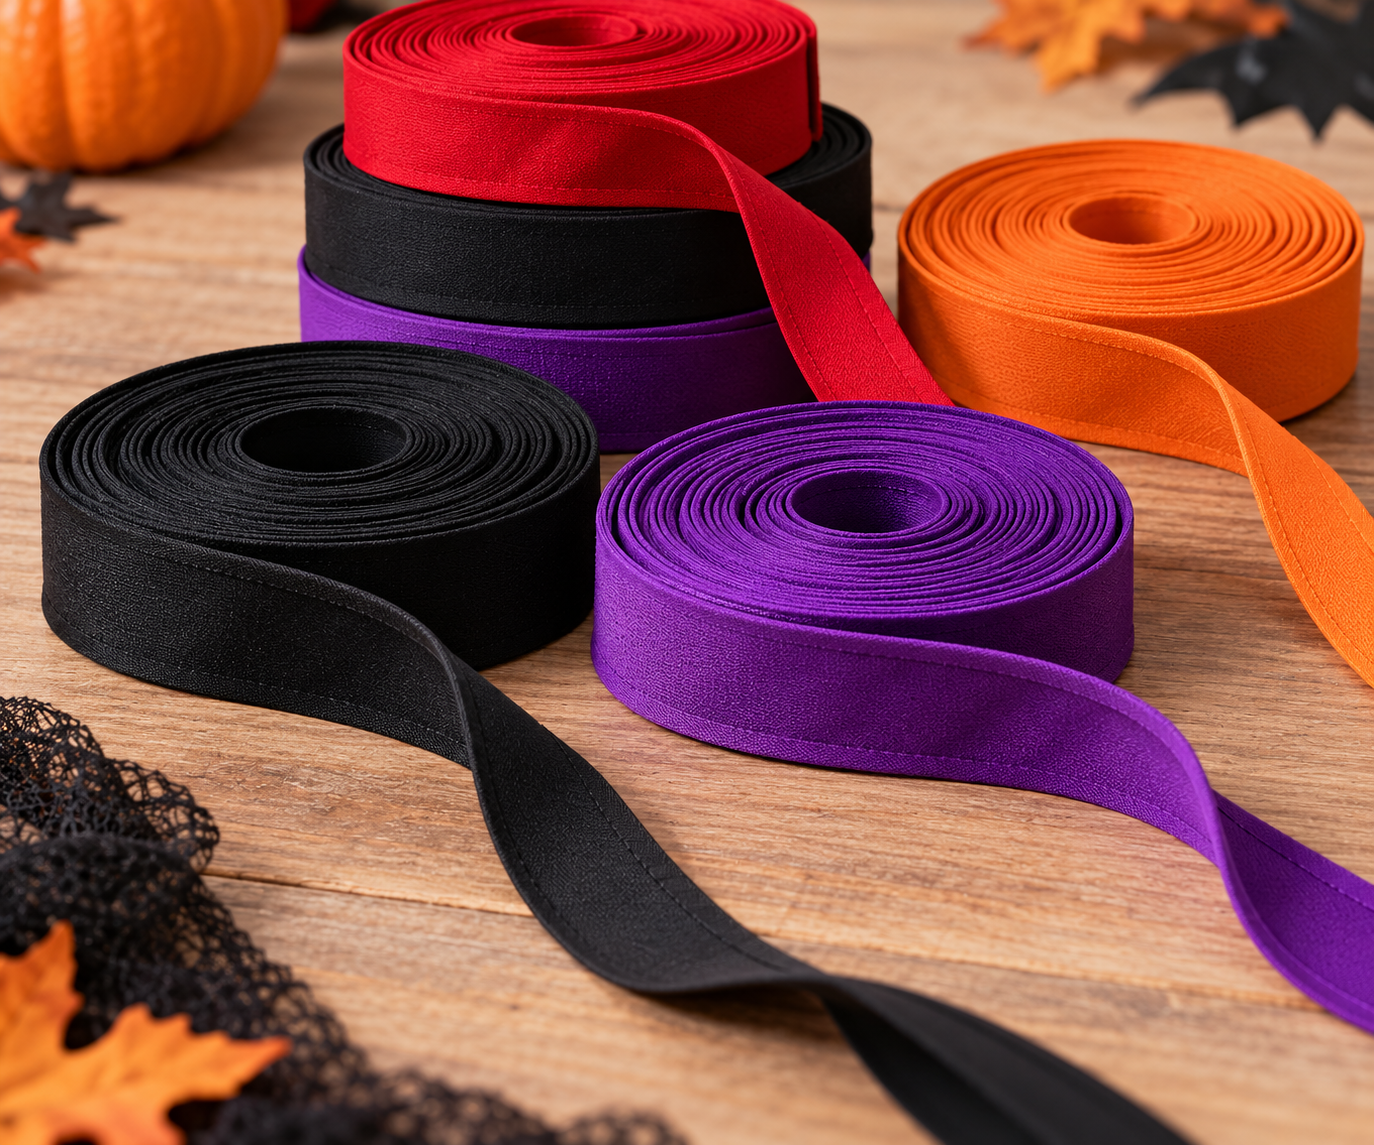
Sew your Halloween costume
Satin, polycotton and craft felt cut to the metre. Order before 2 PM and it is dispatched the same day.
Then start on Christmas
Festive cottons for stockings, bunting and table runners.





 Patterns