

The Beginner’s Guide to Sewing with Heavyweight Canvas

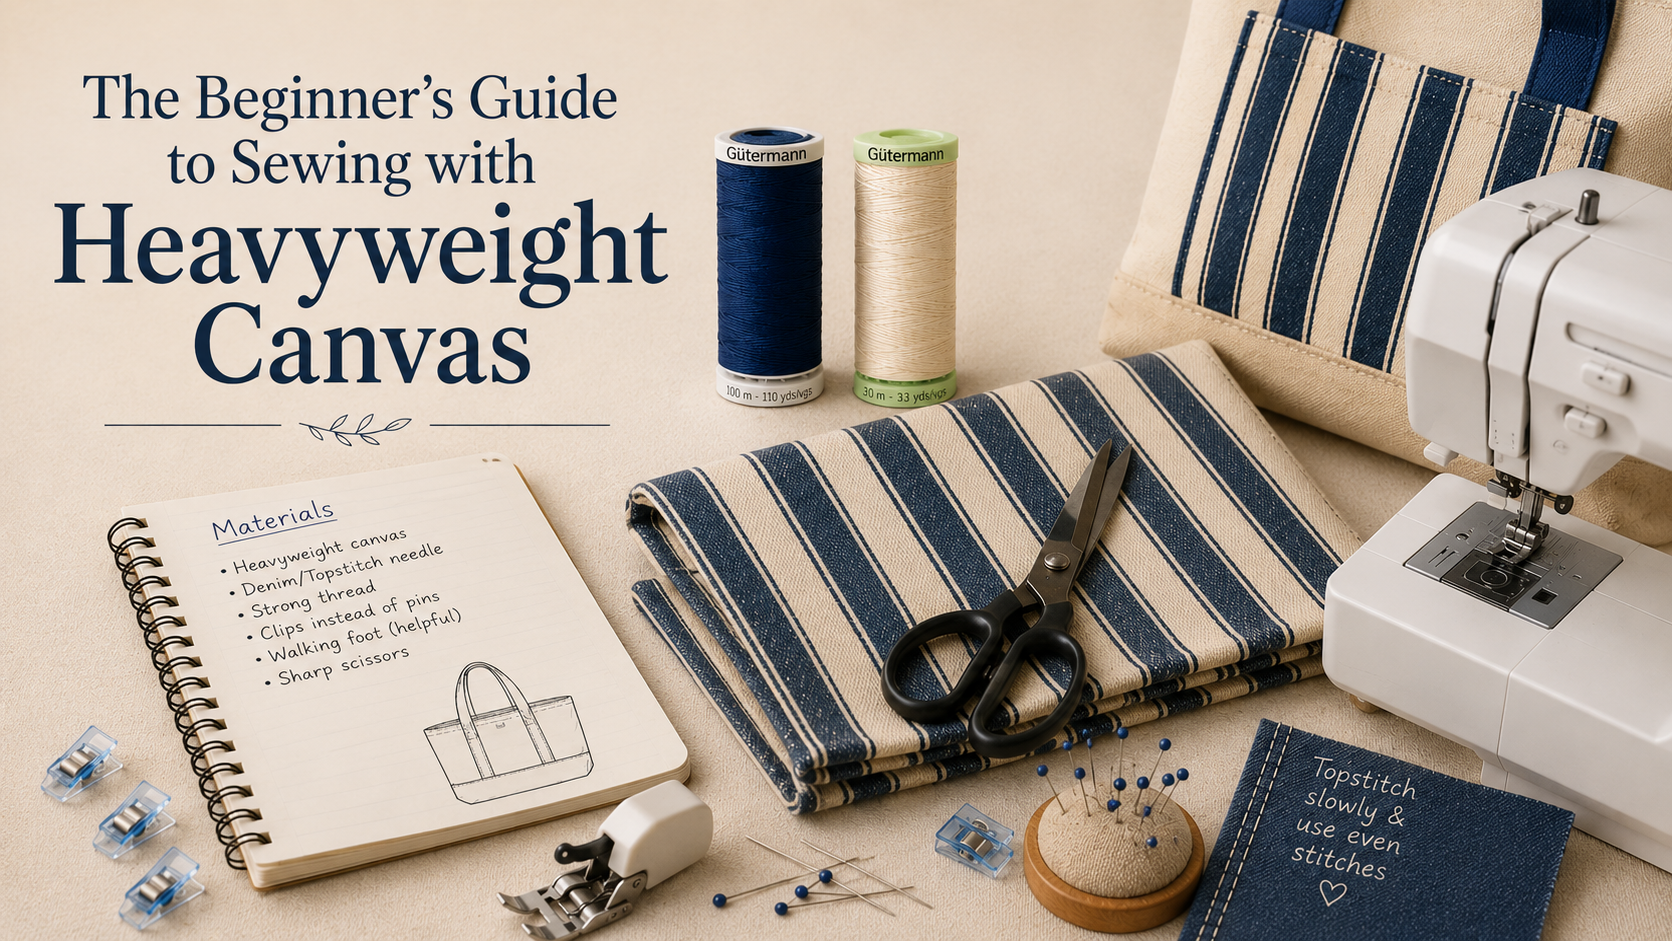
The Beginner's Guide to Sewing with Heavyweight Canvas
Canvas ticking stripe is virtually indestructible — but only if you sew it correctly. The right needle, the right foot, and the right reinforcement make the difference between a beach bag that lasts a decade and one that splits on the way home.
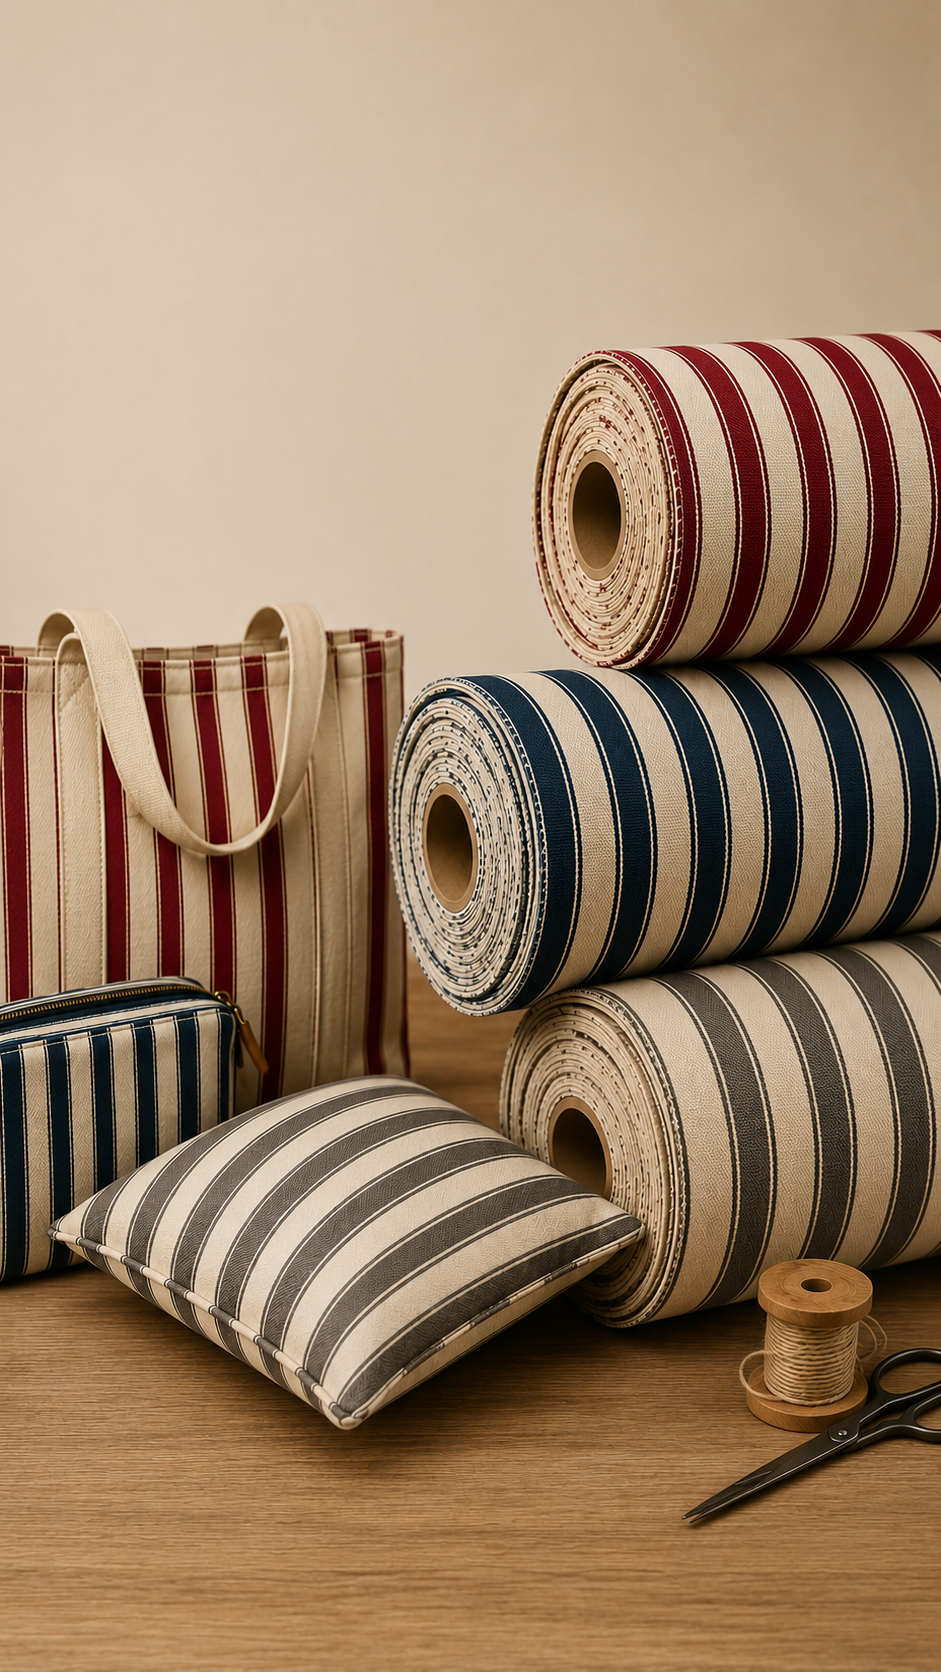
100%
Cotton Canvas
90/14
Denim Needle Size
3.5mm
Ideal Stitch Length
Walking
Foot Required
60"
Fabric Width
The Right Tool
Needle Choice — Why Denim/Jeans Needles Are Non-Negotiable
Using the wrong needle on heavyweight canvas is the fastest way to destroy your machine, your fabric, and your patience. A standard universal needle deflects, skips stitches, or snaps outright on the dense weave of cotton canvas ticking. Here's exactly what to use and why.
Denim / Jeans Needle
Size 90/14 or 100/16
The correct choice for canvas ticking and all heavyweight woven fabrics. Denim needles have an acute, sharp point and a reinforced, slightly thicker blade — designed to pierce dense weaves cleanly without deflecting. Size 90/14 for standard canvas weight. Go up to 100/16 for double-layered canvas at handle attachment points. Change the needle before every project — canvas blunts needles faster than any other fabric.
Universal Needle
Size 80/12 — Not for canvas
Designed for medium-weight fabrics — cotton poplin, linen, polycotton. On heavyweight canvas, a universal needle pushes threads aside rather than piercing cleanly, resulting in skipped stitches, puckered seams, and uneven tension. On very dense canvas (4+ layers at a seam intersection), the blade can snap. Not suitable for any project involving canvas ticking stripe.
Topstitch Needle
Size 90/14 — Optional upgrade
Has a larger eye than a standard needle — designed to carry heavier thread (Gütermann Top Stitch or Extra Strong) without shredding it through repeated needle penetrations. Use a topstitch needle when topstitching visible seams on a beach bag or deckchair with a heavier decorative thread. The result looks intentional and professional, and the larger eye prevents thread breakage on the thicker thread weight.
The Needle-at-Seam-Intersections Problem
At seam intersections on a canvas beach bag — where a side seam meets a base seam, or a handle strap meets a bag body — you may have 6–8 layers of canvas. Even a denim needle struggles here. The fix: use your hand wheel to lower the needle manually through the bulk one stitch at a time, rather than letting the machine run at speed. Take it slow over the thickest points, give the fabric a firm push from behind, and the needle will drive through cleanly. Forcing the machine at speed through 8-layer canvas intersections is how needles (and feed dogs) get damaged.
The Right Foot
Walking Foot Technique — Feed Both Layers Evenly
Canvas ticking stripe is a tightly woven, heavy fabric. A standard presser foot grips the top layer from above while the machine's feed dogs grip the bottom layer from below — and these two mechanisms move at slightly different rates, causing the layers to shift relative to each other. On lightweight fabrics, this is barely noticeable. On heavyweight canvas, it causes fabric creep, misaligned stripes, and seams that twist as they're sewn.
What a Walking Foot Does
A walking foot (also called an even-feed foot) has its own set of feed dogs built into the foot mechanism — so both the top and bottom layers of fabric are fed through the machine at exactly the same rate simultaneously. It eliminates layer shift entirely. On canvas ticking stripe, this matters even more than on plain canvas: the stripe repeat must align at every seam, and even 2mm of creep over a 40cm seam makes the stripes visibly misalign.
Settings to Use with a Walking Foot
- Stitch length: 3.5mm for main seams — longer stitches feed more smoothly
- Presser foot pressure: reduce slightly if your machine allows — heavy canvas needs less downward pressure than the default
- Speed: medium, consistent — don't stop and start mid-seam if you can avoid it
- Hold fabric taut (not stretched) behind and in front of the foot as you sew
- Never pull the fabric — let the machine feed it, guide only
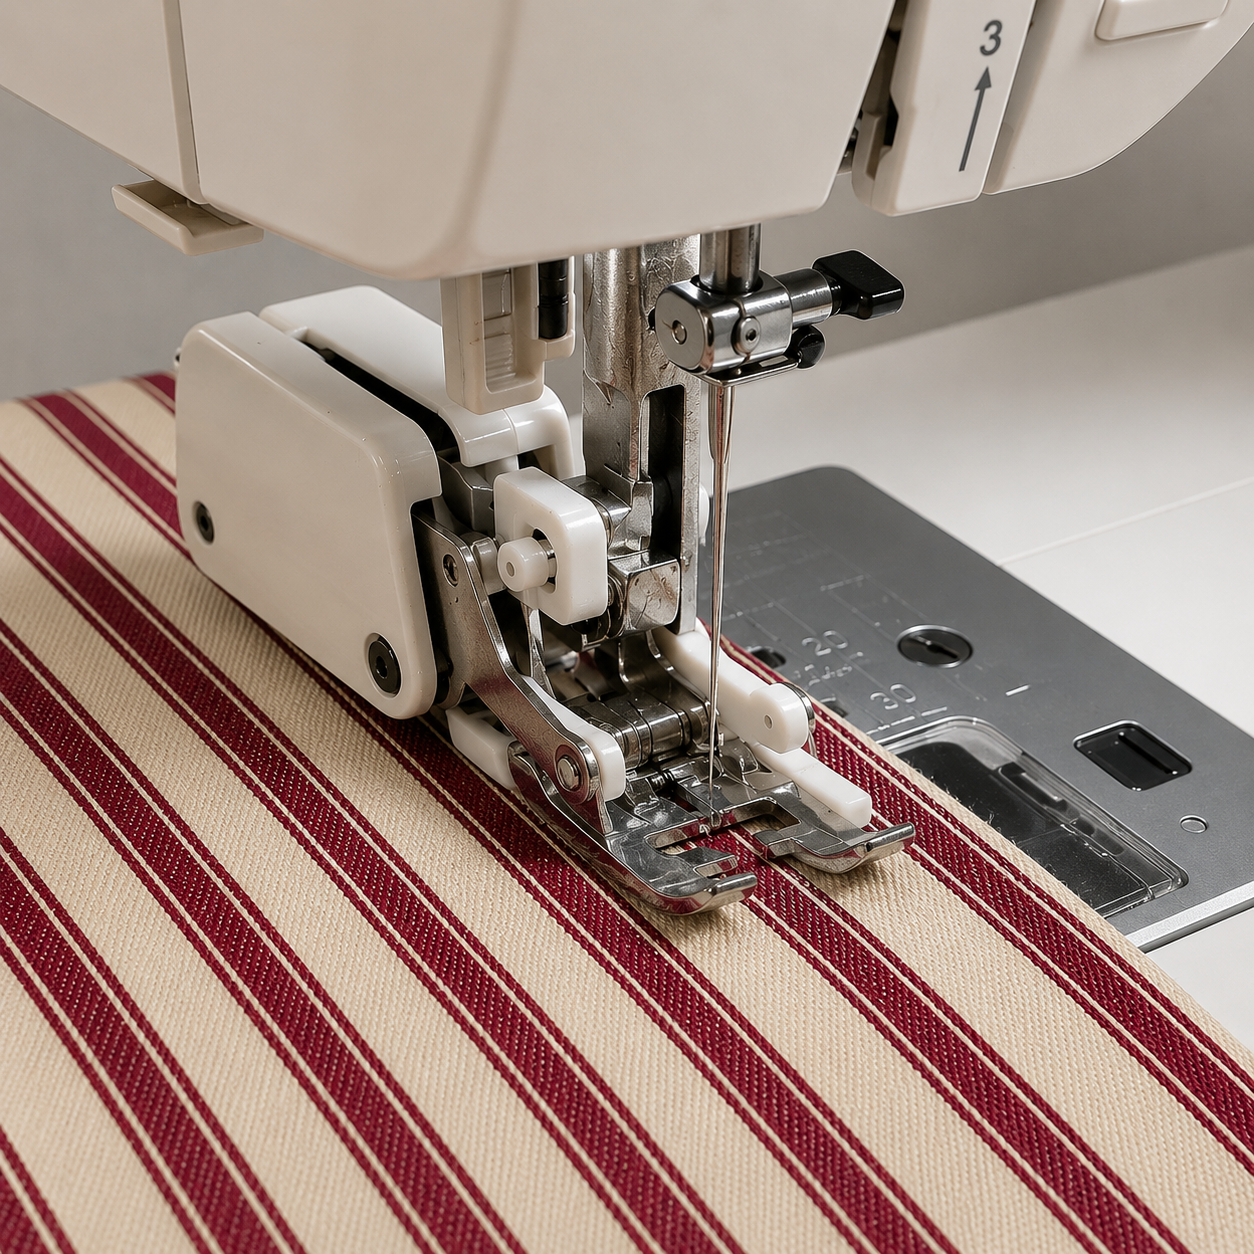
Aligning the Stripes at Seams: Before pinning seam pieces together, lay them right sides together and check that the stripe repeats align across the seam. If the ticking has a wide stripe and a narrow stripe, the wide stripes must meet at the seam. Pin generously (within the seam allowance — not through the fabric face), then sew slowly. The walking foot will hold the alignment you set, but only if you set it accurately before stitching begins.
Construction
Reinforcing Seams for Heavy Beach Bags
A canvas beach bag handles wet towels, sandy shoes, full water bottles, and a week's worth of holiday gear — often all at once. Standard single-stitched seams are not adequate. These are the reinforcement methods used in heavy-duty commercial canvas goods, translated for a domestic machine.
1
French Seam — Not for Canvas
French seams enclose raw edges neatly but require folding the seam allowance twice — adding significant bulk on heavy canvas. Avoid. Use a flat-felled seam or a sewn-then-overlocked seam instead. Raw edges on canvas ticking don't fray nearly as aggressively as lightweight wovens, so edge finishing is about durability, not fraying prevention.
2
Flat-Felled Seam — The Professional Standard
Sew the seam right sides together. Press open. Trim one seam allowance to 6mm. Fold the full-width allowance over the trimmed one and press flat. Topstitch close to the folded edge. The result: a seam visible from the outside as a neat double row of stitching, with all raw edges enclosed inside. This is how jeans and canvas workwear are constructed — two rows of stitching sharing the load means the seam is twice as strong as a single-stitched seam.
3
Bartack at Handle Attachment Points
Handles on a heavy canvas beach bag are subject to enormous stress — everything in the bag pulls down on two narrow strips of fabric. A single rectangle of stitching around the handle base is not sufficient. Add a bartack (a very tight zigzag stitch sewn across the width of the handle at the attachment point) at both the top and bottom of the rectangle. Alternatively, use an X-box: stitch the rectangle, then add two diagonal lines crossing inside it to form an X. This distributes stress across the maximum number of stitches.
4
Reinforce the Base with a Second Layer
The base of a beach bag is where everything rests. Cut a second panel of canvas the same size as your base and layer it behind the main base before assembly. Sew through both layers as one. The weight penalty is minimal; the durability improvement is substantial. On a bag carrying wet beach gear, this is the difference between a bag that lasts one summer and one that lasts a decade.
5
Seam Allowance: Always 15mm on Canvas
Canvas is stiff — it doesn't ease or shift the way dress fabric does, and a narrow seam allowance on canvas has a tendency to pull away from the stitching line under load. Use a minimum 15mm seam allowance throughout. For handle attachment points and base seams, 20mm is not excessive. More fabric in the seam allowance means more material resisting the pull before the seam fails.
Specialist Finishes
Deckchair Lacing & Awning Finishing
Canvas ticking stripe's most iconic applications are the ones that need specialist finishing — deckchair covers that slot onto wooden frames, and awning panels that must be secured under tension. Here's exactly how to handle both.
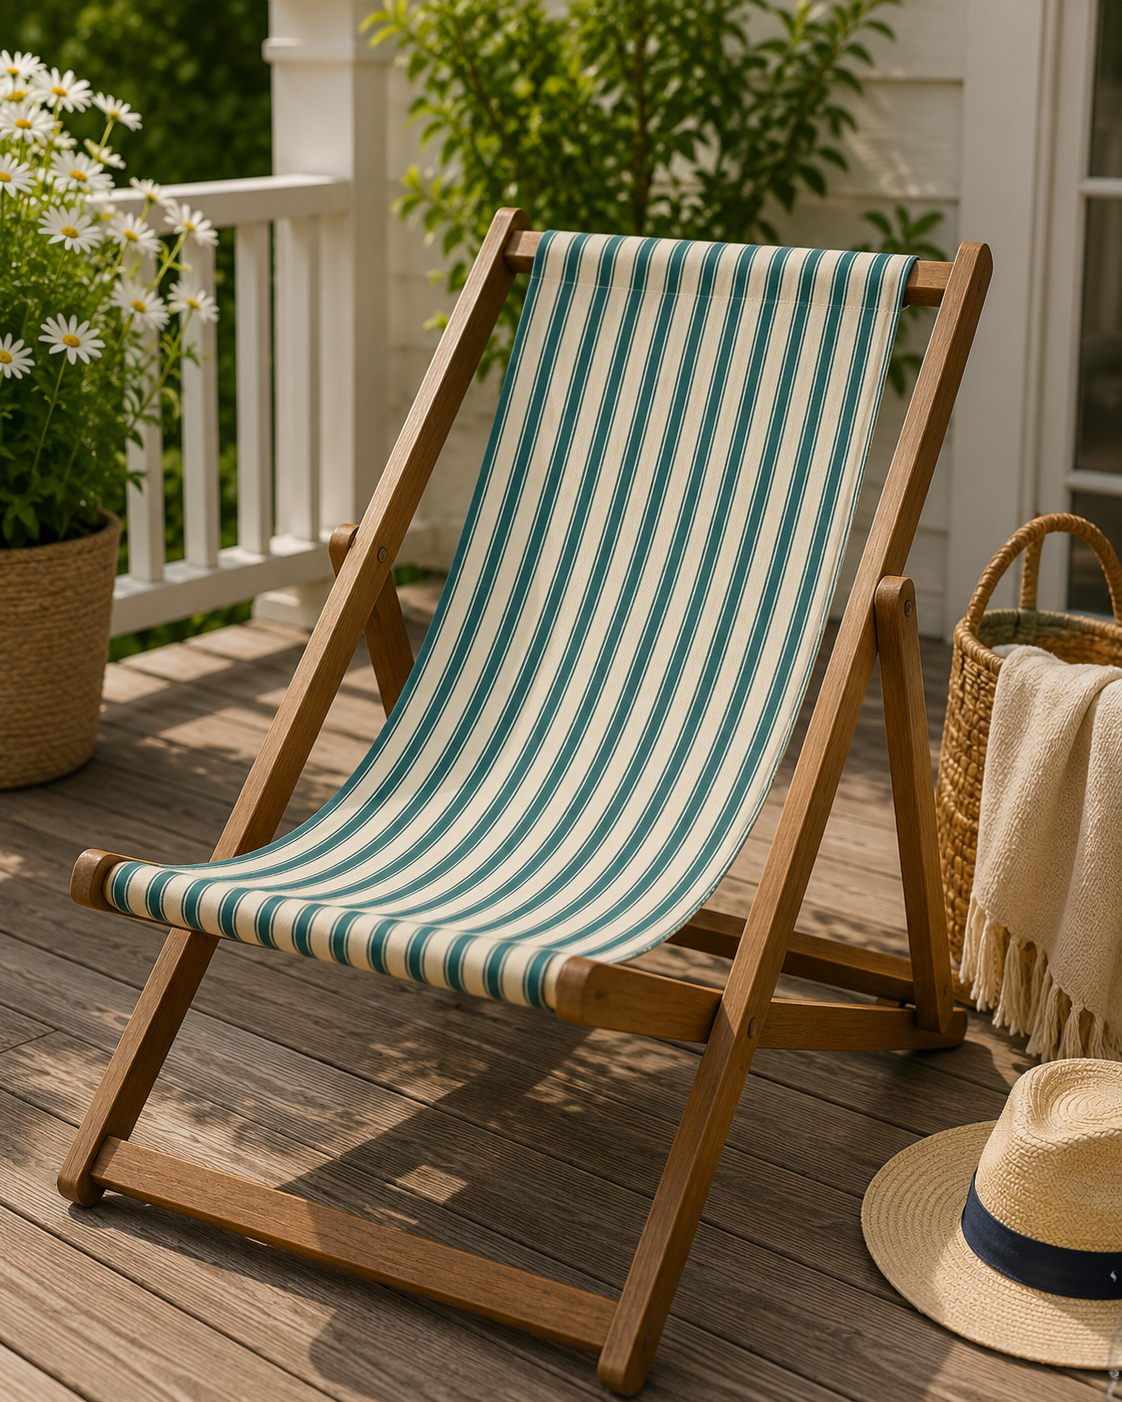
Finish 01
Deckchair Cover — Dowel Channel Method
A deckchair cover is simply a long strip of canvas (approximately 40cm x 140cm for a standard frame) with a channel at each short end to slot over the wooden dowels of the chair frame. The channel must be wide enough to slide over the dowel easily but snug enough to stay put under tension.
Fold 4cm at each short end to the wrong side, press firmly (canvas presses well with a hot iron and no steam), then fold again and stitch two parallel rows — one 5mm from the fold, one 5mm from the open edge. This creates a double-stitched channel that distributes the tension from the dowel across the full width of fabric rather than concentrating it at a single stitch line.
Use Gütermann Extra Strong thread throughout and a denim needle 100/16 — the channel is where canvas deckchair covers fail first, and it fails at the stitching, not the fabric.
Fabric needed: 1.5m per standard deckchair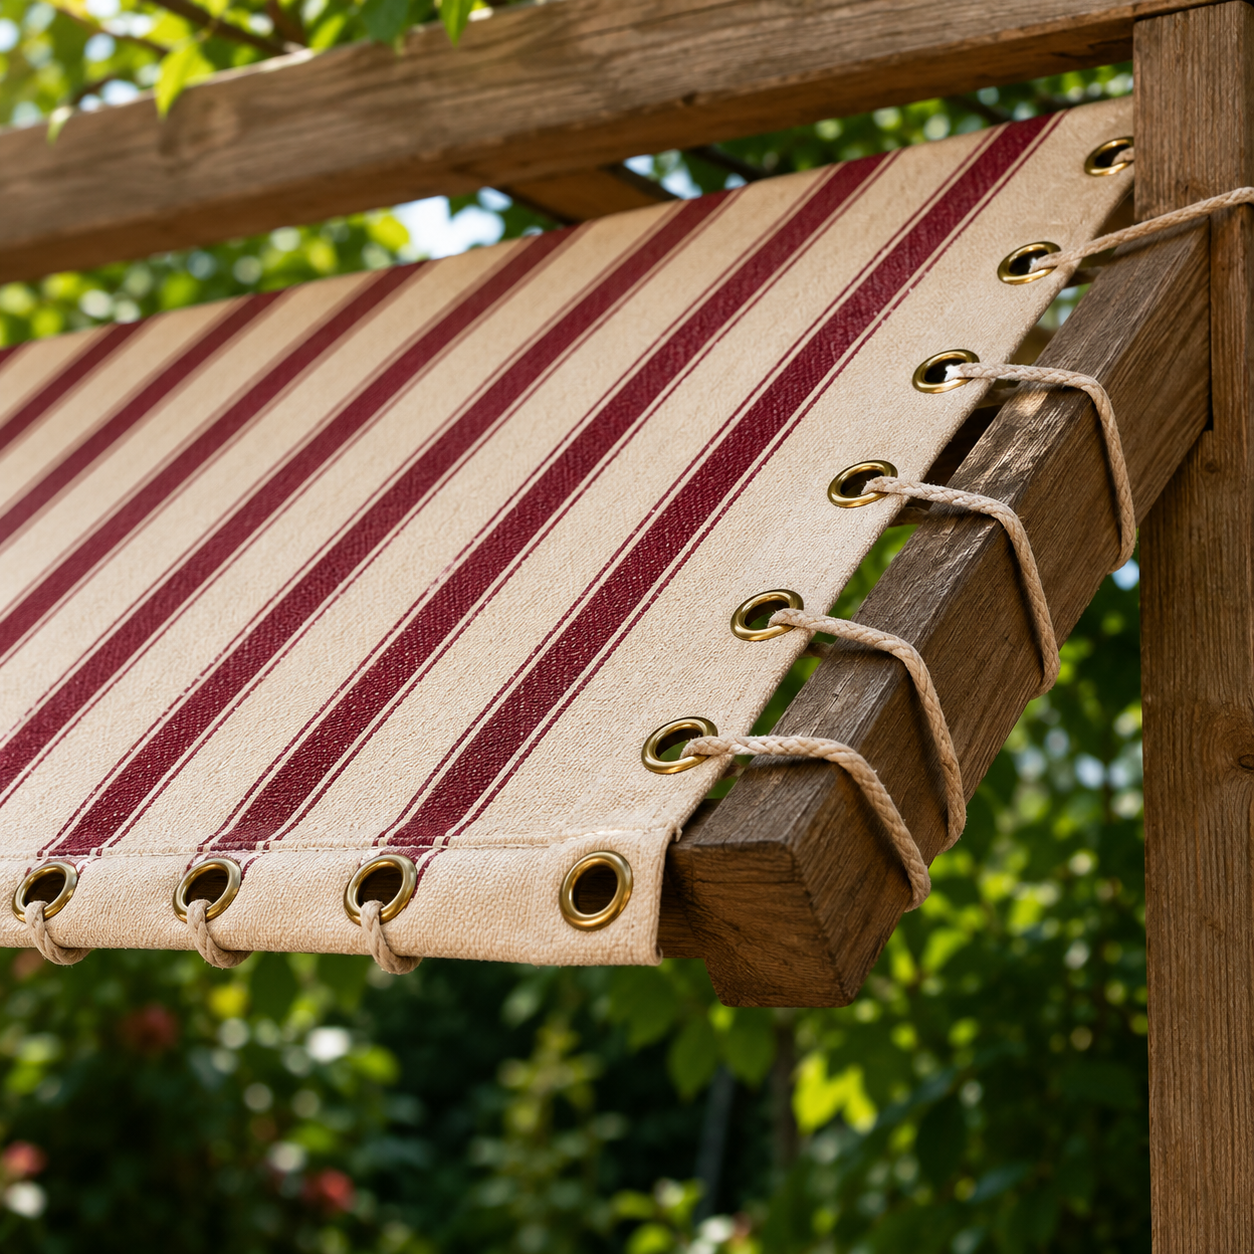
Finish 02
Awning Panel — Eyelet Hem Finishing
Garden awnings and shade panels made from canvas ticking need to be secured at the edges — either to a frame or to tension ropes. The standard method is a reinforced hem with brass eyelets set at regular intervals (every 20–30cm) through which the securing rope or bungee cord is threaded.
Hem all four edges with a double-turned 2cm hem, machine stitching both edges of the hem for maximum rigidity. Mark eyelet positions with chalk at regular intervals along the hem. Use a brass eyelet kit (hammer-set or plier-set) — always cut the fabric hole 1mm smaller than the eyelet inner diameter so the canvas grips the eyelet barrel tightly. On canvas ticking, 20mm eyelets are appropriate for most rope diameters.
Thread with natural rope or bungee cord to suit your fixing method. The combination of a double-stitched hem and brass eyelets creates a panel edge that handles wind load without tearing.
For 150cm-wide canvas: plan 6–8 eyelets per long edgeHow Much Canvas Do You Need?
Deckchair cover: 1.5m per chair. Large beach tote (approx 50cm x 40cm x 20cm): 1.5–2m including handles and double-layer base. Garden awning panel (200cm x 120cm): 2.5m of 150cm-wide canvas — allows for hem turn-backs on all sides. Waterproof canvas stripe is 60 inches (152cm) wide, so most standard projects cut without joins.
The Right Thread
Which Thread for Canvas? Gütermann Explained
Thread choice on heavyweight canvas is not cosmetic — it's structural. Standard all-purpose thread is not strong enough for seams under sustained load. Here's which Gütermann thread to use and where.
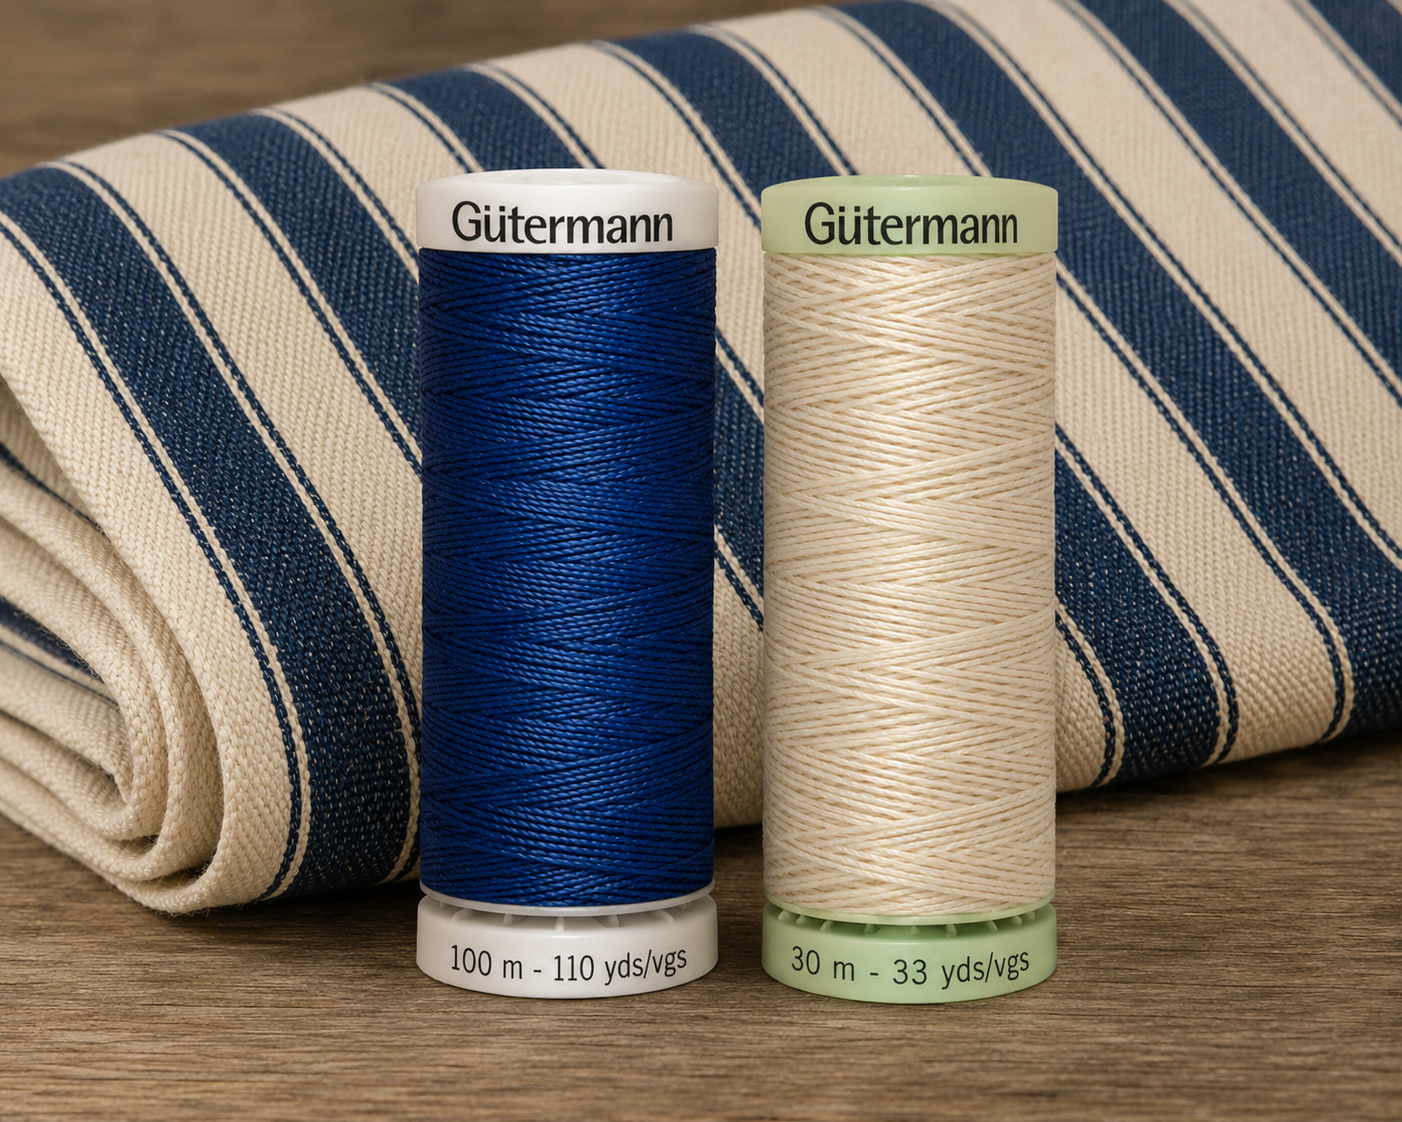
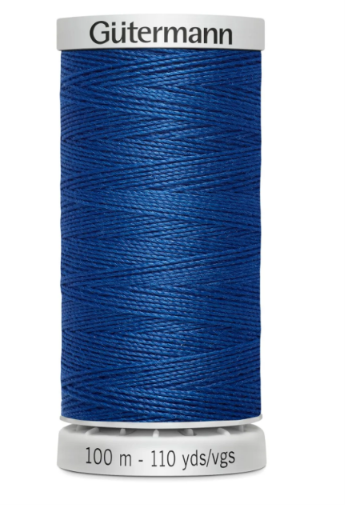
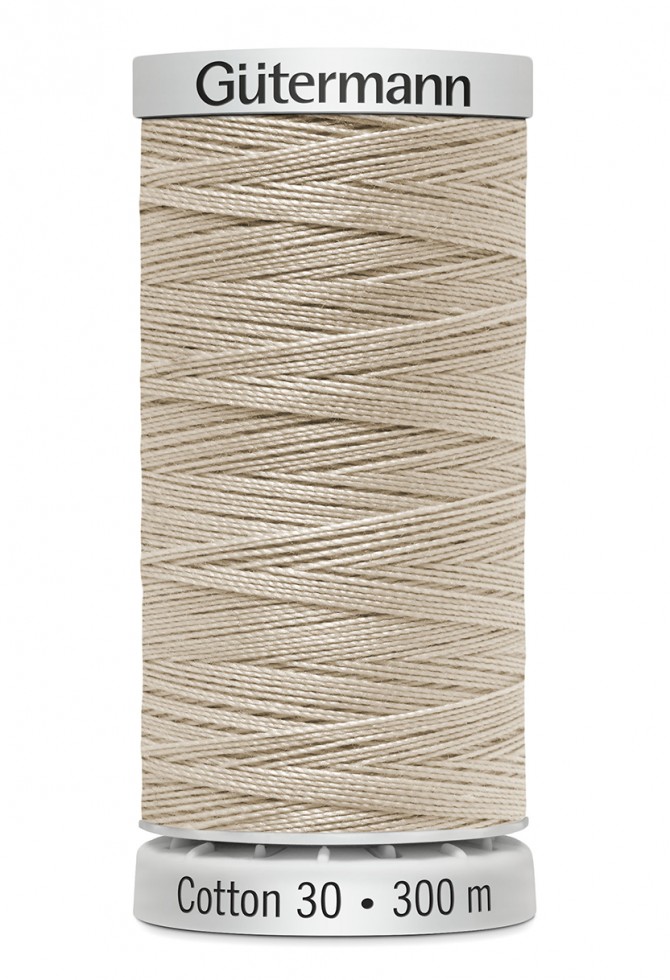
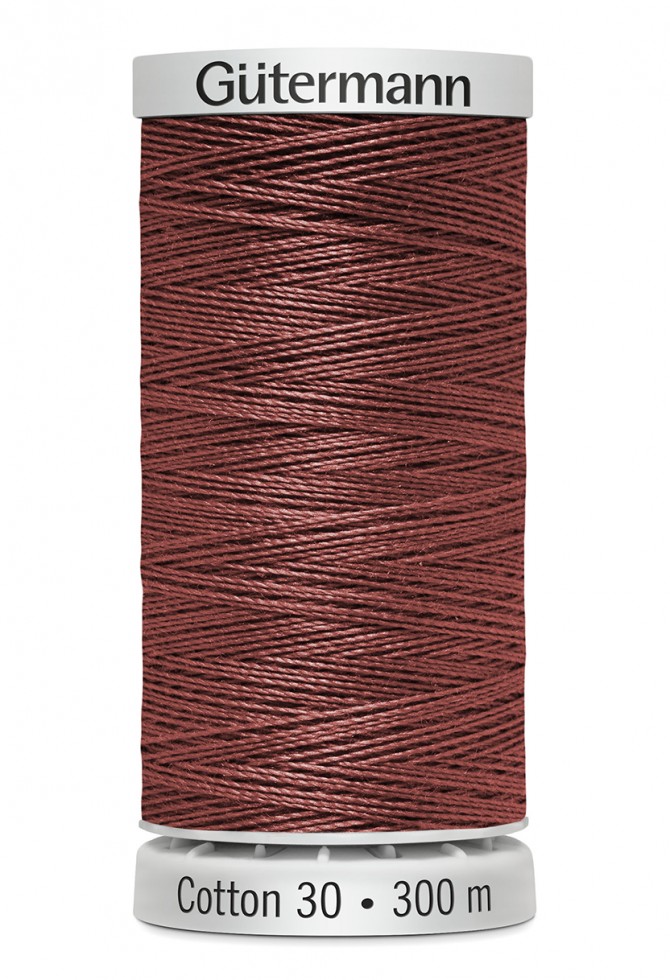
Gütermann Extra Strong (100m) is the primary choice for all canvas structural seams — bag sides, base seams, handle attachment, and deckchair channels. It's a 100% polyester thread engineered for heavily stressed seams, and it's UV-resistant — meaning it won't degrade from outdoor exposure the way cotton thread does.
Gütermann Top Stitch (30m) is a heavier decorative thread for visible topstitching on bag exteriors and deckchair edges. It has a higher sheen and sits proud of the fabric surface, making the topstitching a deliberate design feature rather than a utility stitch. Use with a topstitch needle 90/14 to accommodate the heavier thread weight.
- Extra Strong thread for all structural seams — sides, base, handles
- Top Stitch thread for visible exterior topstitching
- Polyester thread only — cotton degrades with outdoor UV exposure
- Match thread colour to the canvas ground colour, not the stripe
- Load the bobbin with the same thread as the top — mismatched tension is more noticeable on canvas
Tension Adjustment for Heavy Thread
Gütermann Extra Strong is thicker than standard Sew-All thread. On most domestic machines, the default top tension setting is calibrated for standard thread weights. With Extra Strong, you may need to reduce top tension by 1–2 points to prevent the seam from puckering. Test on a scrap of double-layer canvas before sewing your project pieces. A properly tensioned seam on canvas should lie completely flat — if it puckers or draws the fabric, reduce tension in small increments until it settles.
Classic Coastal Collection
Browse All Gütermann →
Shop — Canvas, Threads & Needles
Everything You Need for a Canvas Project That Actually Lasts
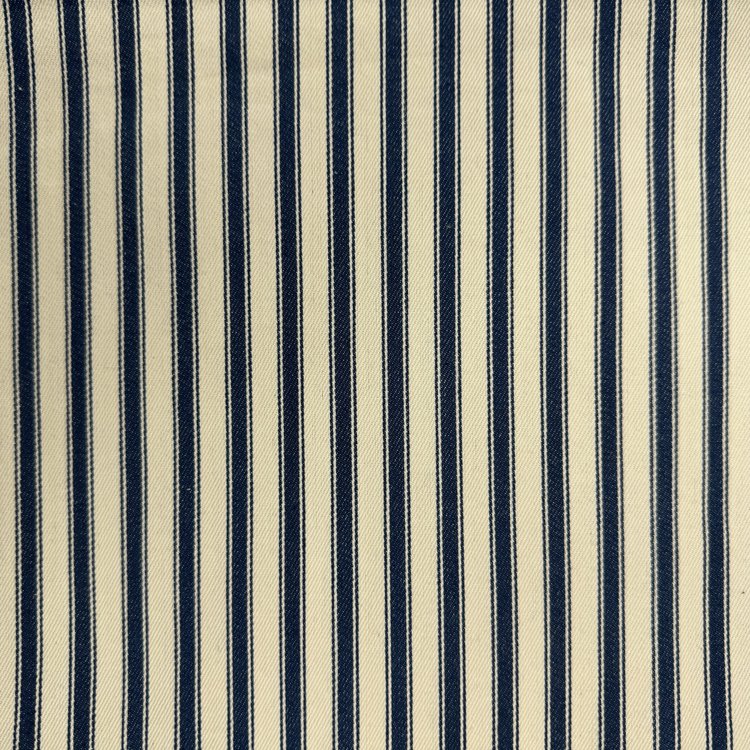
100% cotton canvas ticking stripe, Gütermann Extra Strong thread, and everything in between — all in stock and sold by the metre or unit. Order before 2PM for same-day dispatch. Your weekend deckchair or beach bag project is waiting.

 Patterns