

The Complete Guide to Sewing with Velvet: William Morris & Statement Upholstery

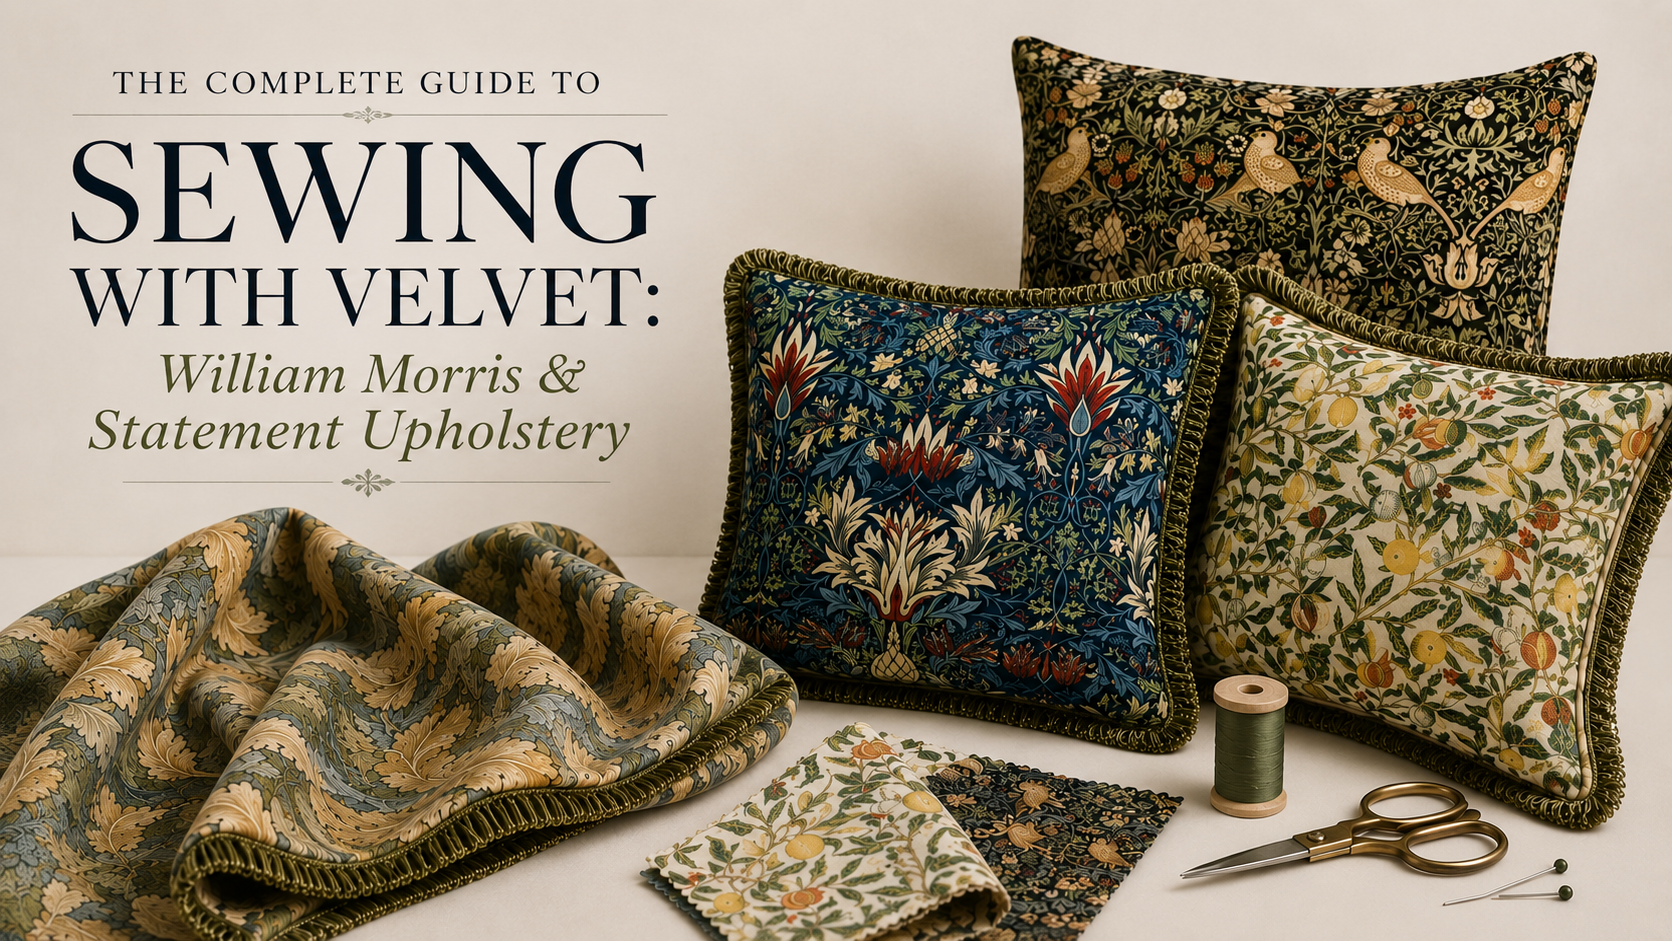
The Complete Guide to Sewing with Velvet: William Morris & Statement Upholstery
Velvet intimidates beginners and excites experienced makers. Get the nap direction right, cut it correctly, and press it properly — and the result looks like it belongs in a National Trust property. Get it wrong and the seams show everything. Here's exactly how to get it right.
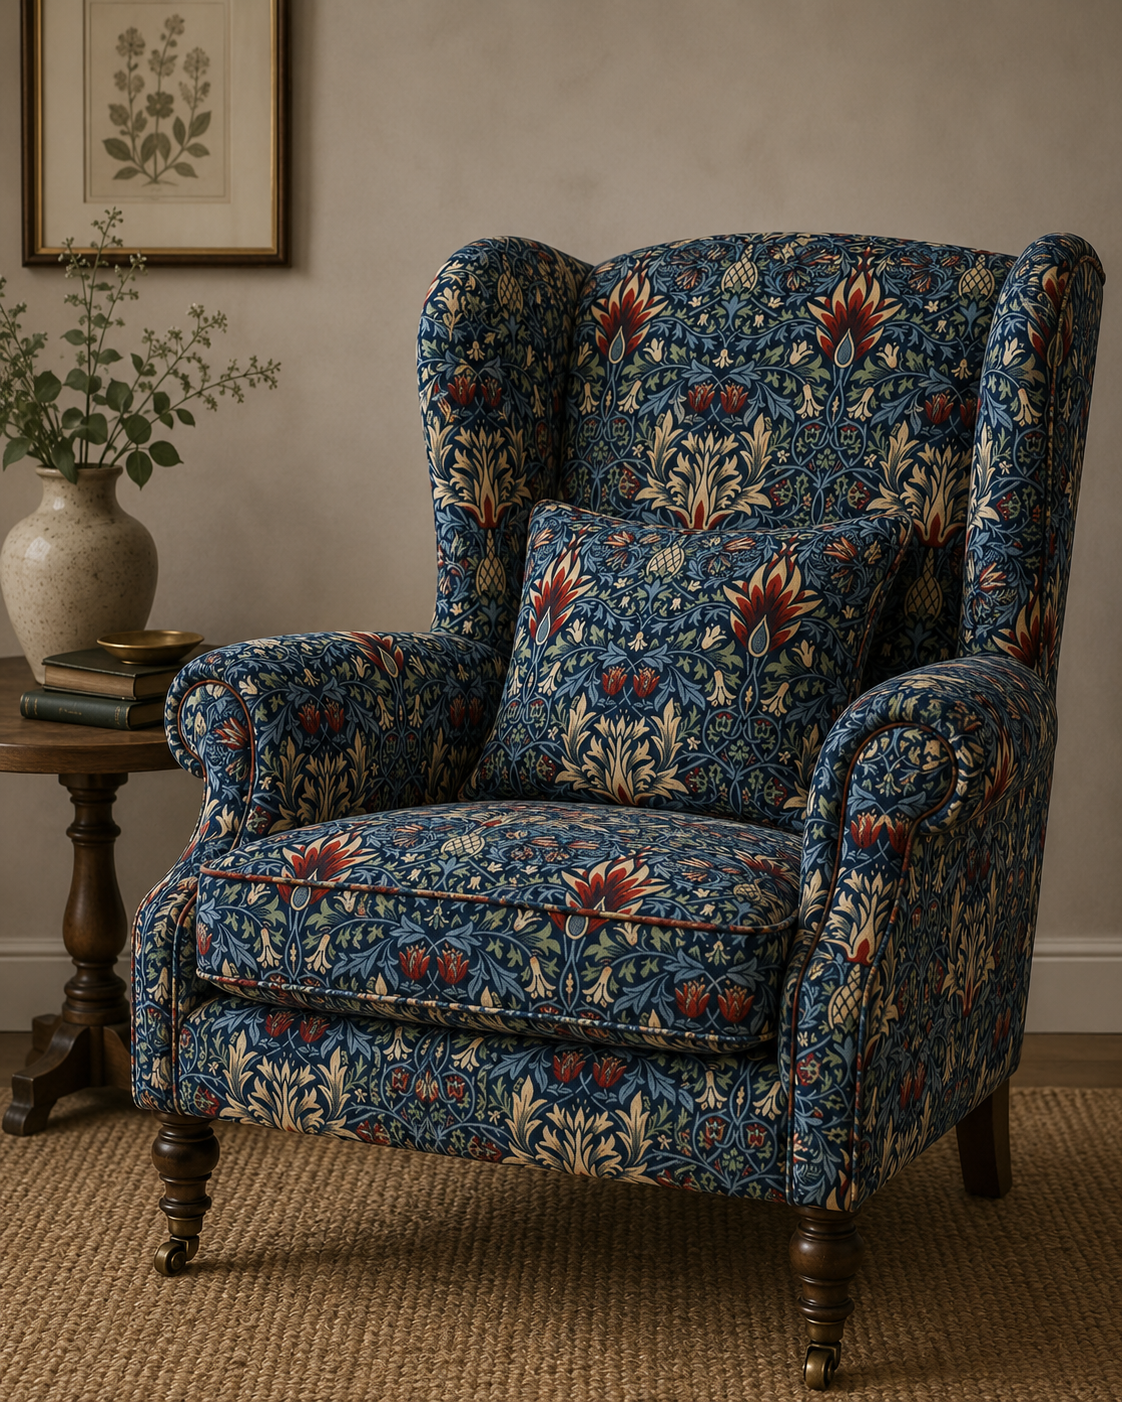
320gsm
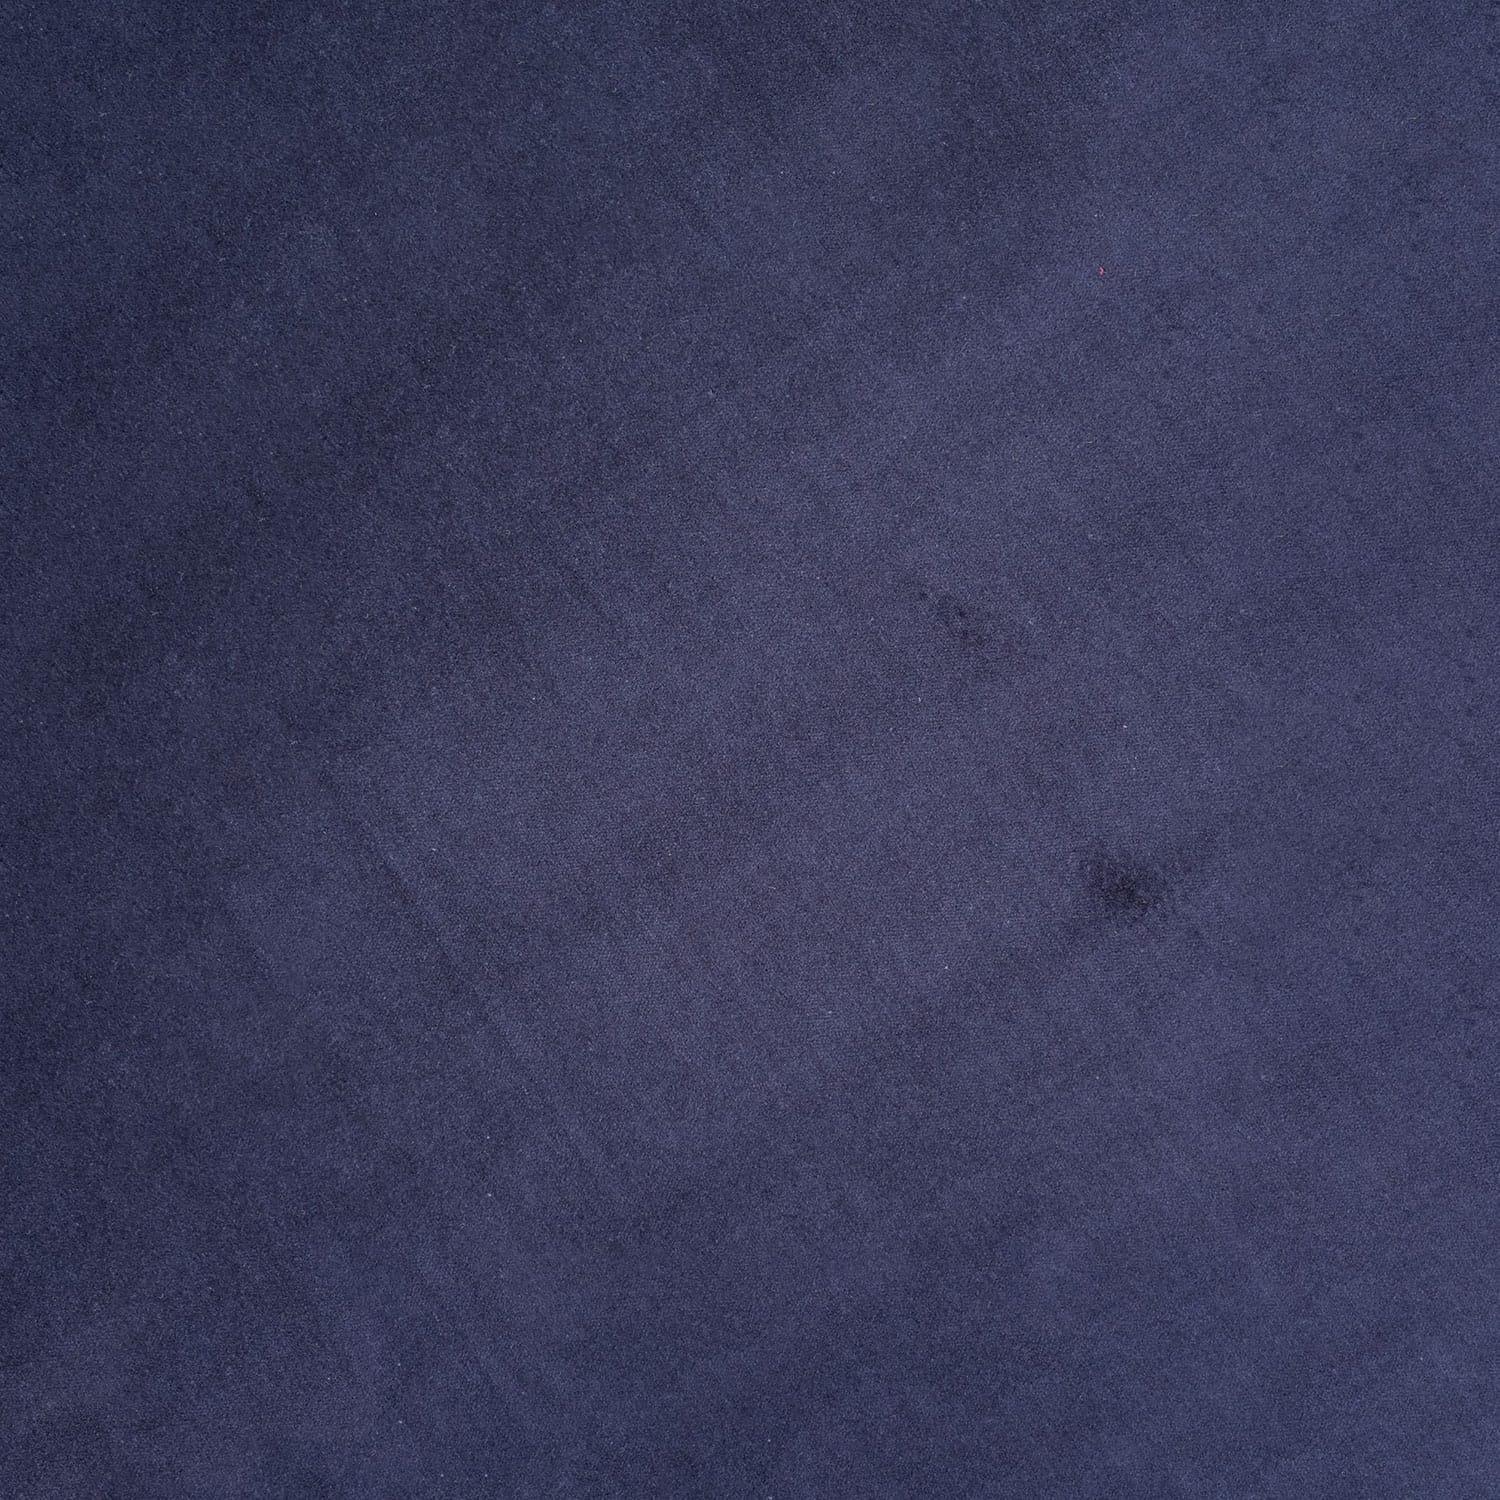
The weight of the William Morris Acanthus Velvet — substantial enough for headboards, statement chairs, and heavy curtains. Summer is when serious upholstery projects happen.
The Foundation
Understanding Nap — The Golden Rule of Velvet
Nap is the direction the pile fibres lie on the velvet surface. Run your hand one way and the velvet looks rich and dark; run it the other way and it looks lighter. Both directions look different in finished light — and if adjacent pieces are cut in different nap directions, the colour mismatch is obvious and uncorrectable once the seams are sewn.
✓
Correct — All Pieces Nap Down
The only acceptable approach
Every pattern piece — bodice front, back, sleeves, cushion panels, upholstery sections — is laid with the pile running in the same direction: downward from top to bottom of the finished item. When you stroke the fabric downward, it should feel smooth and look its richest. Mark the nap direction on every piece with a chalk arrow before cutting. No exceptions. This is a non-negotiable rule — not a recommendation.
✗
Wrong — Mixed Nap Directions
Impossible to fix after cutting
Cutting pattern pieces economically — flipping some pieces to save fabric — results in adjacent panels that reflect light differently. One cushion panel looks slightly lighter than the other. On printed velvet like William Morris Acanthus or Strawberry Thief, misaligned nap also makes the printed colour appear inconsistent — a £30/m fabric that looks like a mistake. Once cut wrong, the fabric cannot be corrected. There is no fix.
How to Find the Nap Direction Before You Cut
Lay the fabric flat and run your hand firmly along the length in both directions. In one direction it will feel smooth and the pile will lie flat. In the other it will feel slightly rough and the pile will stand up. The smooth direction (pile lying flat) is the nap direction — this is the direction that should run downward in your finished project. Mark it with a chalk arrow at the top of the fabric length before you position any pattern pieces.
Precision Cutting
Cutting Velvet Without Destroying the Pile
Velvet cuts differently from woven fabric. The pile fibres shift when pressure is applied from above — which is what a rotary cutter does. Shears cut from the side, leaving the pile intact. These are the only rules that matter at the cutting stage.
Sharp Fabric Shears Only
Use sharp fabric shears with long blades — not dressmaking scissors, and absolutely not a rotary cutter. Rotary cutters compress the pile as they cut, leaving a crushed edge that's visible in the finished seam. Shears cut from underneath, leaving the pile intact right to the cut edge. Have your shears sharpened before cutting expensive velvet — a slightly blunt blade drags the pile rather than cutting cleanly.
Cut Single Layer, Face Up
Never fold velvet double to cut two pieces simultaneously. The layers shift against each other (the pile creates a slippery surface) and the second piece ends up slightly out of alignment. Cut each piece individually, face up, one at a time. On a printed velvet like William Morris, this also lets you position the print repeat intentionally — centering Acanthus or Strawberry Thief on a cushion front is a design decision that makes a significant visual difference.
- Sharp fabric shears — not rotary cutter, not dressmaking scissors
- Cut single layer, face side up, on a firm flat surface
- Mark nap direction on every piece with chalk before cutting
- Mark the wrong side with a chalk X — velvet right and wrong sides look similar
- Add 15mm seam allowance throughout — velvet doesn't ease forgivingly
- Use pattern weights rather than pins — pins leave marks in the pile
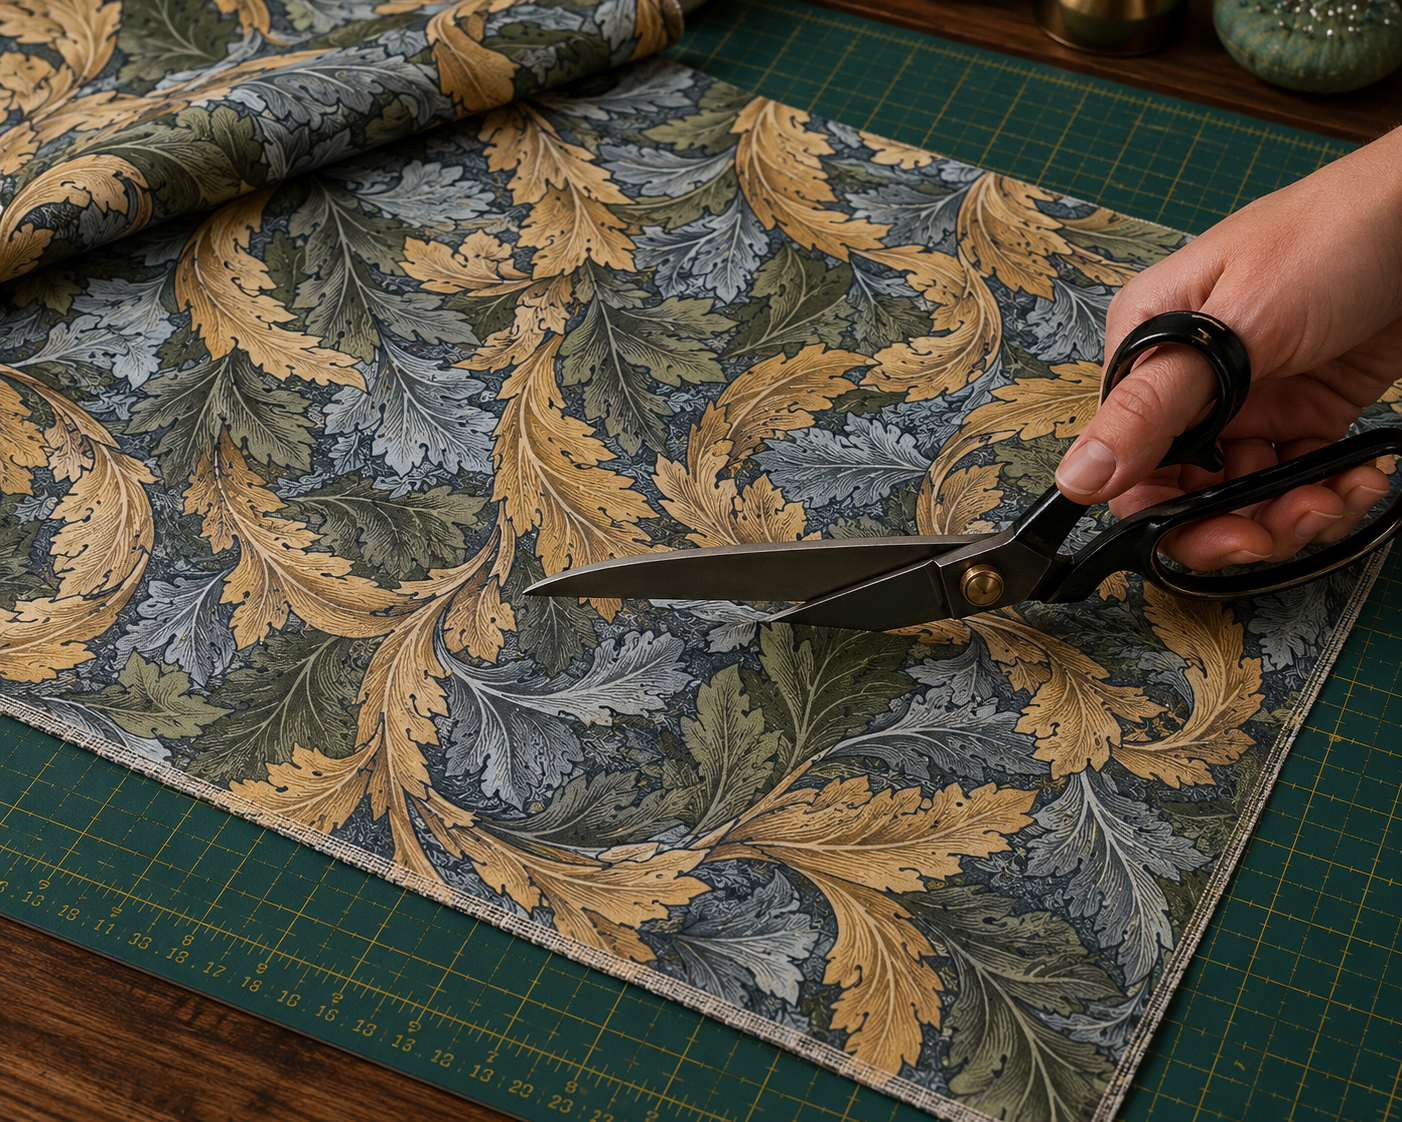
Positioning the Print on William Morris Velvet: The Acanthus print has a large-scale repeat — approximately 32cm vertical. On a 50cm cushion front, you can usually centre the most dramatic section of the print (the central leaf scroll on Acanthus, the bird on Strawberry Thief) if you plan your cutting position before laying the pattern piece. This takes an extra 5 minutes and makes the cushion look designed rather than cut randomly from a roll.
Machine Settings
Sewing Techniques — Needle, Foot & Tension
Velvet has two enemies at the machine: the layers shifting relative to each other as you sew, and the pile getting caught under the presser foot and feeding unevenly. Both are solvable with the right settings.
1
Needle: Sharp or Microtex, Size 80/12
Use a sharp (Microtex) needle rather than a universal. The finer, sharper point pierces the velvet pile without pushing fibres aside, leaving a cleaner stitch hole that's less visible in the finished seam. Size 80/12 is correct for the weight of William Morris Velvet at 320gsm. Change the needle at the start of every project — a slightly blunt needle causes skipped stitches on velvet pile, which are very difficult to pick out without damaging the surrounding fibres.
2
Walking Foot or Even-Feed — Essential for Velvet
The pile surface of velvet is slippery. When two velvet pieces are placed right sides together and sewn with a standard presser foot, the top layer creeps forward relative to the bottom layer, causing the pieces to be misaligned by the end of the seam. A walking foot feeds both layers simultaneously, eliminating creep entirely. On a large upholstery project — headboard panels, chair seat covers — this is not optional. The layer shift on a 60cm seam without a walking foot is visible and uncorrectable.
3
Stitch Length: 2.5mm — Not Shorter
A shorter stitch length on velvet creates more needle penetrations per centimetre, which perforates the backing more aggressively and can weaken the seam line. 2.5mm gives a clean, tight seam on velvet weight fabric. For topstitching on visible seam lines (zip plackets, piping lines), use 3mm — the slightly longer stitch sits proud of the pile and reads as a design detail rather than disappearing into the fabric.
4
Reduce Presser Foot Pressure
Standard presser foot pressure compresses the velvet pile under the foot as you sew, leaving a flattened track on the fabric face that's visible after pressing. Most domestic machines have a presser foot pressure dial or screw — reduce it by one or two settings for velvet. The fabric should feed smoothly without the foot leaving a visible impression. Test on a scrap piece before sewing your main fabric.
5
Sew in the Direction of the Nap
When joining two velvet pieces, sew with the machine feeding in the direction the pile runs — nap downward means sewing from top to bottom of the finished item. Sewing against the nap on velvet causes the pile to bunch in front of the presser foot and can permanently distort the pile direction in the seam allowance, which shows on the right side as a slight ridge. Sewing with the nap avoids this entirely.
The Press
Pressing Velvet Seams Without Crushing the Pile
Pressing velvet flat on a standard ironing board crushes the pile permanently. You cannot revive crushed velvet pile with steam or pressure — it's a one-way process. The tools and methods below protect the pile at every pressing stage.
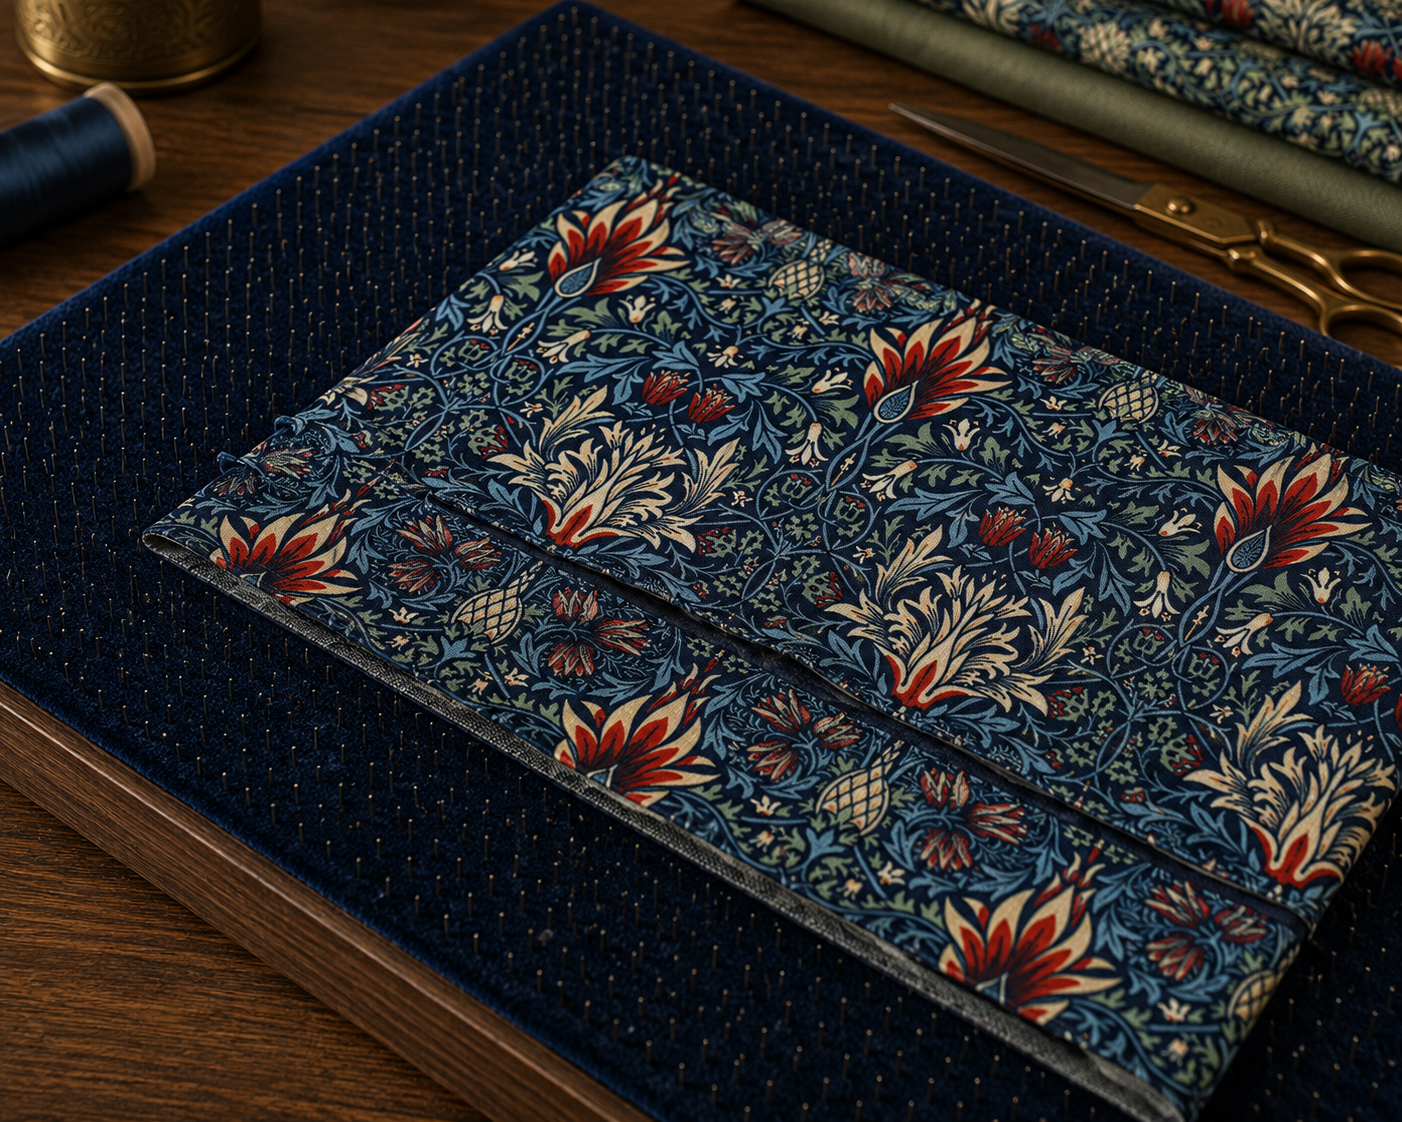
The Velvet Board (Needle Board)
A velvet board has a dense surface of fine steel needles. When velvet is placed face-down onto the needle board and pressed from the backing side, the pile slots between the needles rather than being compressed against a flat surface. The result is a pressed seam with the pile fully intact on the right side. This is the only correct method for pressing velvet seams. A velvet board is a one-time purchase that lasts indefinitely — it is essential equipment if you sew with velvet regularly.
Without a Velvet Board — The Towel Method
If you don't have a velvet board, use a thick Turkish towel placed on the ironing board. Lay the velvet face-down onto the towel surface (the pile slots into the towel loops rather than being compressed). Press from the backing side only, using a pressing cloth between the iron and the velvet backing. Use steam sparingly — too much moisture can flatten the pile or cause water marks on the fabric face.
- Velvet board (needle board) — the correct tool; invest once
- Alternatively: thick towel face-down, press from the backing
- Never press velvet face-down on a flat ironing board
- Never press velvet face-up — the iron leaves shine marks
- Use a pressing cloth between iron and velvet backing
- Use minimum steam — excess moisture can water-mark velvet
- Finger-press seam allowances open where possible before using iron
Reviving Crushed Velvet Pile With Steam
If velvet pile becomes lightly crushed during cutting or handling (not from pressing — pressing damage is permanent), it can be revived with steam. Hold a steam iron 5–8cm above the fabric face and allow the steam to penetrate the pile without the iron touching the surface. Gently brush the pile with a soft clothes brush in the nap direction while the steam is still warm. This lifts the pile back to its original position. It works for light handling crush — not for iron-contact damage.
Make It
Statement Projects — Cushions, Headboards & Chairs
William Morris velvet at 320gsm is one of the most versatile upholstery fabrics available at this price point. Here are the three projects that make the most of it — from an achievable weekend make to a full summer project.
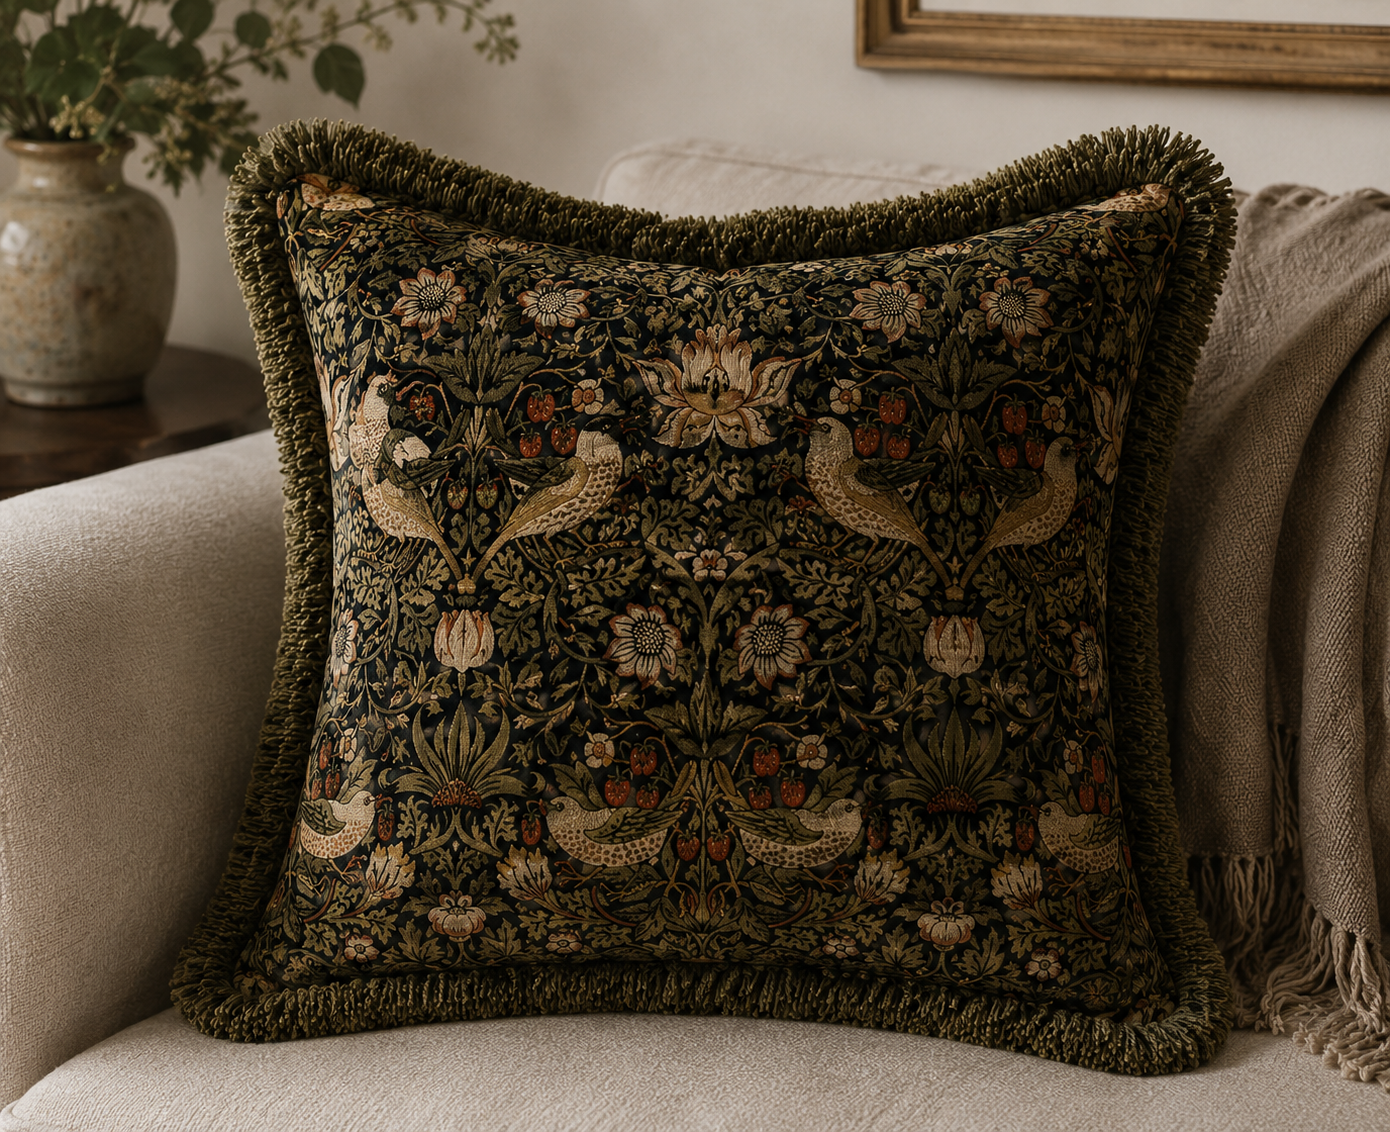
Project 01 — Weekend
Statement Velvet Cushion
One metre of William Morris velvet makes two 50cm cushion covers with fabric to spare for piping or trim. Use a centred zip for a clean back closure. Pipe the seam in a coordinating plain velvet for a boutique finish. The Strawberry Thief print centred on the cushion front is the complete look.
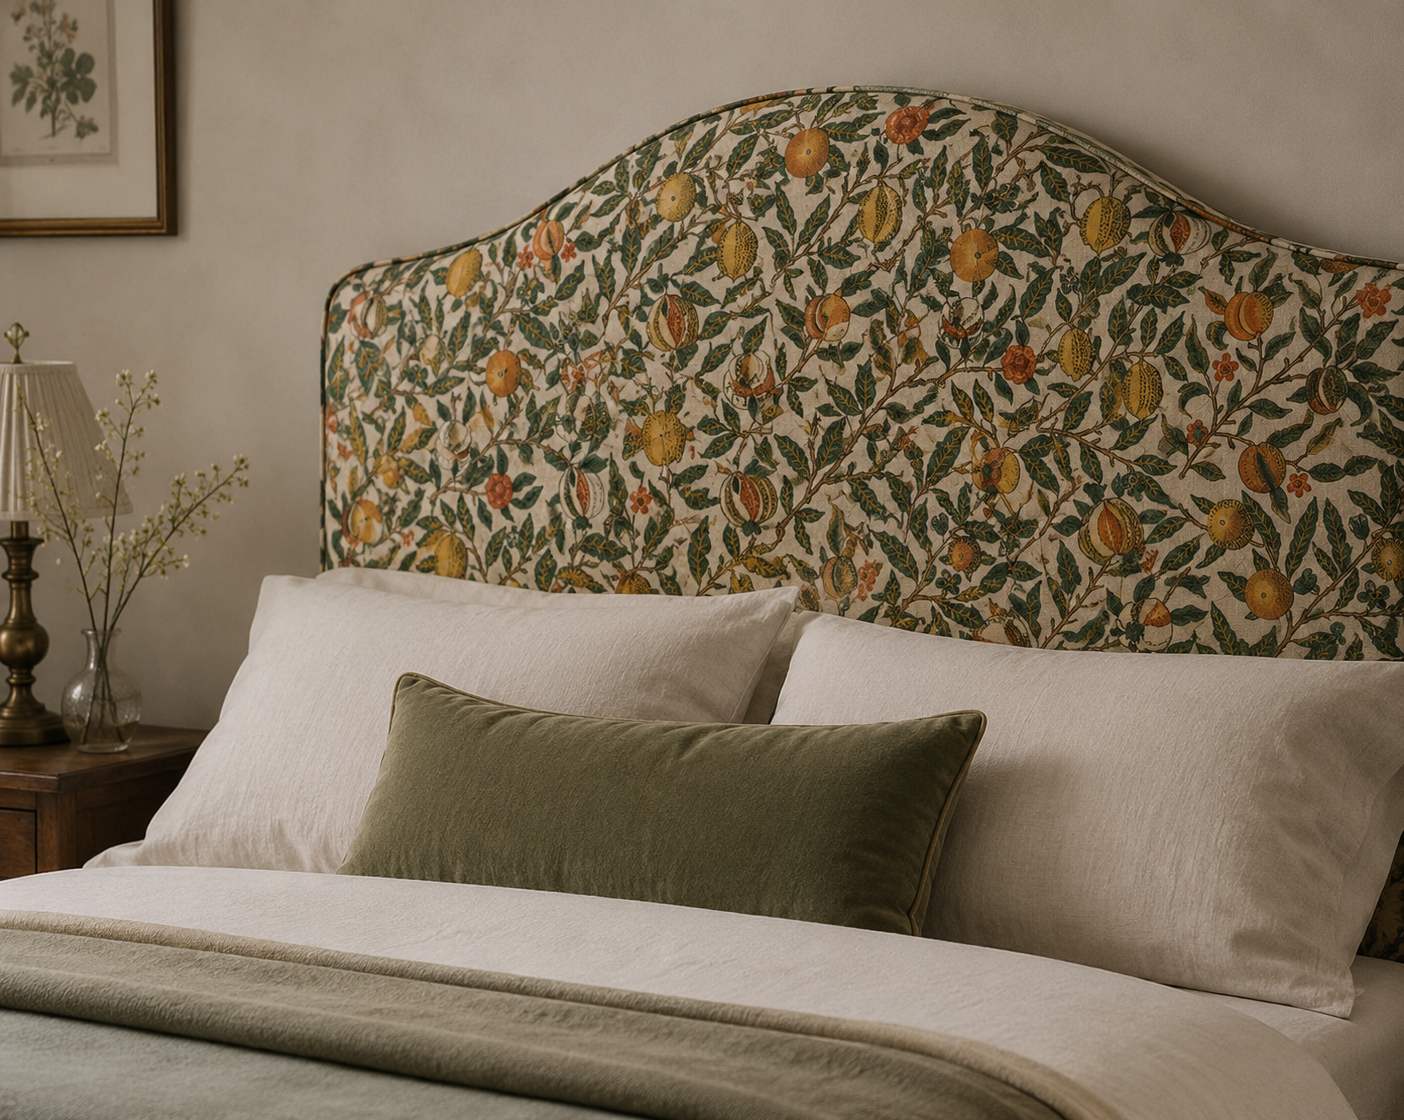
Project 02 — Long Weekend
Upholstered Statement Headboard
A padded, fabric-wrapped headboard is achievable with basic tools — a plywood base, 5cm foam, wadding, and velvet to wrap and staple-gun to the back. A standard double headboard (135cm x 55cm) needs approximately 2.5m of fabric. The Acanthus print at this scale fills the headboard with authority. Position the print centrally before cutting.
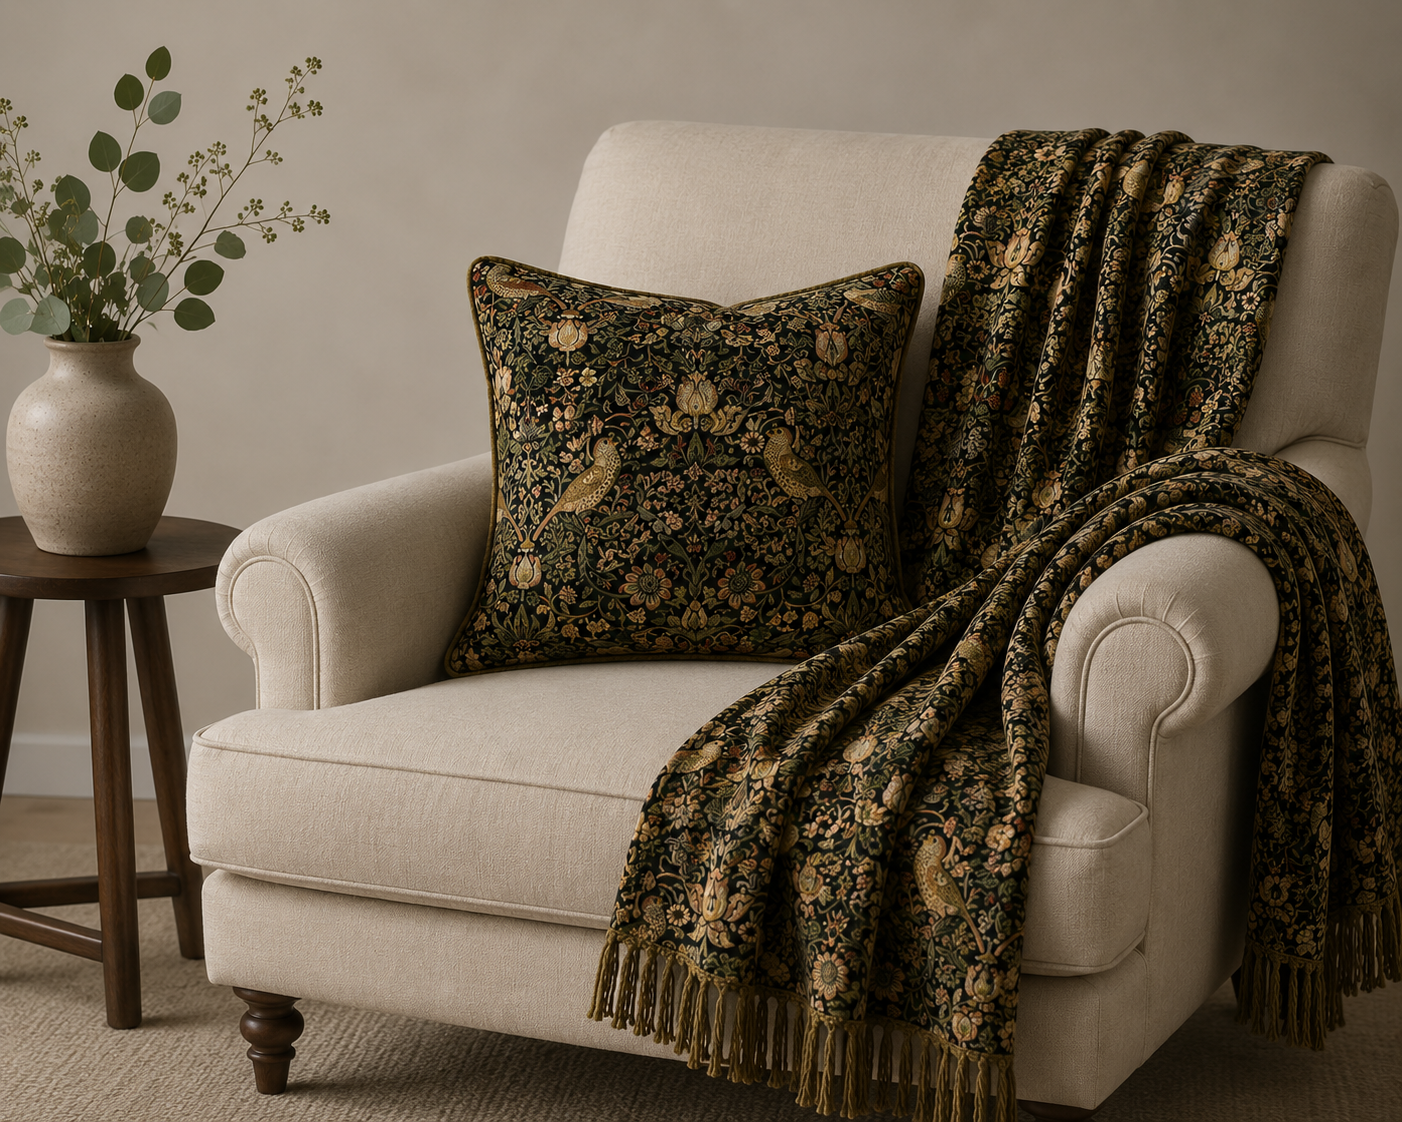
Project 03 — Summer Project
Statement Bedroom Chair
Reupholstering a simple bedroom or occasional chair (seat pad, inside back, outside back) in William Morris velvet is a week-long project that completely transforms a piece. A basic chair takes 3–5m depending on size and complexity. William Morris at 320gsm has the weight and durability for regular domestic upholstery use — this is not a decorative-only fabric.
Free Shipping on All UK Orders Over £30
William Morris Velvet means heavy parcels — but all UK orders over £30 ship completely free. A 3m order of Acanthus or Strawberry Thief velvet qualifies comfortably. Order your full project meterage in one go to avoid colour batch variations between separate orders.
The Luxury Interior Retreat
The William Morris Velvet Range at DFL
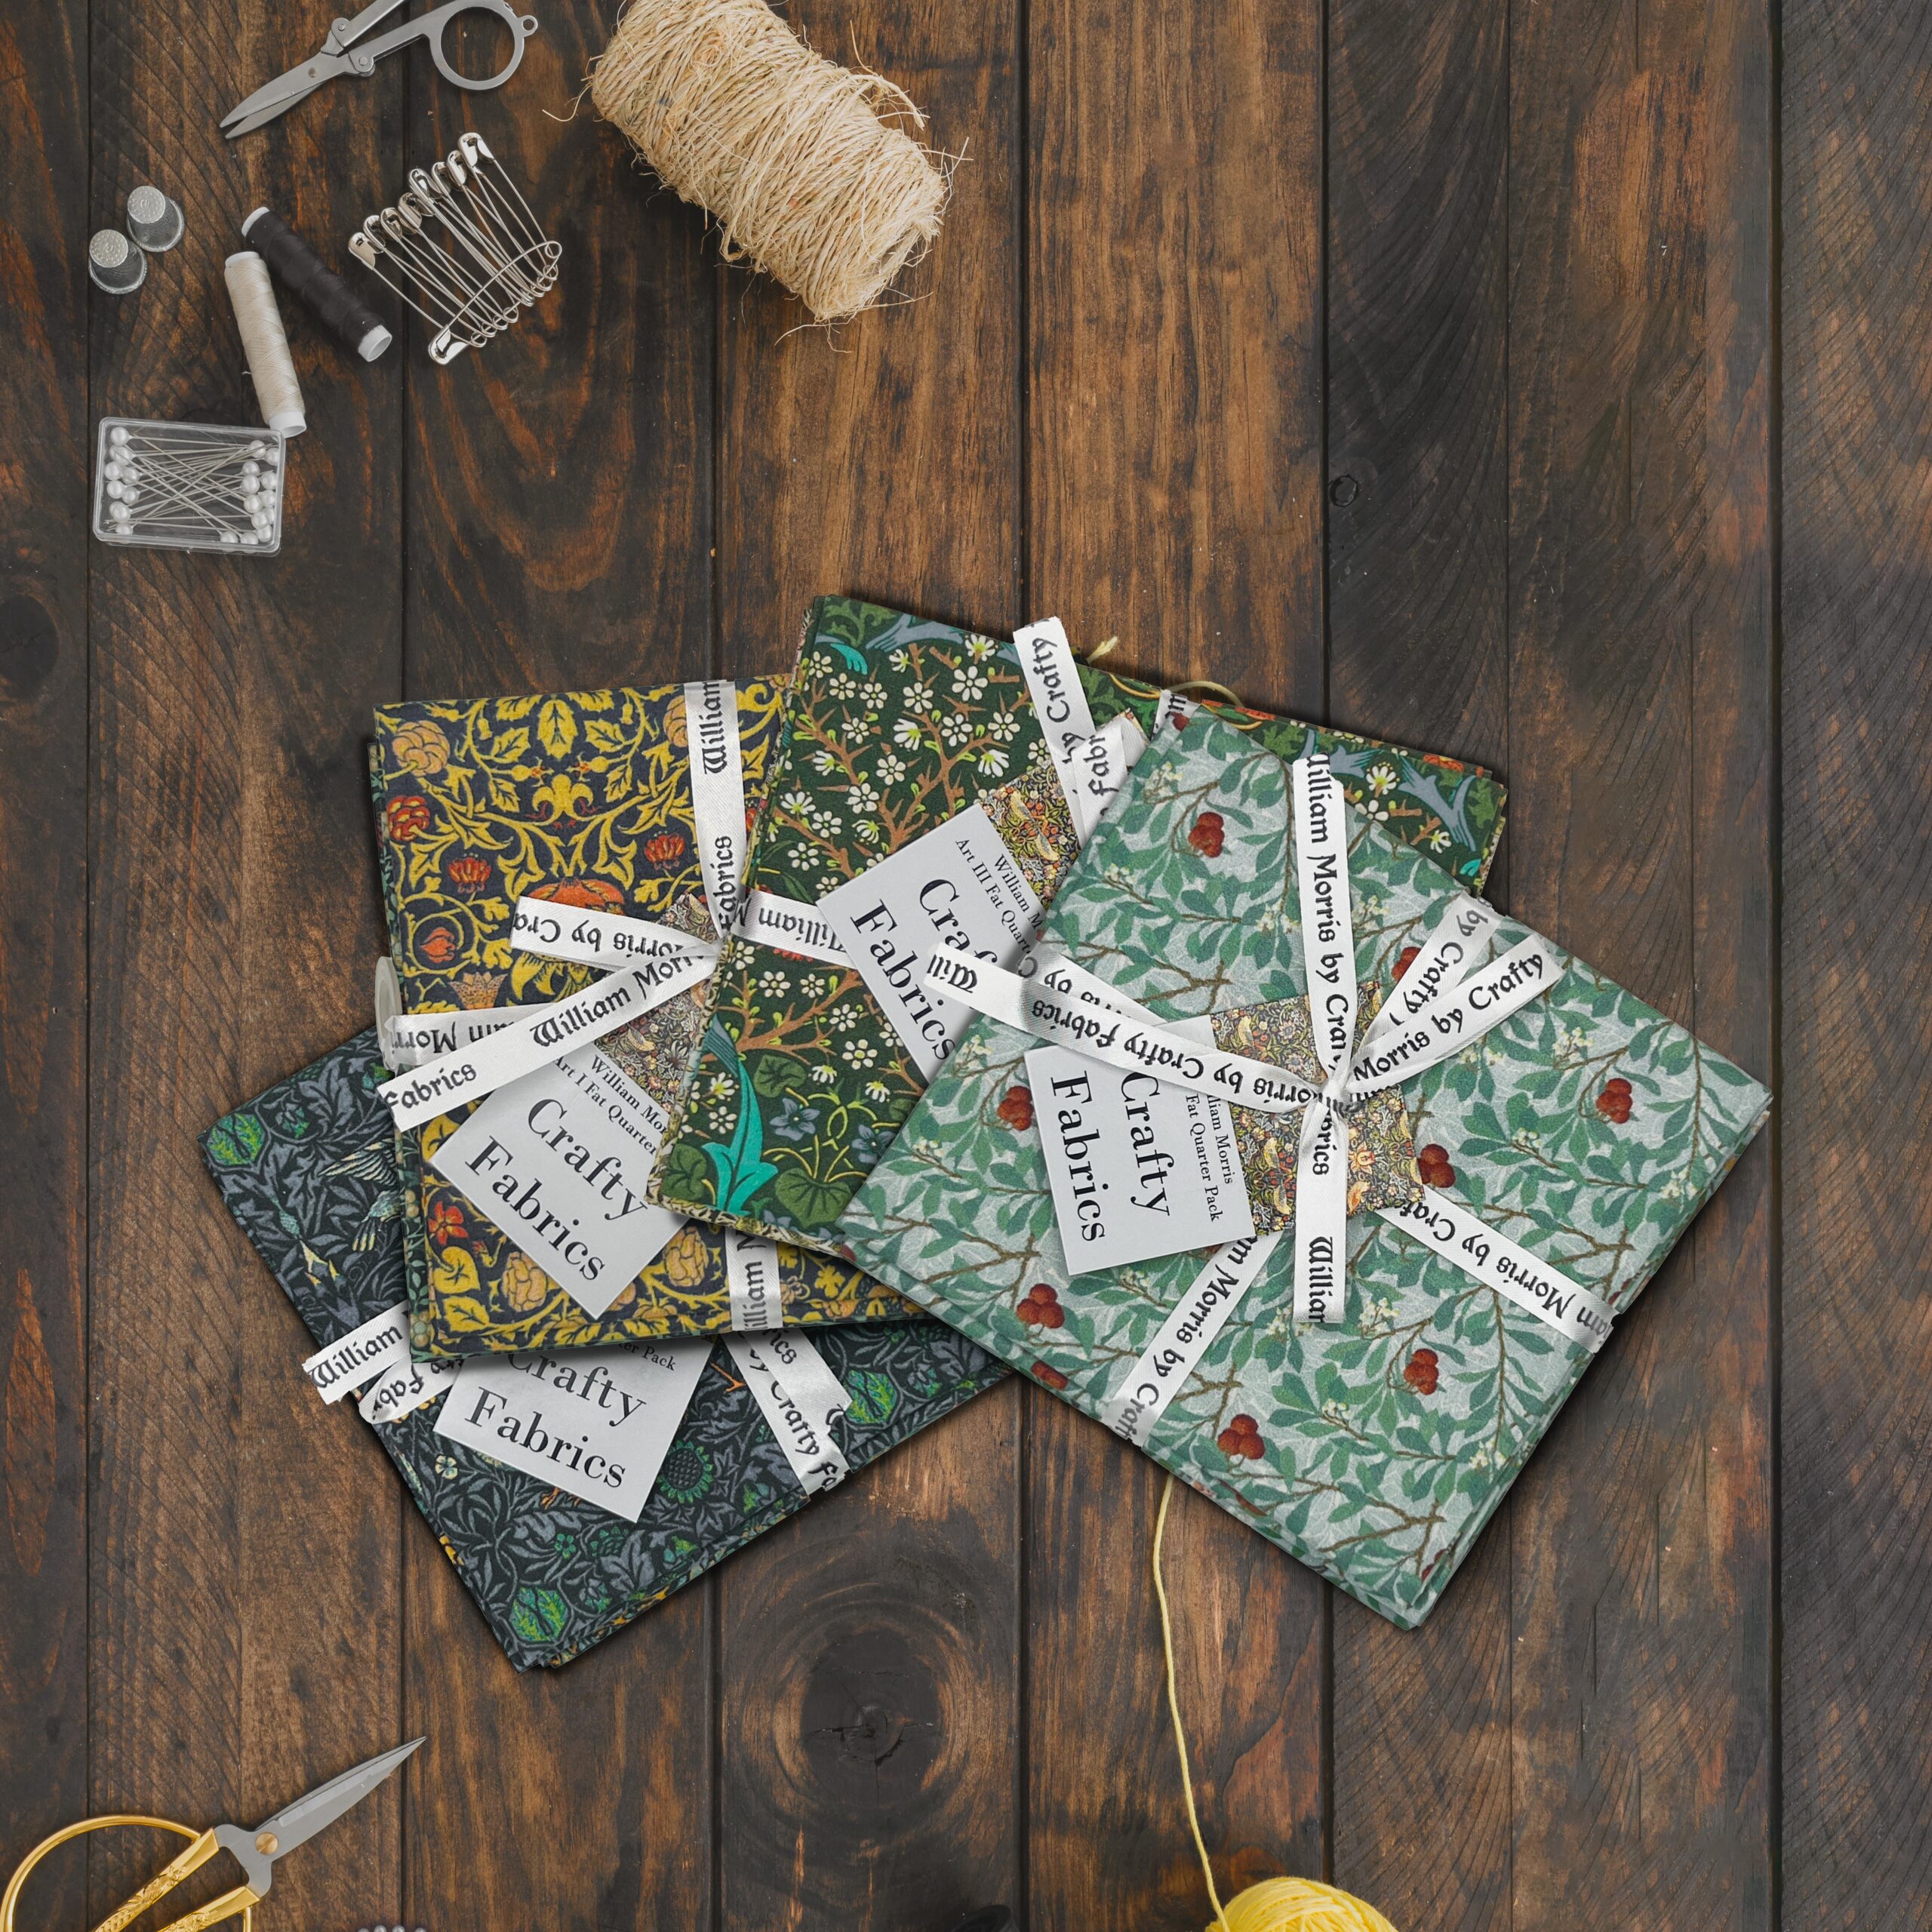
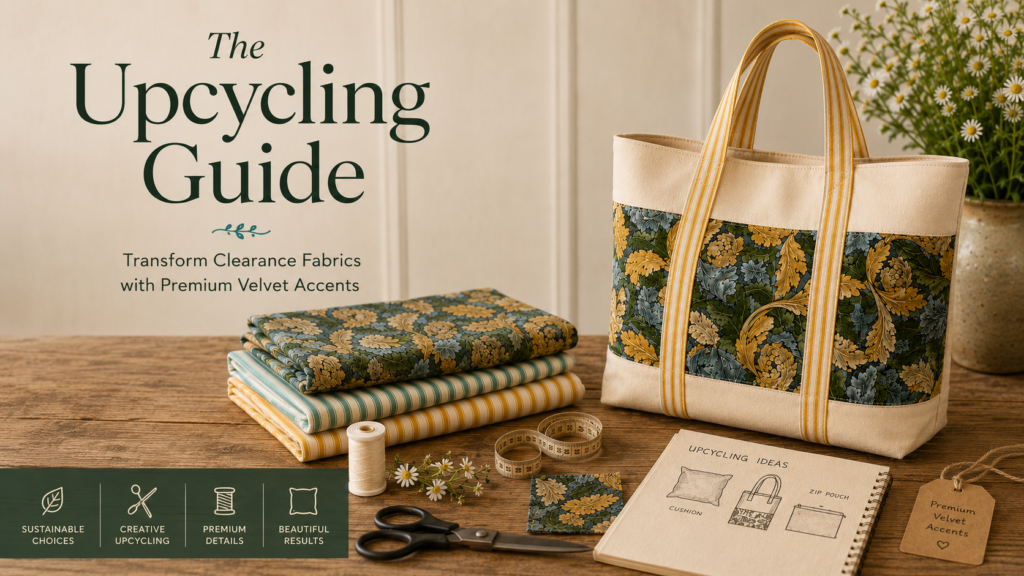
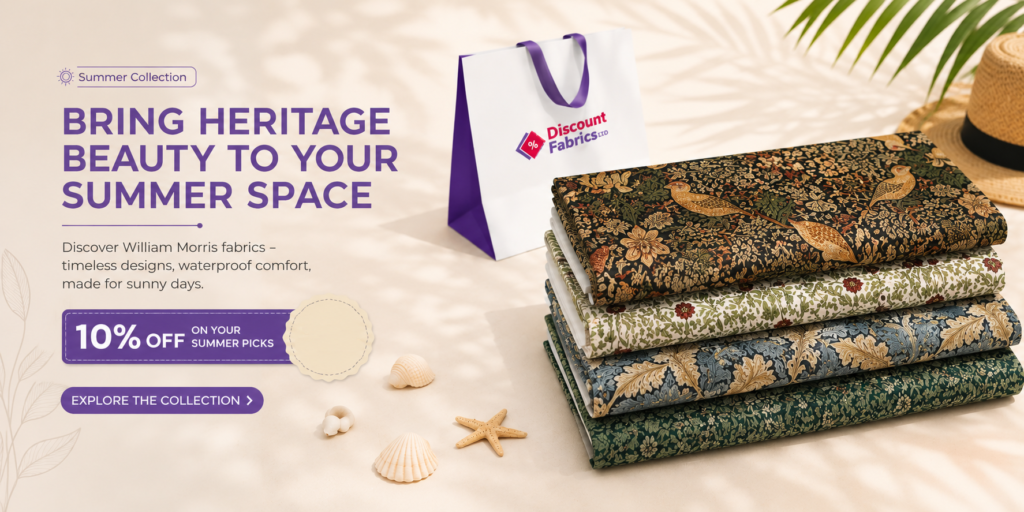
Three prints, each on a 320gsm velvet base. Acanthus for maximalist interiors, Strawberry Thief for statement cushions and curtains, and plain cotton velvet for a versatile base or lining fabric.
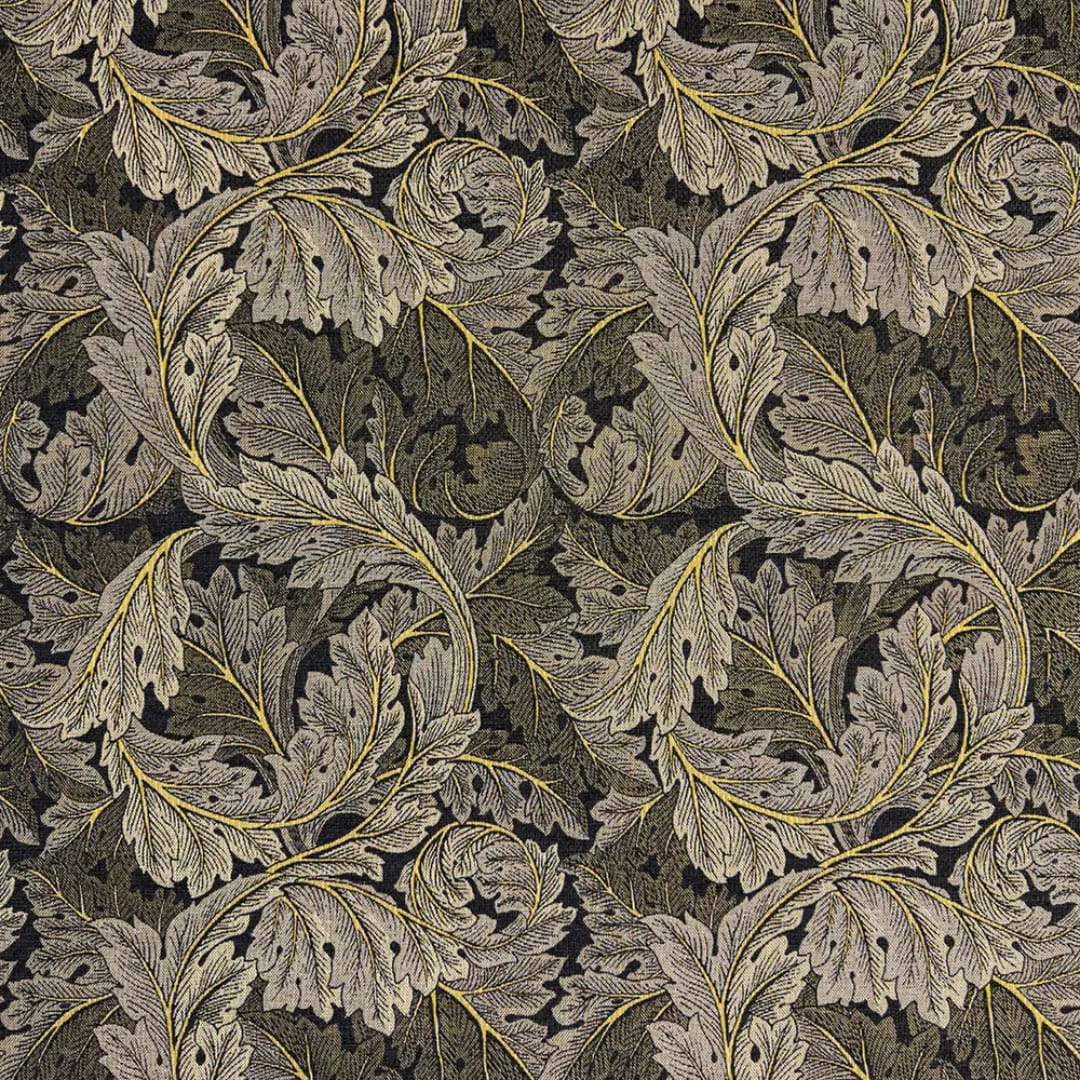
William Morris · 320gsm
Acanthus Velvet
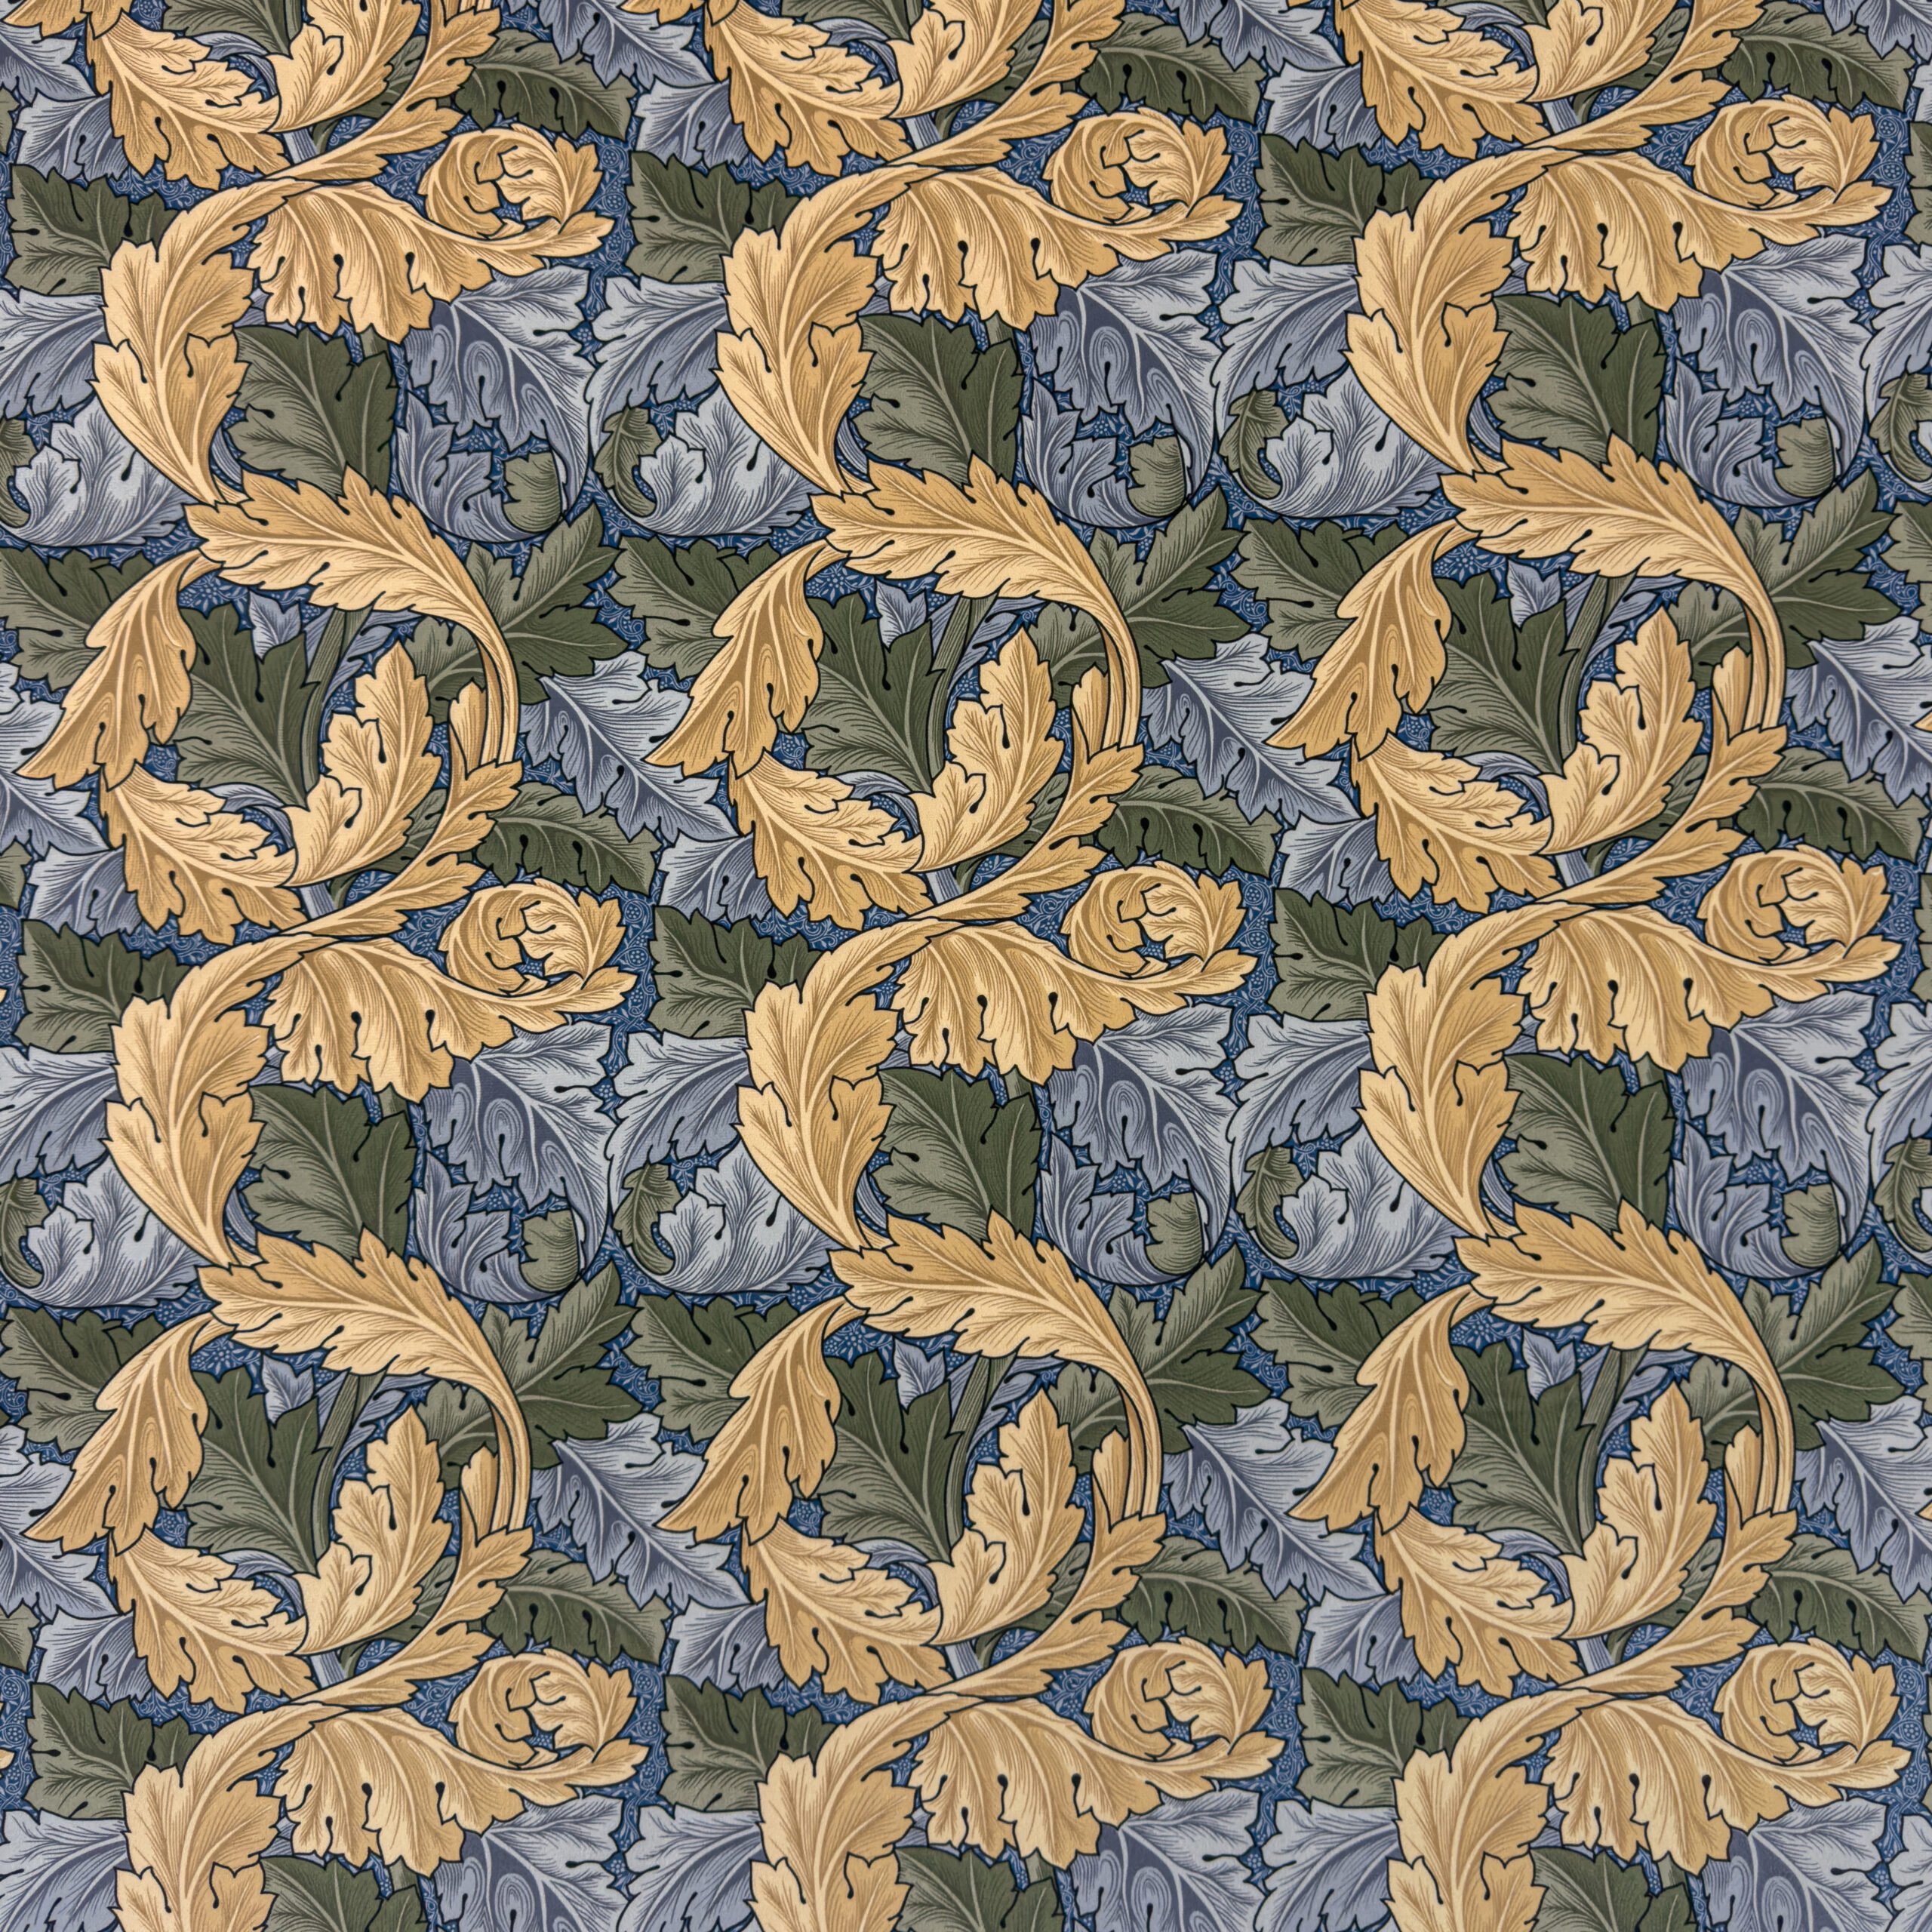
Large-scale scrolling leaf design — Morris's most recognisable botanical print on a sumptuous velvet base. Rich earthy tones. Suited to headboards, statement chairs, and heavy curtains where the scale of the print can be fully appreciated.
Shop Acanthus
William Morris · Printed Velvet
Strawberry Thief Velvet
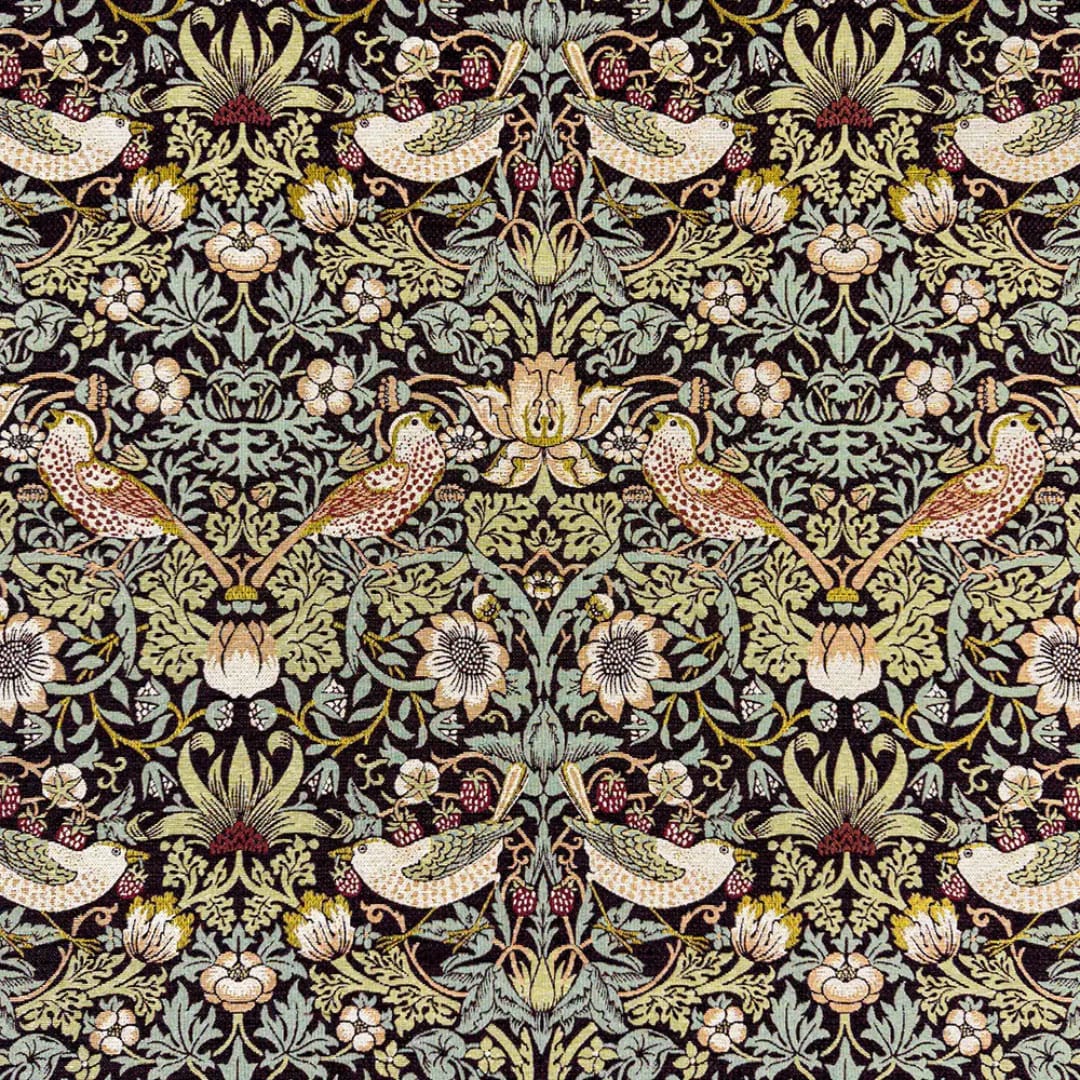
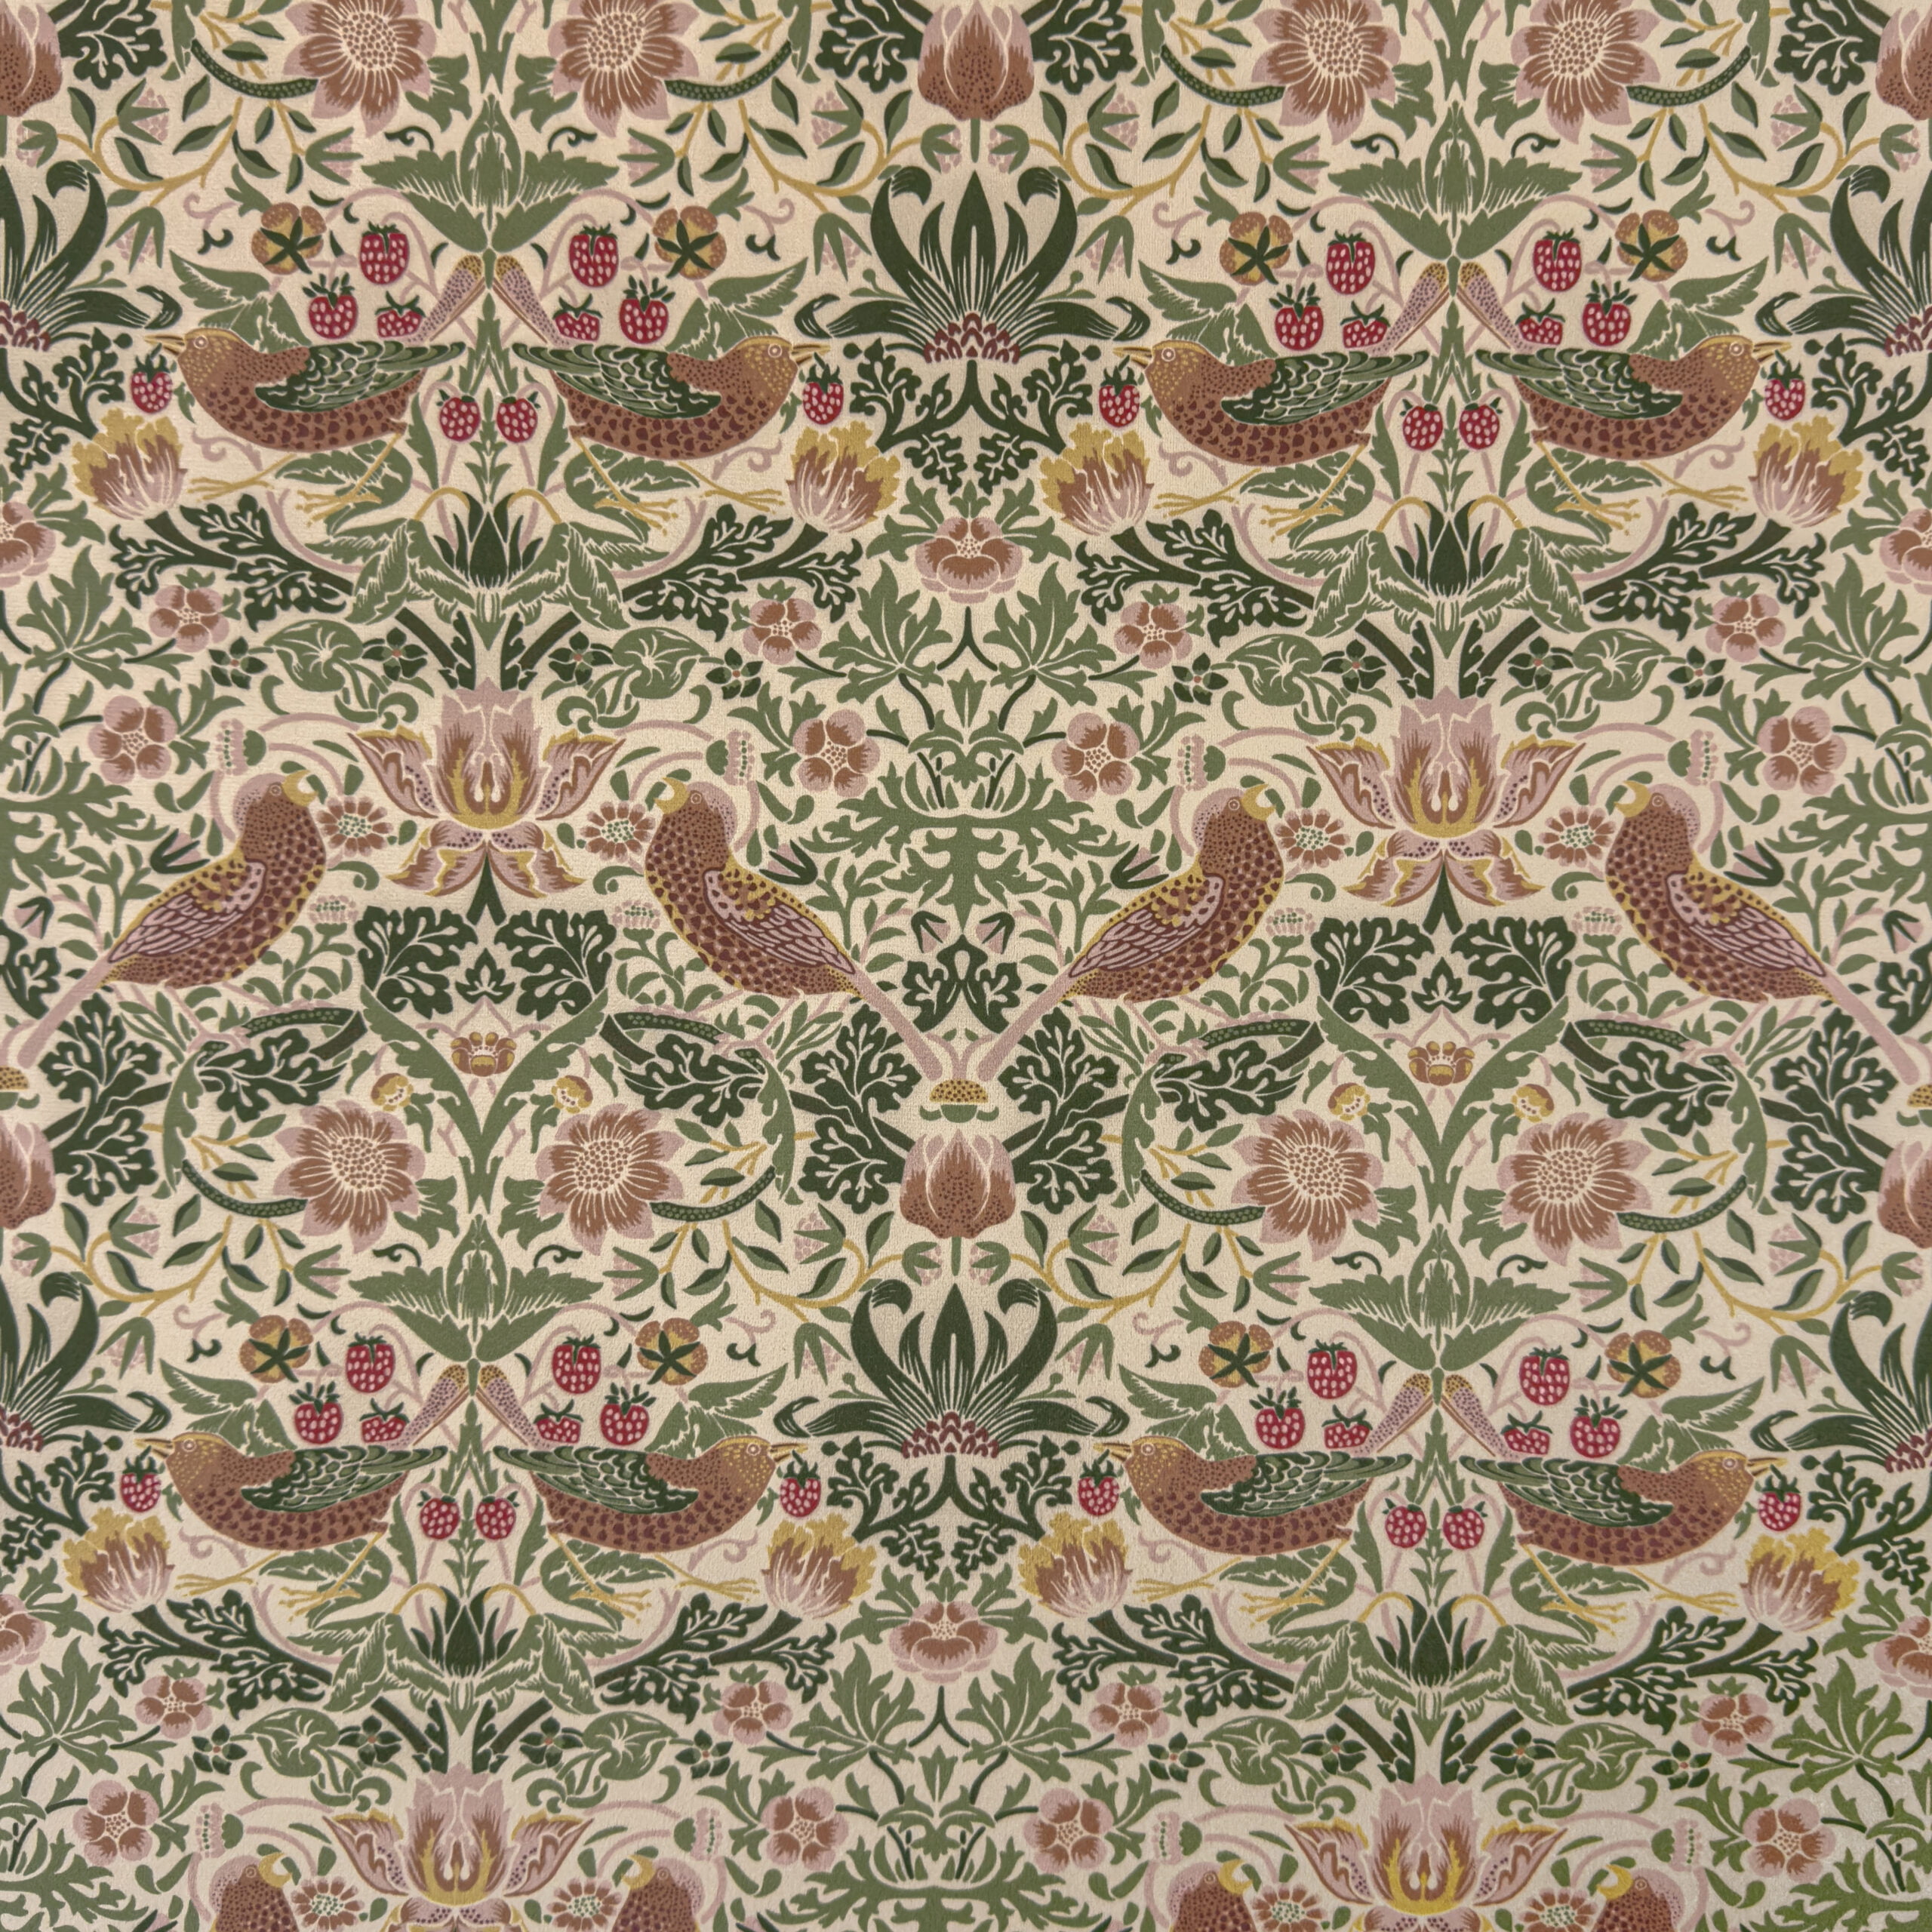
The iconic bird-and-strawberry design on velvet. Available in Burgundy, Navy, and further colourways. The most versatile print in the range — works at cushion scale and at curtain scale. A single metre makes two statement cushions that look boutique.
Shop Strawberry Thief
Plain Cotton Velvet · 44" Wide
Premium Cotton Velvet
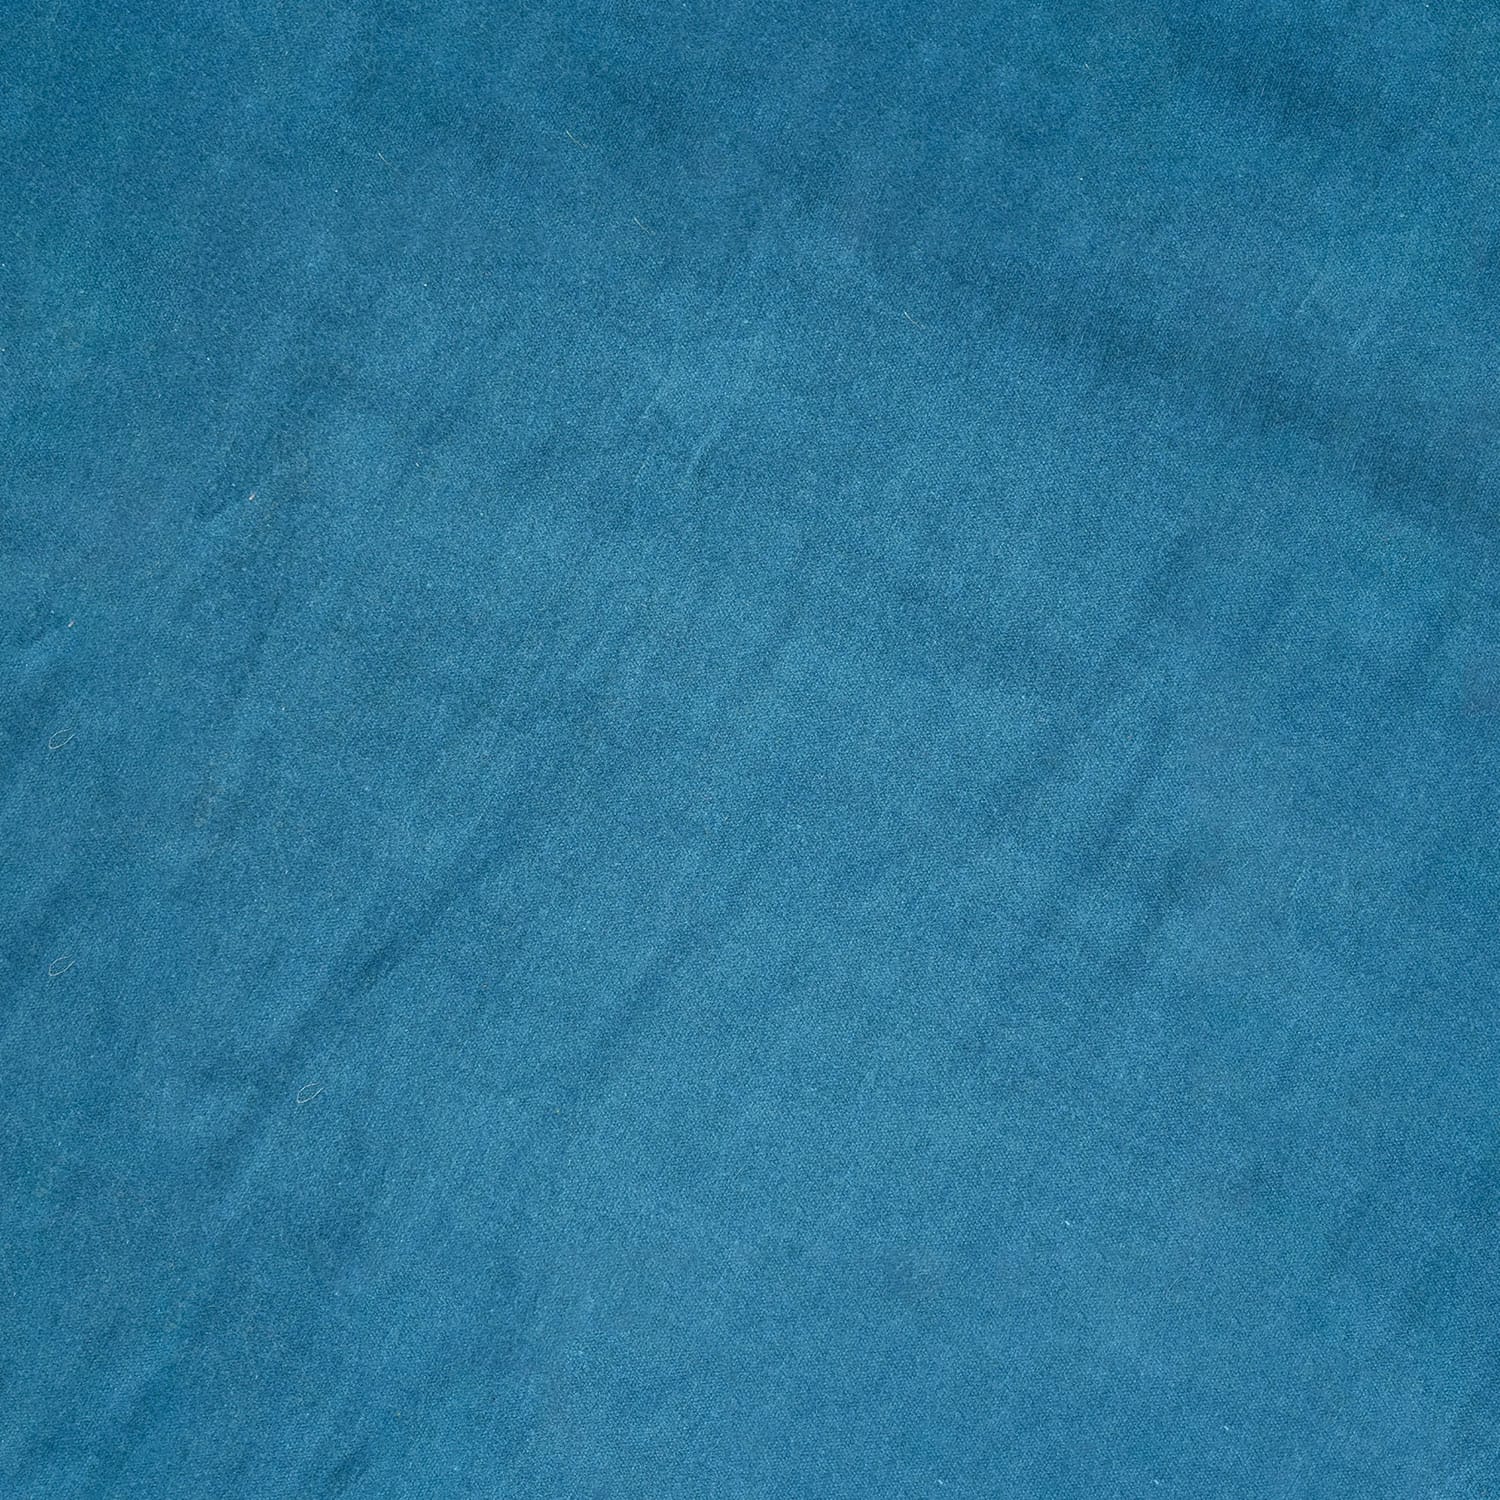
100% cotton velvet in a range of rich plain colours. The coordinating choice for piping, cushion backs, and chair trims alongside the printed William Morris range. Breathable, soft pile, matte finish — the look of luxury without the premium price of a printed velvet.
Shop Plain Velvet
Complete the Collection
Browse All William Morris →
Shop — William Morris Velvet & Accessories
Summer is When the Best Upholstery Projects Happen
Time off work, long daylight hours, and the patience to do it properly — summer is exactly when you should be tackling the headboard or statement chair you've been putting off. William Morris Velvet at DFL is in stock, sold by the metre, with free UK shipping over £30.


 Patterns