

The Ultimate Guide to Using Bias Binding for Clean Seams

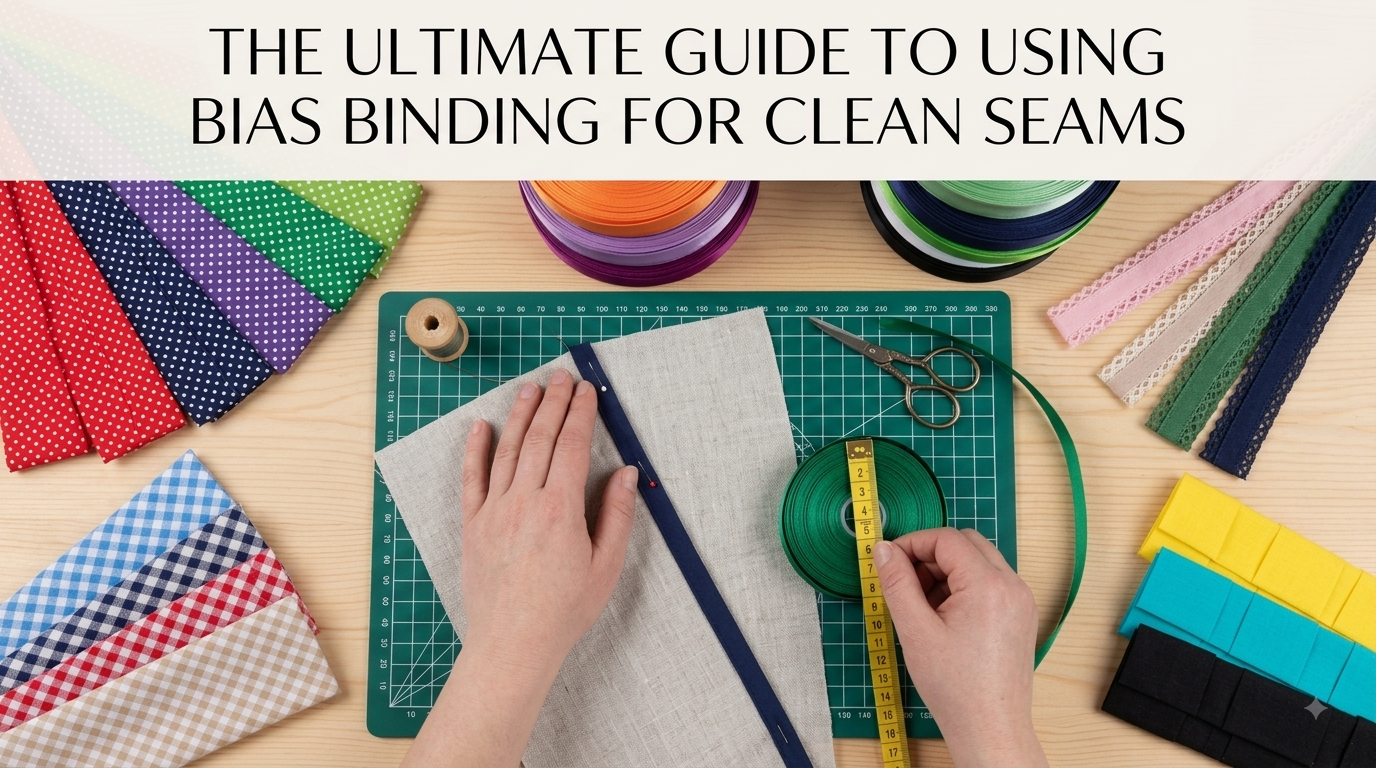
The Ultimate Guide to
Using Bias Binding
for Clean Seams
One technique. Every raw edge handled. Bags, dresses, quilts — bias binding is the finish that separates handmade from home-made.
Single Fold
Folds once at centre. Applied to one side, stitched through from the other. Best for internal seams.
Double Fold
Pre-folded in half. Encases raw edges completely. Best for exposed edges — necklines, armholes, bag openings.
Bias Cut
Cut at 45 degrees to the grain. Stretches to hug curves. This is what makes binding flex rather than pucker.
The Foundation
What Bias Binding Actually Is — and Why It Works
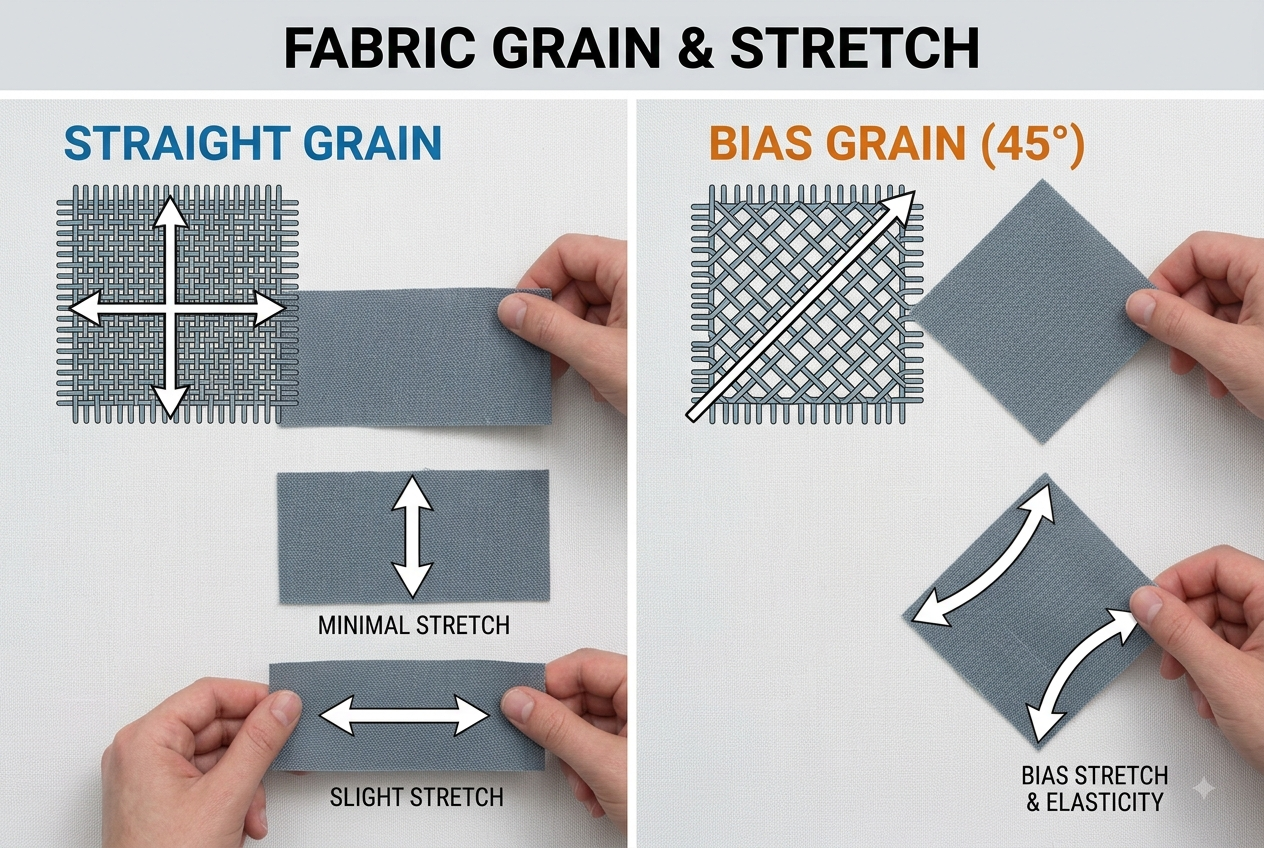
Bias binding is a strip of fabric cut at 45 degrees to the straight grain. That 45-degree angle is everything — it gives binding its stretch, its flexibility around curves, and its ability to lie flat against edges that would cause straight-cut fabric to pucker.
Standard fabric has no stretch on the straight grain and moderate stretch on the crossgrain. On the true bias (45 degrees), it stretches in both directions. This is why bias binding turns corners on a collar, curves around an armhole, and stays flat on the inside of a curved bag base.
Pre-made bias binding is the same principle, ready-folded. Your job is to open out the folds, position the tape, and stitch.
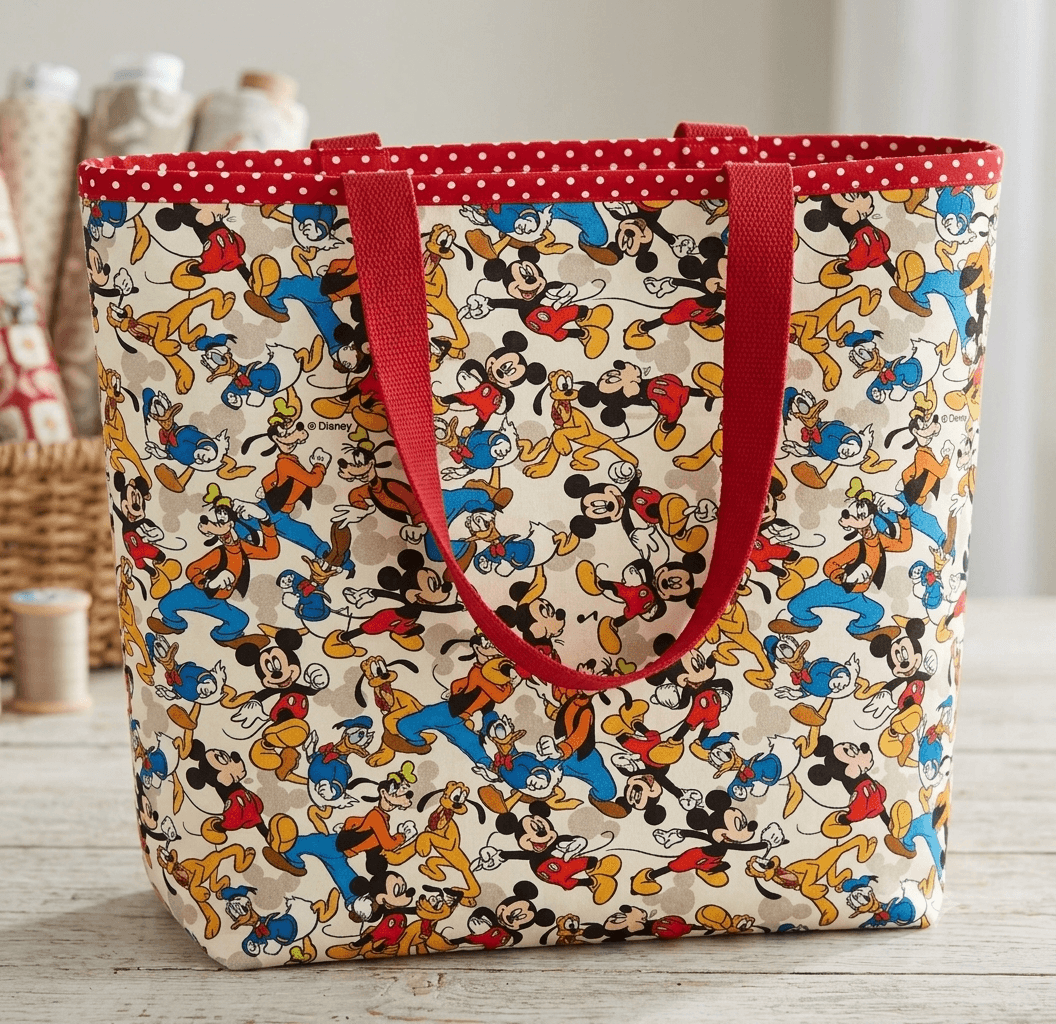
- Covers raw edges inside bags so the interior looks professionally finished
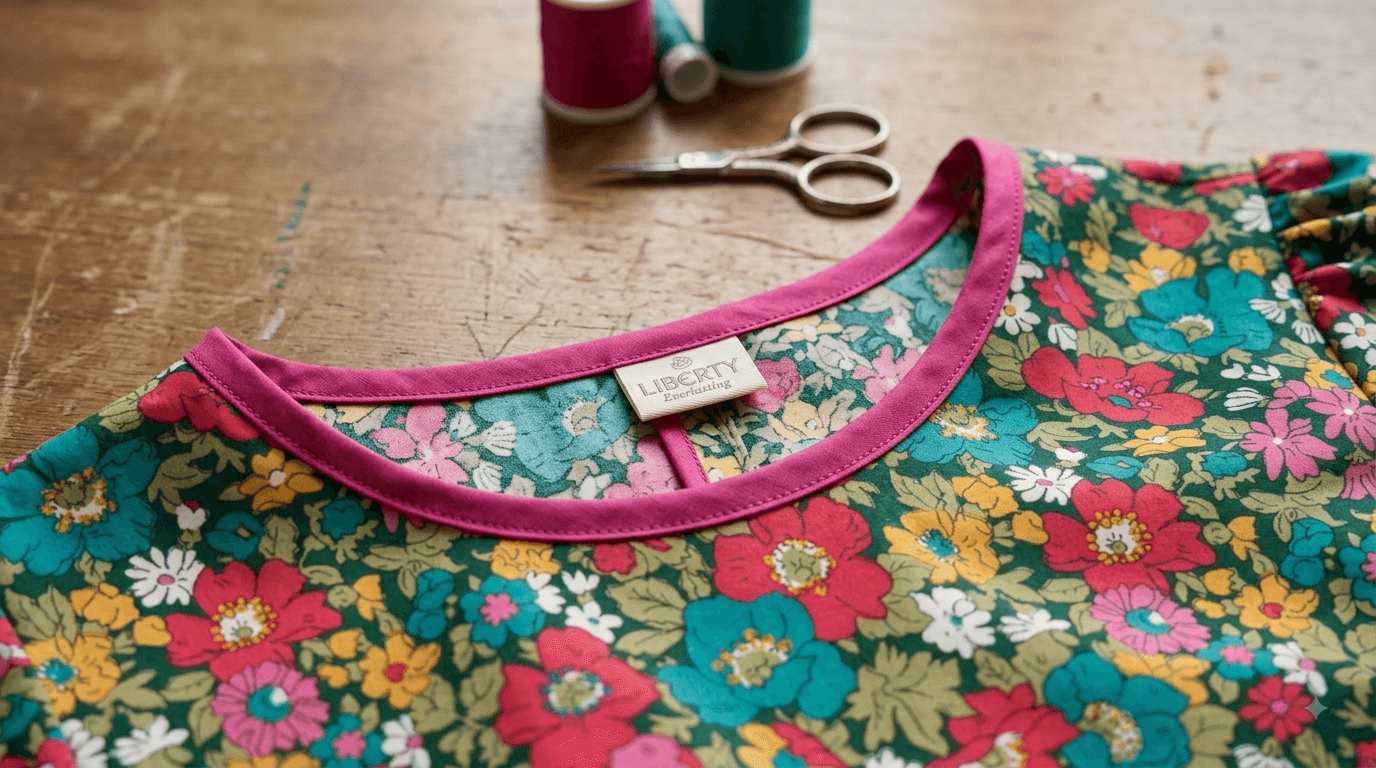
- Finishes necklines and armholes without a facing
- Trims quilt edges and hemlines in a matching or contrast colour
- Works as a decorative edge detail on bags, totes, and children's crafts
The Two Types
Single Fold vs Double Fold Bias Binding
The terms get used interchangeably in patterns — here is exactly what each one is and when to use it.
Single Fold
One centre fold — two raw edges
- Folded once along the centre, long edges raw
- Open it out, stitch to one side, wrap and stitch the other
- Best for internal seam finishing — bag seams, enclosed edges
- Flatter result — less bulk than double fold
- Requires two machine passes
Double Fold
Pre-folded in half — encases raw edge
- Folded at centre then folded in half again — one fold slightly wider
- Slip raw edge inside the fold and stitch through all layers
- Best for exposed edges — necklines, armholes, bag openings
- More visible — use as a design feature, not just a finish
- One machine pass when done correctly
Which Width?
12mm for fine edges — lightweight quilts, children's clothes. 18mm for bags and dressmaking. 25mm+ for quilt edges and awning trim. When in doubt, go wider — you can fold more under, but you cannot add fabric back.
Step by Step
Bound Edge on a Bag Interior — Six Steps
Single fold binding applied to inside seam allowances after the bag is constructed. Fifteen minutes once you have done it once. The finish that makes a bag interior look like it was made professionally.
1
Press the Seam Allowances Open
After sewing the bag side seams, press them open — not to one side. The binding wraps around each seam allowance individually, which requires the seam to be open and flat first.
2
Cut Binding to Length
Measure the full length of the seam allowance edge plus 2cm. Cut one length per seam. Fold the short end under 1cm at each end to stop the binding fraying at corners.
3
Open the Binding and Pin to the Raw Edge
Open out the centre fold. Align the raw edge of the binding with the raw edge of the seam allowance, right sides together. Pin along the crease line.
4
Stitch Along the Crease Line
Machine stitch exactly along the pressed crease — this is your stitch line. 2.5mm stitch length. Remove pins as you go; do not sew over them.
5
Wrap the Binding Over the Raw Edge
Fold the binding over the raw seam edge to the wrong side of the seam allowance. The binding should cover the stitching line. Use wonder clips to hold flat — they grip multiple layers better than pins here.
6
Stitch in the Ditch from the Right Side
Flip the bag and stitch in the ditch — the groove where the binding meets the seam allowance — all the way along. This catches the folded-under binding on the inside without the stitching being visible on the bag exterior. Press flat.
Missing the Binding on the Back?
Add 3mm to the fold before wrapping — more margin to catch. Or use a walking foot for the final pass — it feeds both layers at the same rate and eliminates the drift that causes misses.
The Finish
Matching Bias Binding to Liberty Prints
The right binding colour turns a functional finish into a design detail. Two approaches: coordinate or contrast. Both work — the logic is different.
Coordinate: pick a binding that matches the background colour of the Liberty print. Cream binding on a cream-ground floral disappears into the fabric — the bound edge reads as part of the print.
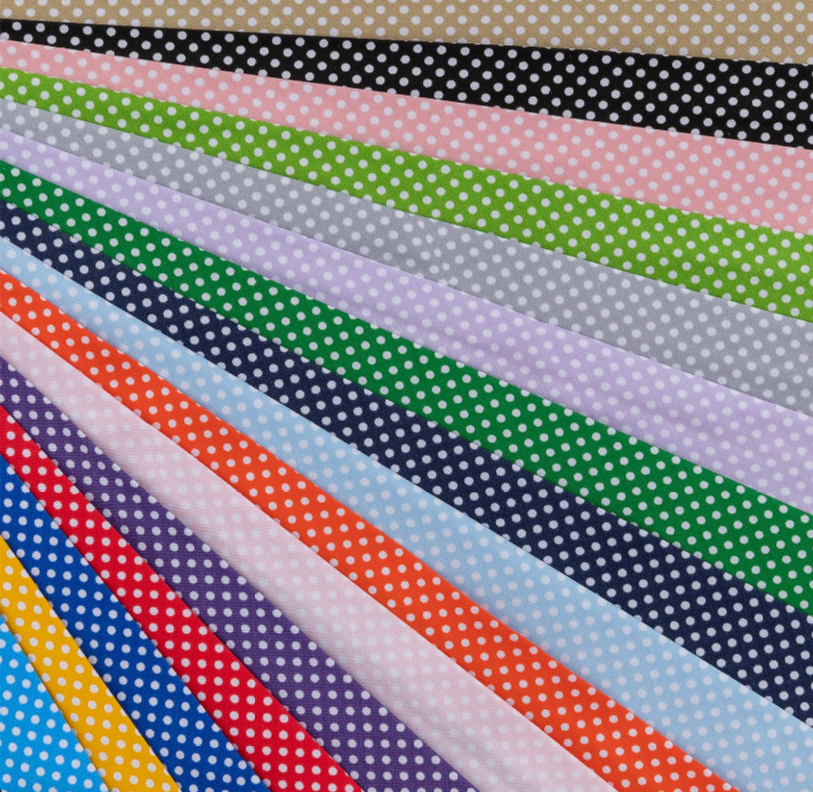
Contrast: pick a binding that picks out one strong colour from the print. A coral polka dot binding on a bag with a coral flower in the Liberty Everlasting print reads as a deliberate colour accent. This is the boutique finish.
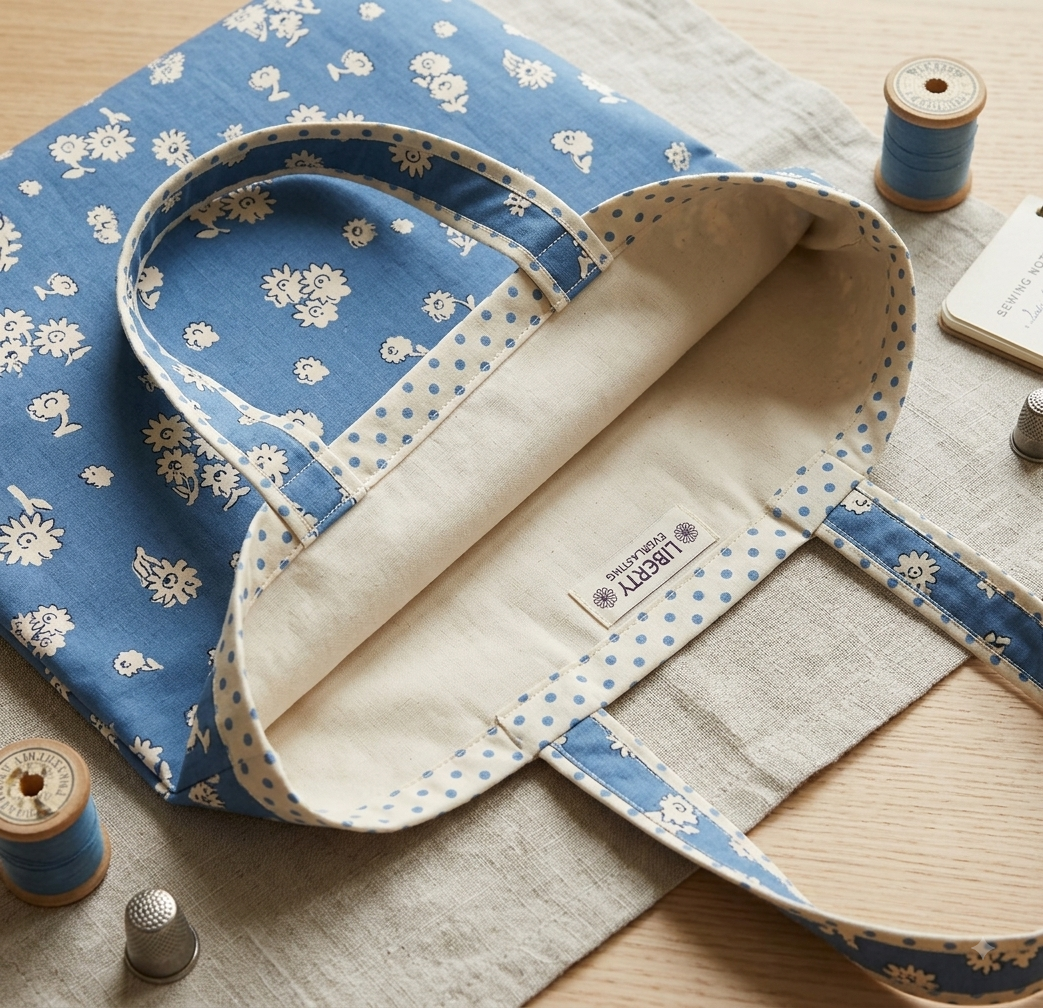
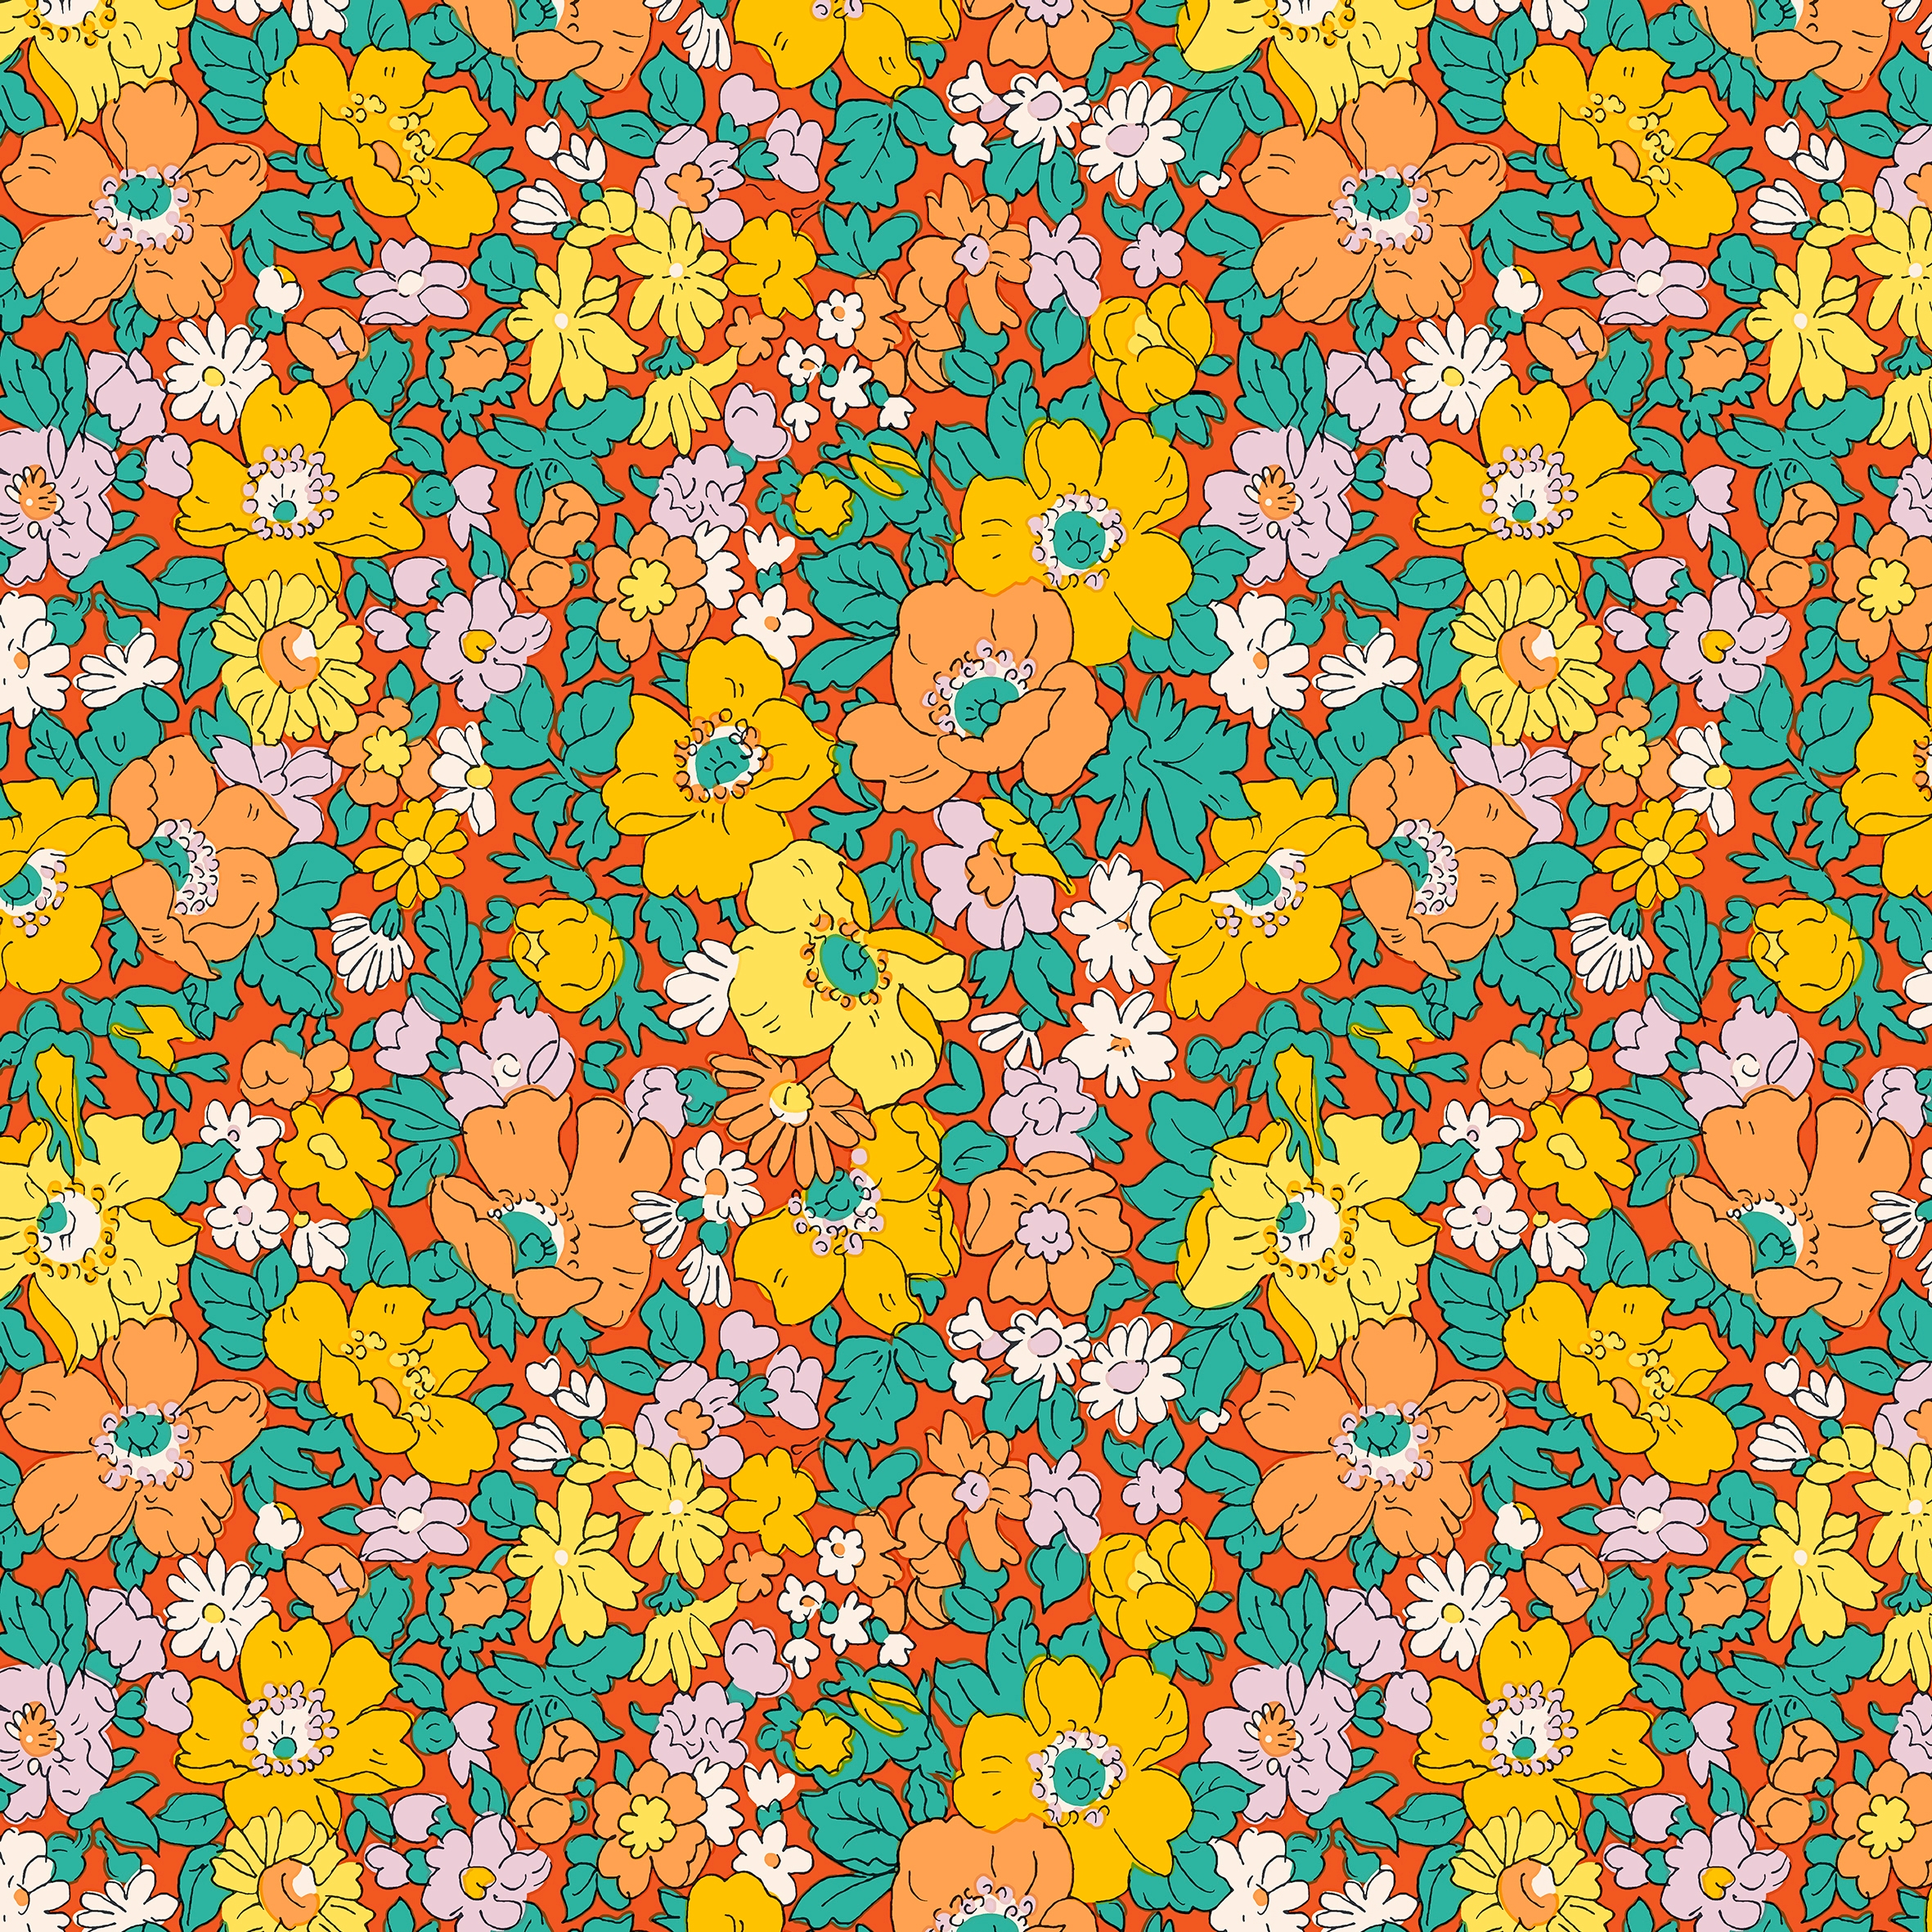
Liberty Everlasting
Everlasting Floral
Pair with: cream cotton binding (coordinate) or polka dot in the dominant flower colour (contrast).
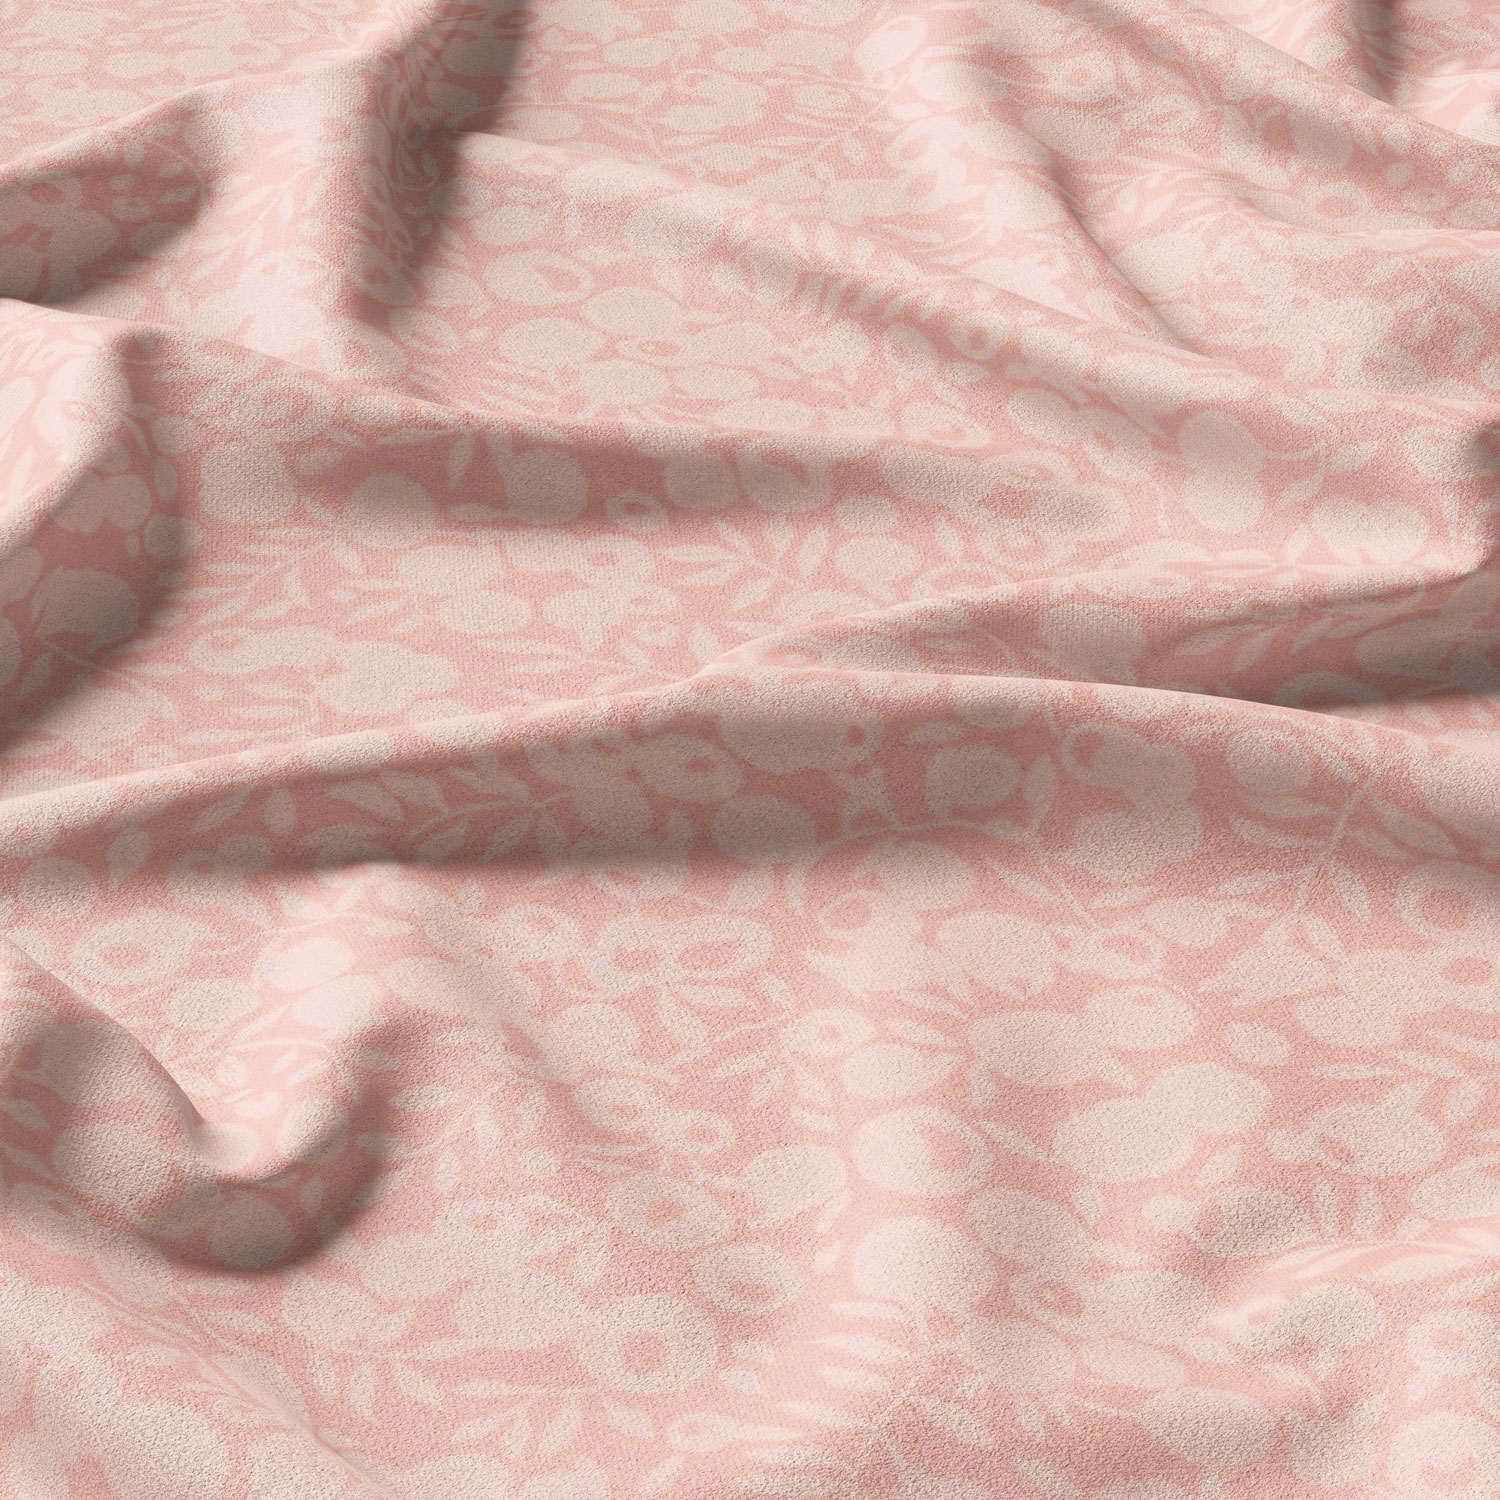
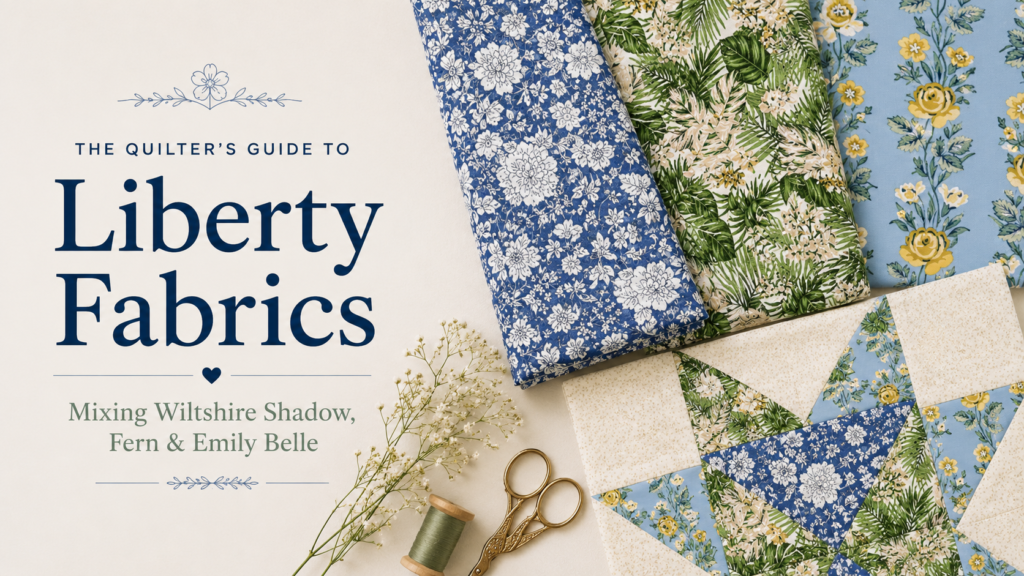
Liberty Wiltshire Shadow
Wiltshire Shadow
Pair with: dusty mauve or sage (coordinate) or navy polka dot for a graphic contrast edge.
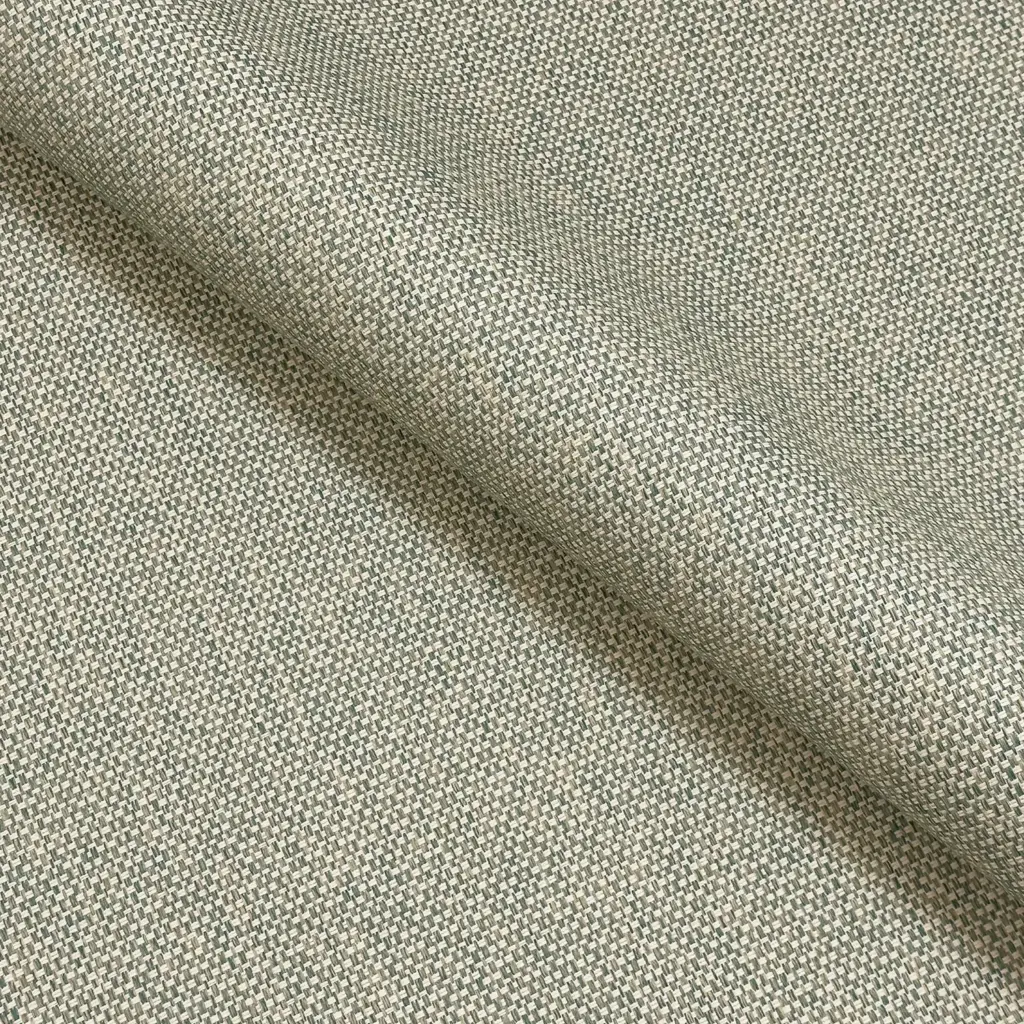
Liberty Fern
Fern
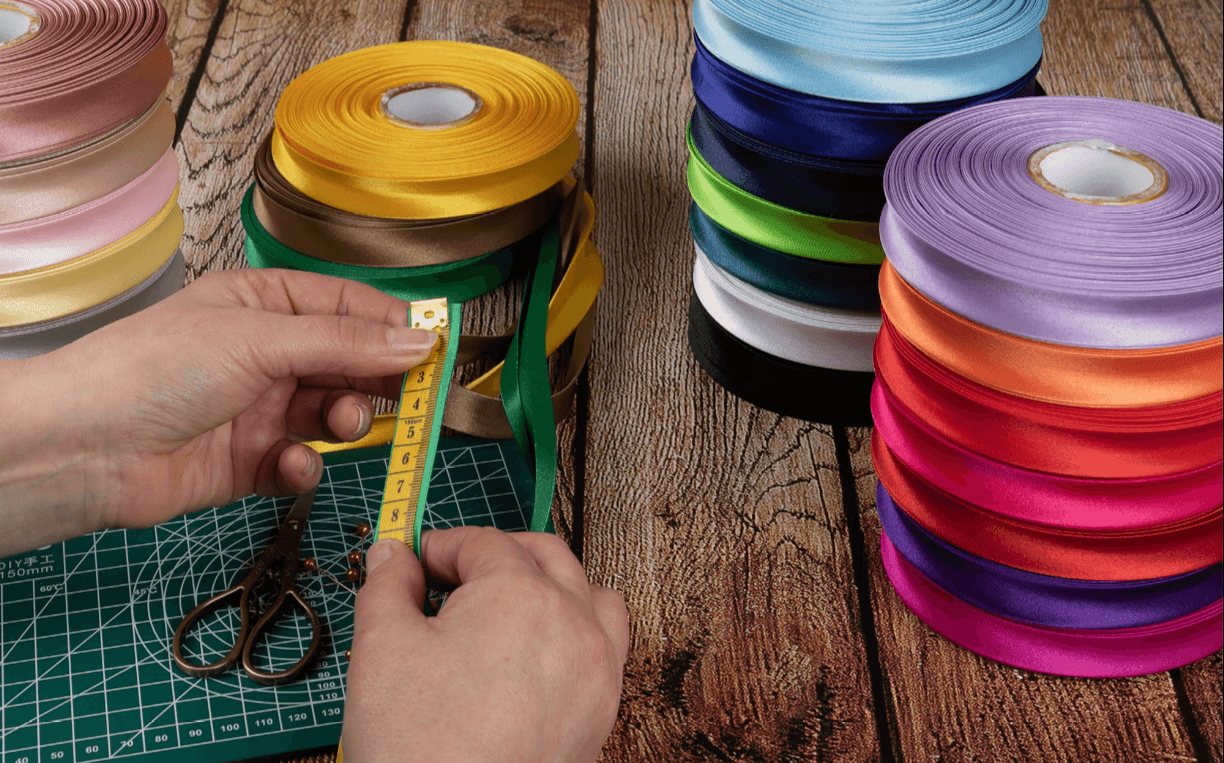
Pair with: white cotton binding to let the print lead, or forest green satin binding for a rich contrast on bag interiors.
Troubleshooting
Common Mistakes and How to Fix Them
Five mistakes that come up every time — and a direct fix for each.
| The Problem | The Cause | The Fix |
|---|---|---|
| Binding puckers on curvesRipples or bunches on curved edges rather than lying flat. | The binding was stretched as it was applied, or it is straight-cut not bias-cut. | Do not pull the binding as you feed it. Let it ease around the curve. Confirm the tape says "bias" not "straight cut." |
| Binding missed on the backThe stitch-in-the-ditch pass does not catch the folded binding underneath. | The binding was not wrapped far enough over the edge, or it shifted during sewing. | Add 3mm to the fold before wrapping. Use wonder clips every 5cm. Or hand-slip-stitch the back fold for a guaranteed catch. |
| Mitre corners will not lie flatCorners are bulky or uneven on quilt edges or bag openings. | The mitre fold was not pressed before stitching, or the fabric was not clipped at the corner point. | Press the mitre flat with a hot iron before stitching. Clip across the corner seam allowance to within 2mm of the stitch line. |
| Binding twists on straight edgesThe finished binding spirals or rolls rather than lying flat. | Inconsistent tension between the two stitching passes, or the binding was not pressed after the first pass. | Press flat after the first pass before wrapping. A walking foot eliminates twisting on long straight edges entirely. |
| Visible stitching on the right sideThe second row of stitching shows on the front of the garment or bag. | Stitching in the ditch landed outside the groove, or the binding shifted during the second pass. | Slow the machine down around the groove. On fine fabrics like Liberty Tana Lawn, hand-stitch the back fold — invisible on the right side and guaranteed. |
Bias Binding Range
All Bindings at DFL
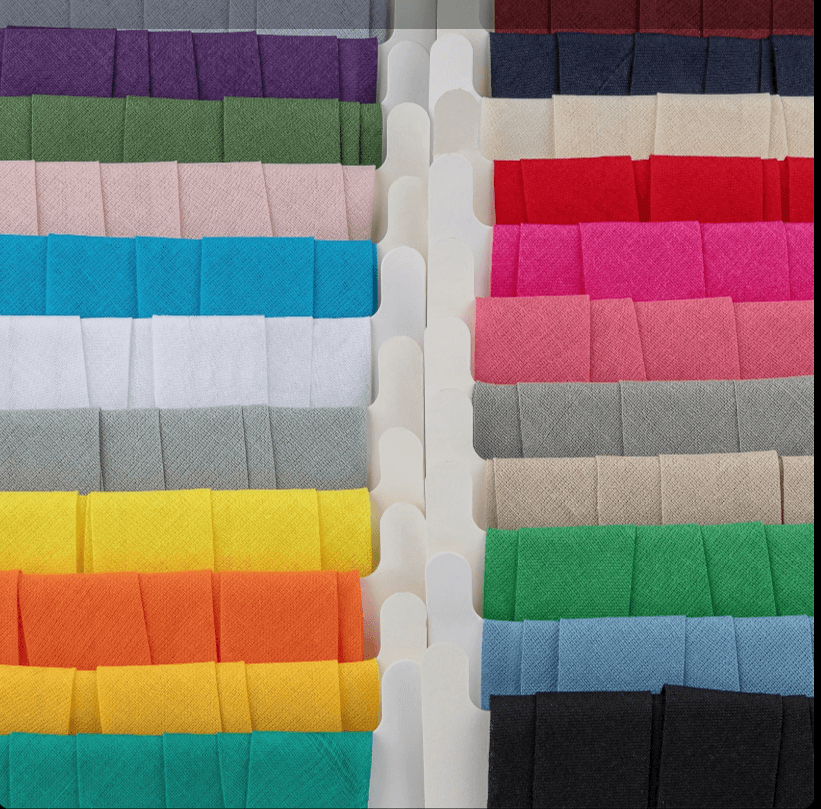
Cotton, satin, polka dot, and picot bias binding — all widths, all colours, sold by the metre.
Liberty Fabrics
Liberty Everlasting Range
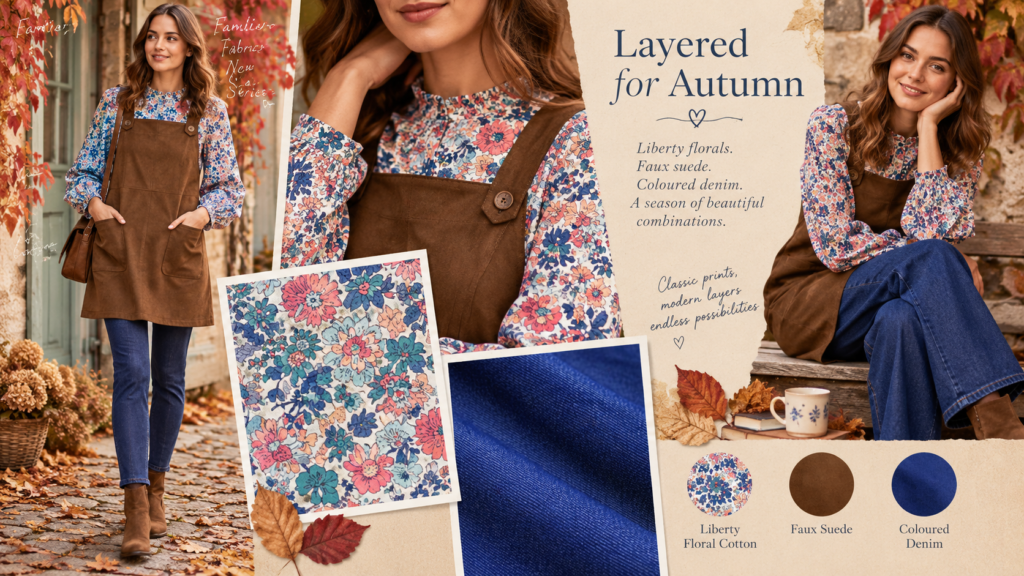
Premium 100% cotton Liberty prints. Fine enough to cut on the bias for your own custom binding.
Everything You Need
All Bias Bindings
Shop — Bias Bindings and Liberty Prints


 Patterns