

How to Sew a Coat Using Boiled Wool

Winter Dressmaking · 20 October 2026 · 9 min read
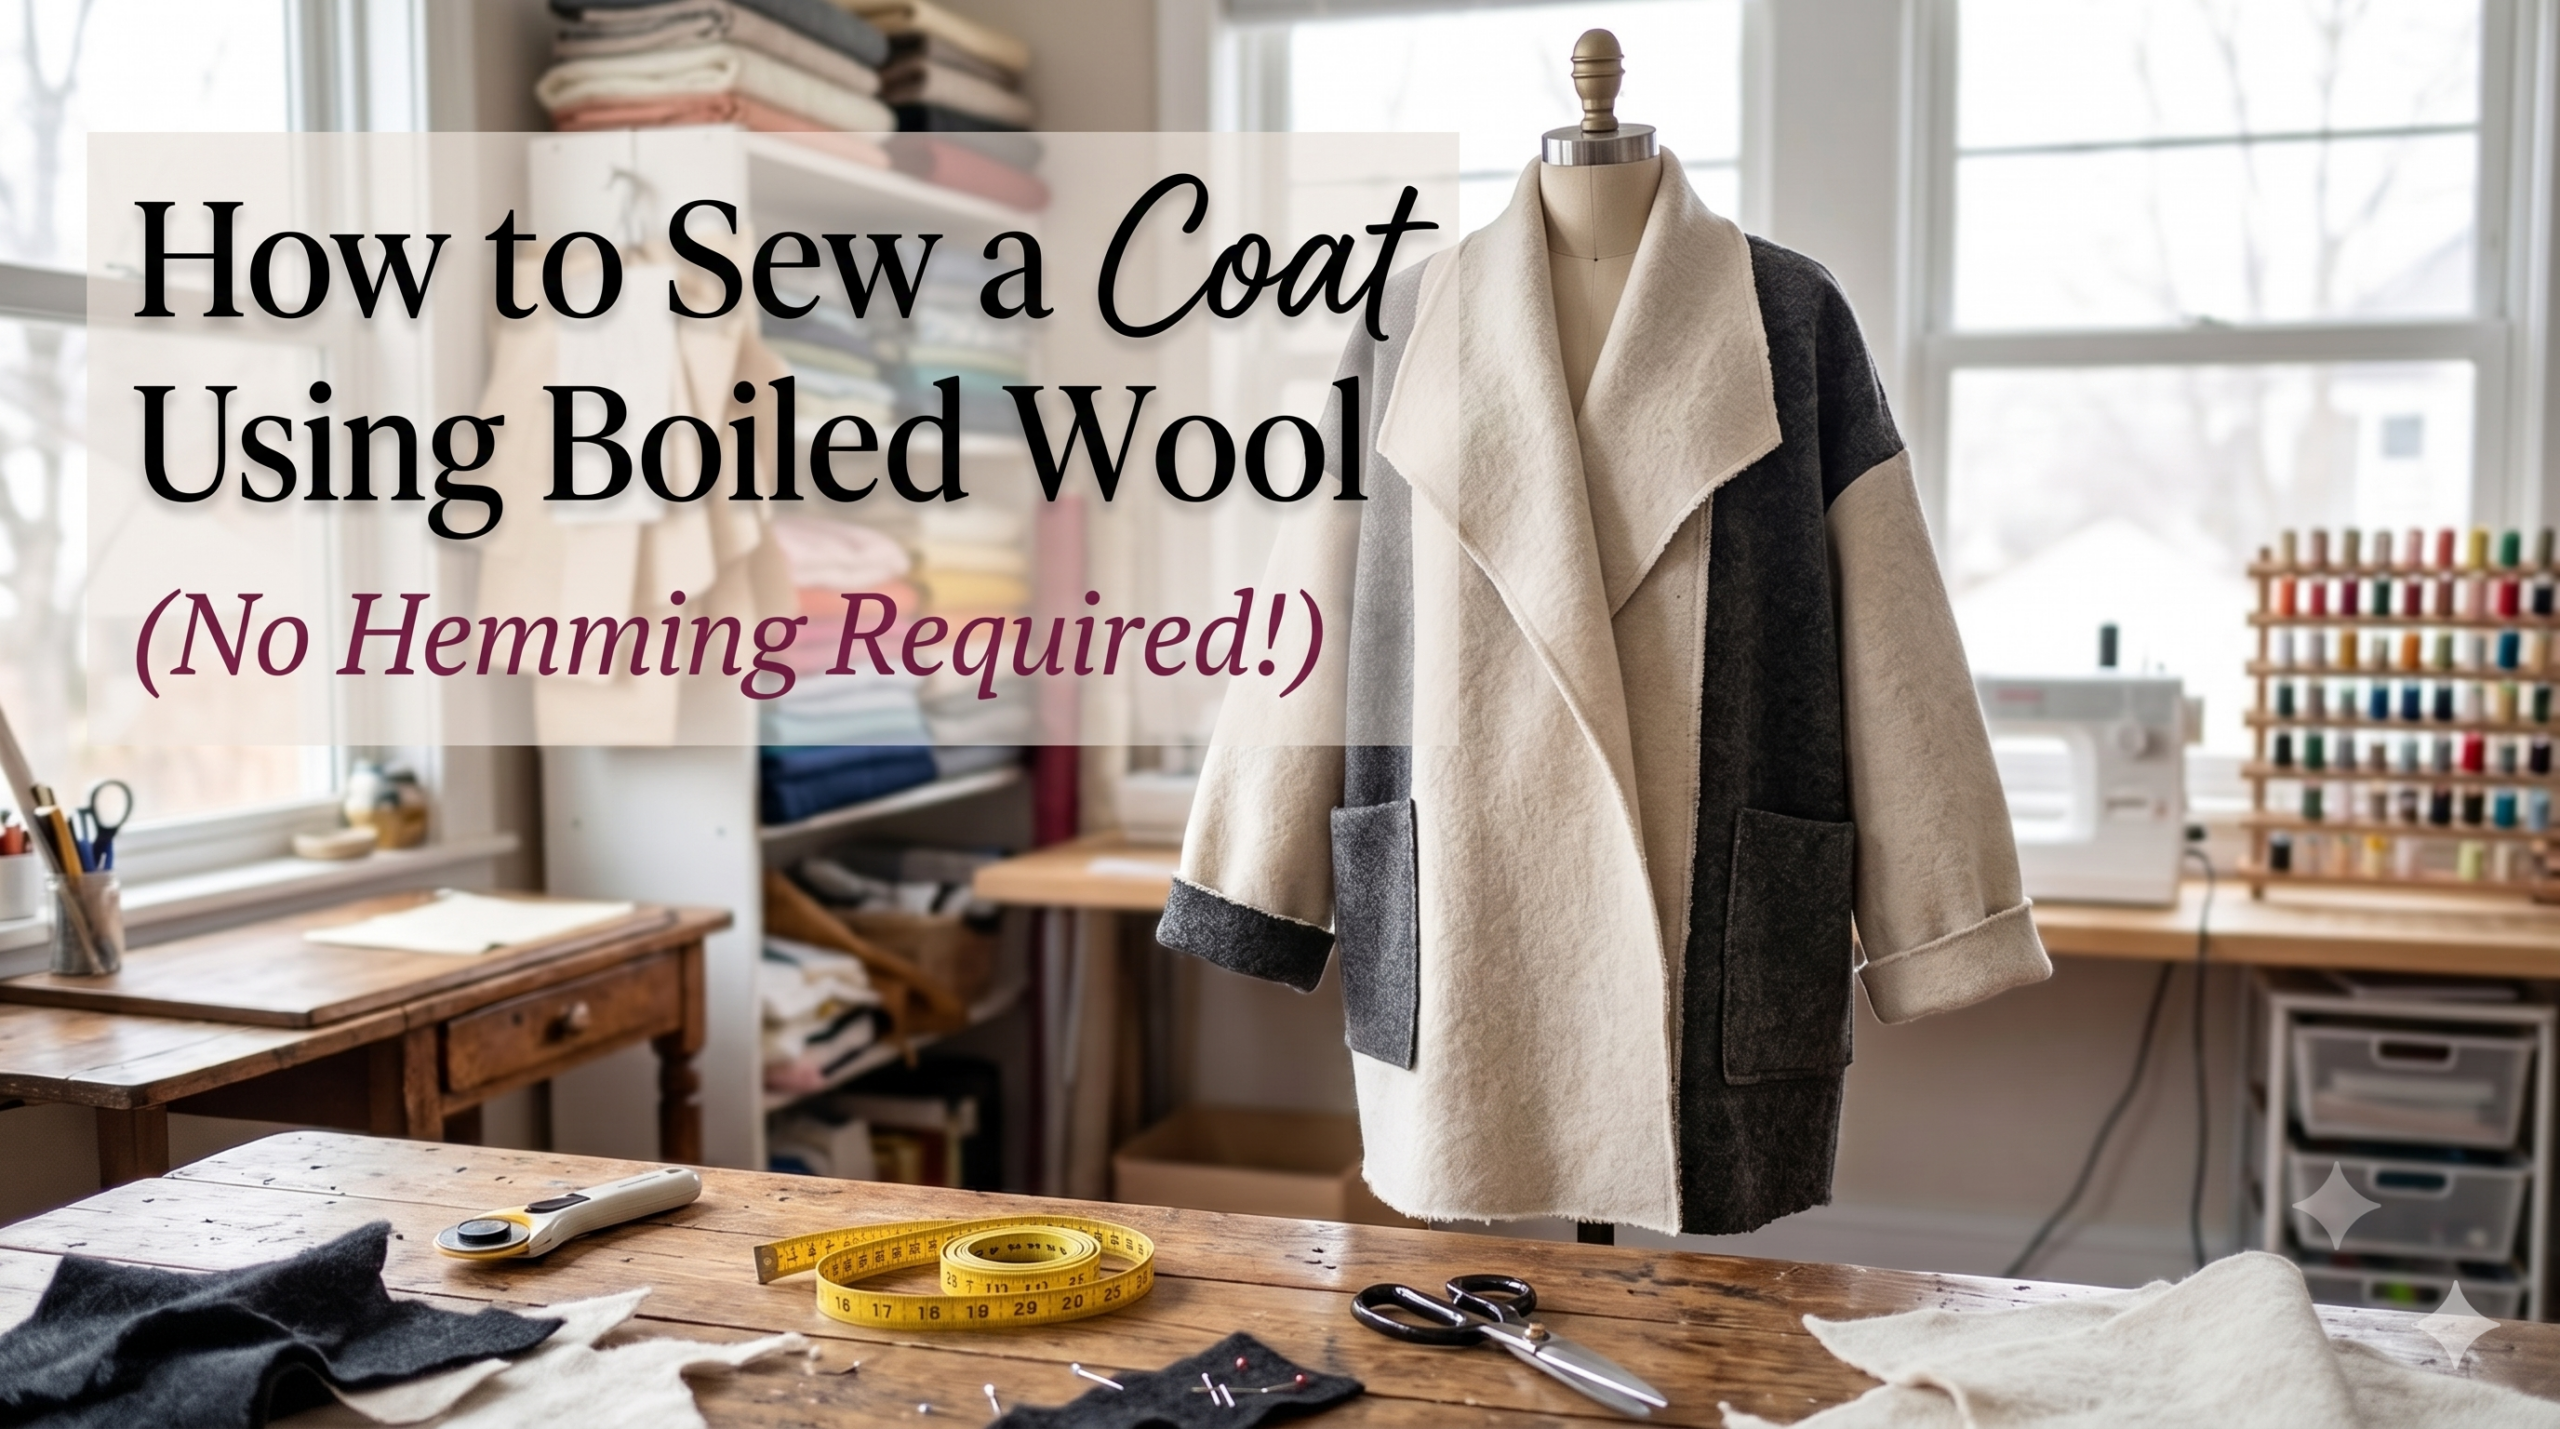
How to Sew a Coat Using Boiled Wool (No Hemming Required!)
A winter coat is the project most dressmakers put off for years. Boiled wool takes away the hardest part: the edges never fray, so there are no hems to turn, no facings to wrestle and no seam finishing to do.
0Hems to
sew
sew
0Edges to finish
90/14Needle size
3.5mmStitch length
1Weekend to sew
The fabric
What boiled wool is: the felting process
Boiled wool does not start life as a woven cloth. It begins as a loose wool knit, then goes through a deliberate felting process that shrinks it, thickens it and locks every fibre in place. That process is the reason it behaves so differently under the needle.
1
Knitted
Wool yarn is knitted into a loose, oversized fabric.
2
Hot water
The knit is washed in hot water, which opens up the scales on each fibre.
3
Agitated
Constant movement makes those scales hook into one another.
4
Felted
The cloth shrinks and densifies into a solid, matted fabric.
Dense and windproof
The shrinking closes up the gaps between stitches, so wind has nowhere to get through. It feels far warmer than its thickness suggests.
Soft with real body
It holds a shape like a coating fabric but drapes softly at the shoulder and sleeve, which is why it suits relaxed, cocoon and wrap coats.
Shrugs off showers
The tight felted surface lets light rain bead and roll off. It is not a raincoat, but it copes with a damp British walk to the station.
Tip
Check the fibre composition on the product page before you plan your pressing and washing. Boiled wools and boiled wool blends behave slightly differently with heat, and the label is the final word on care.
The big advantage
Why boiled wool raw edges don't need finishing
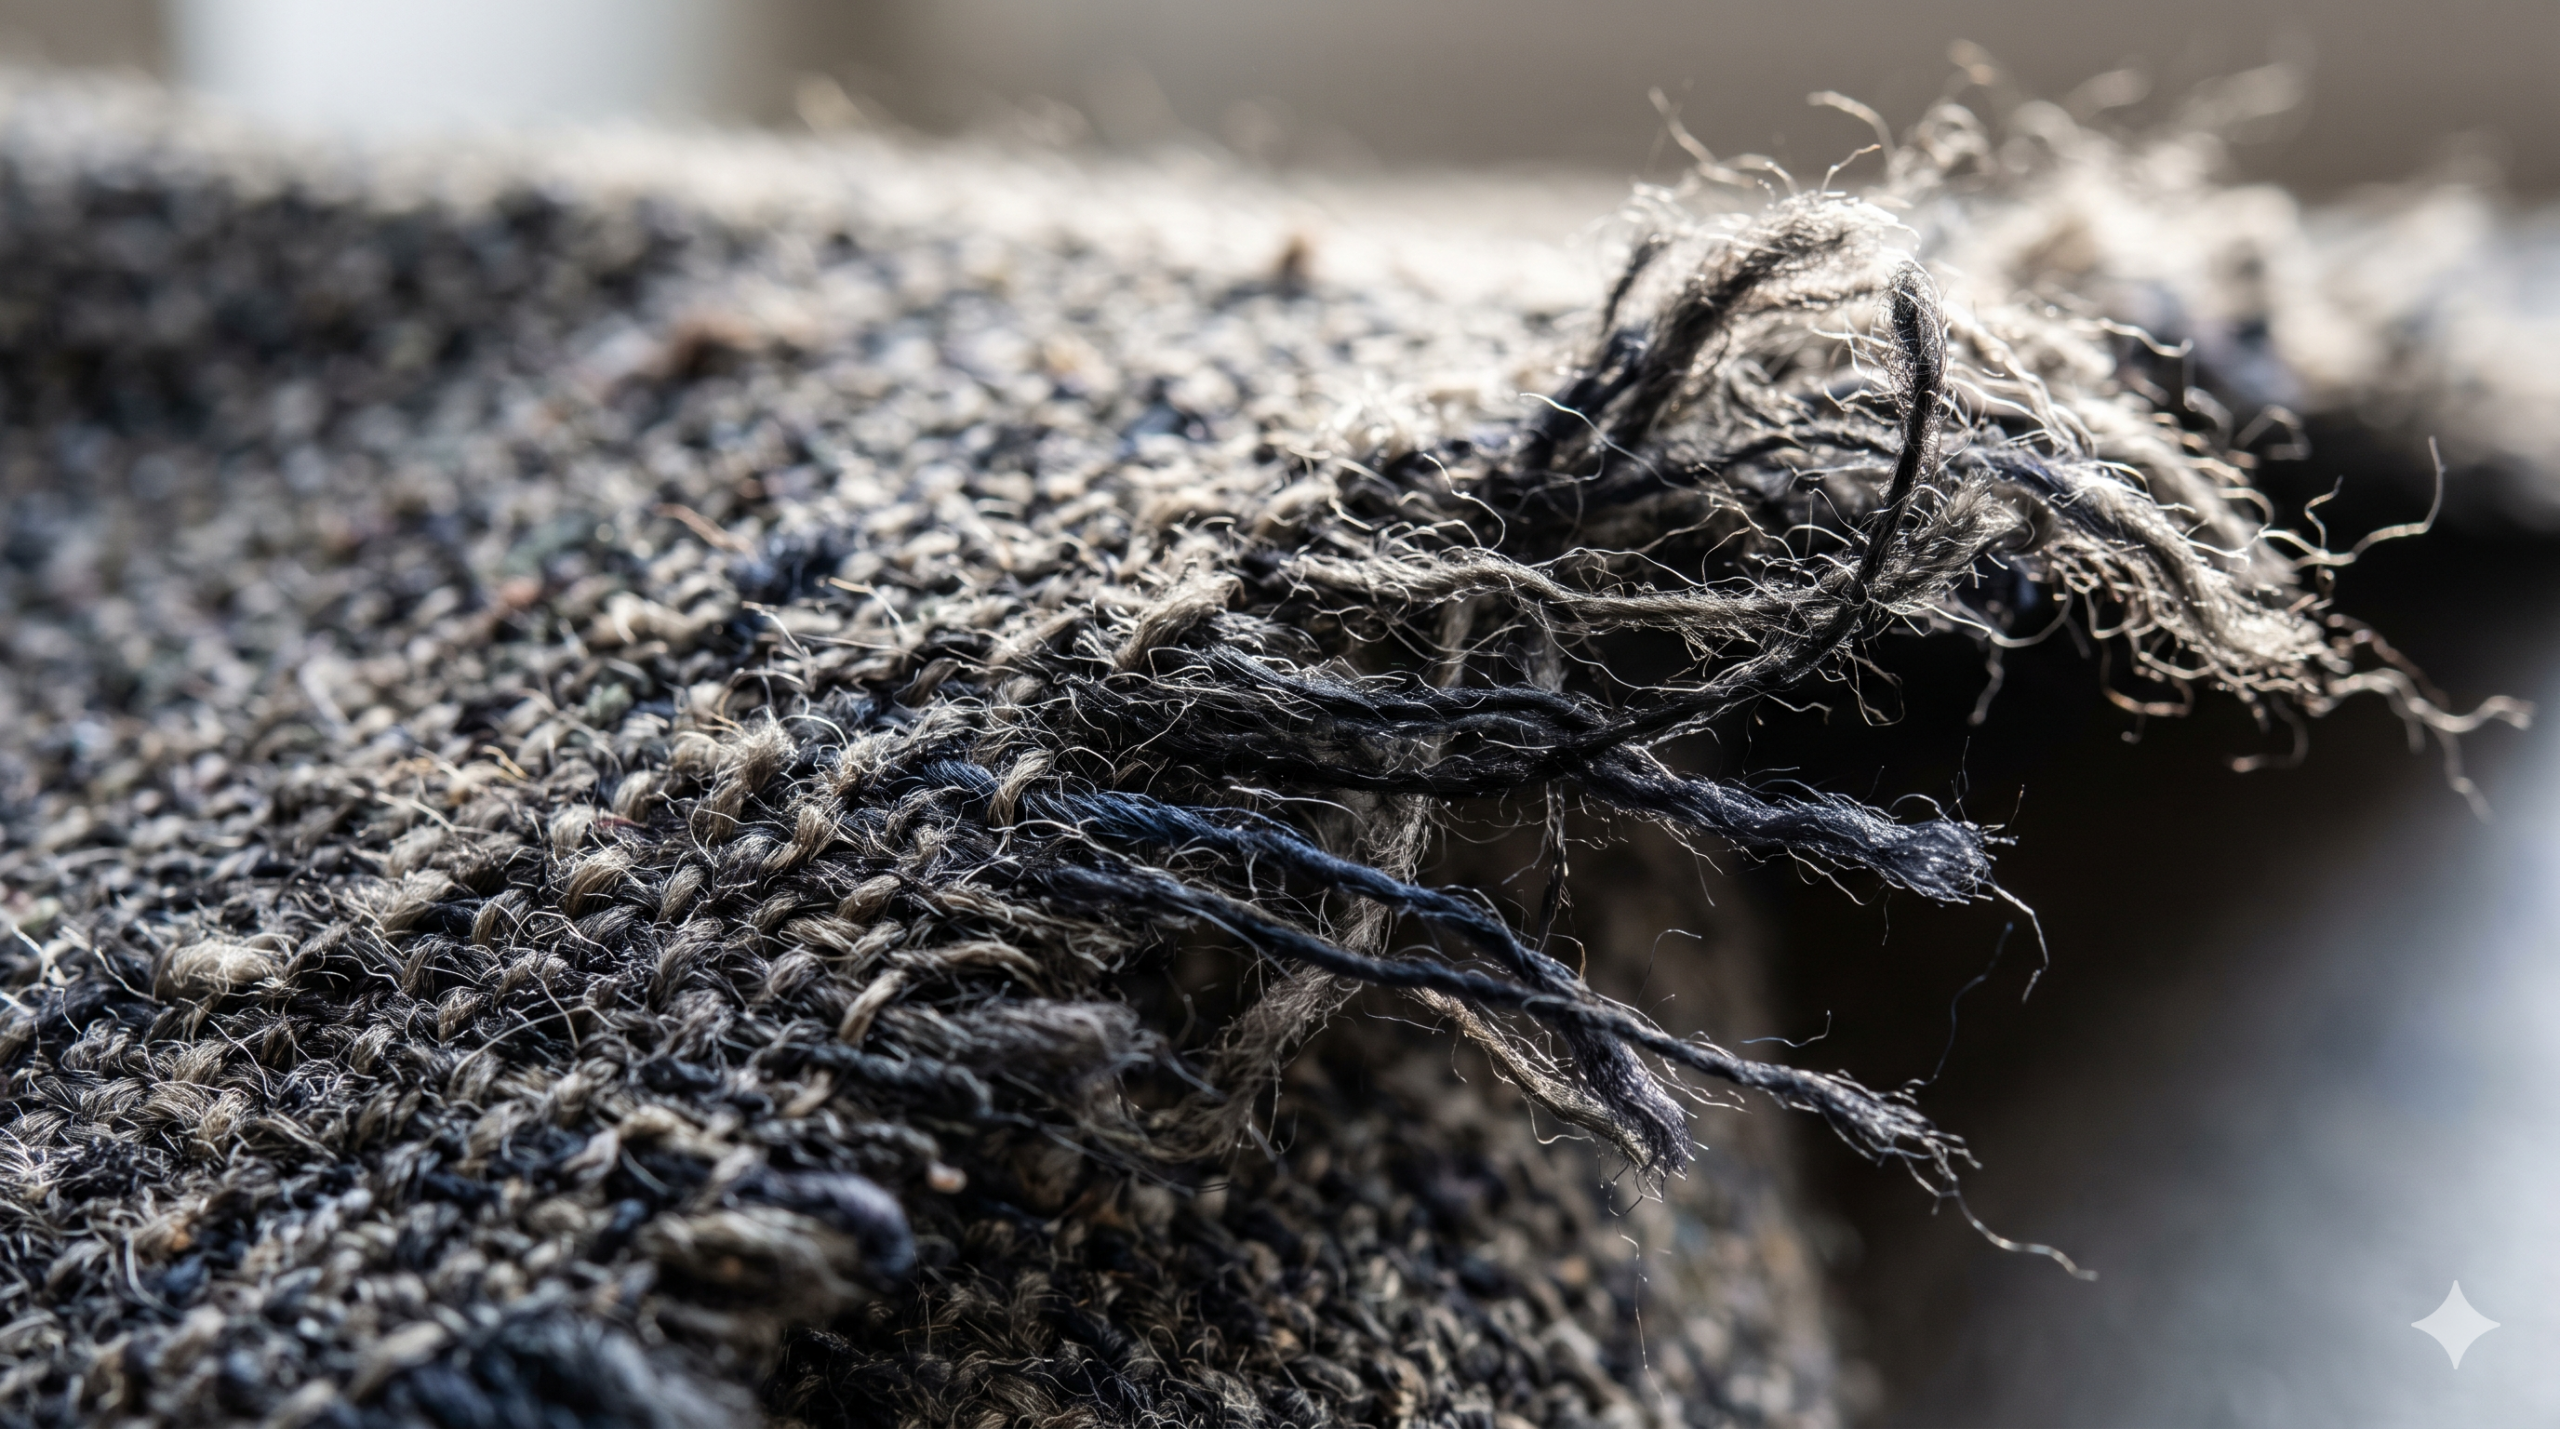
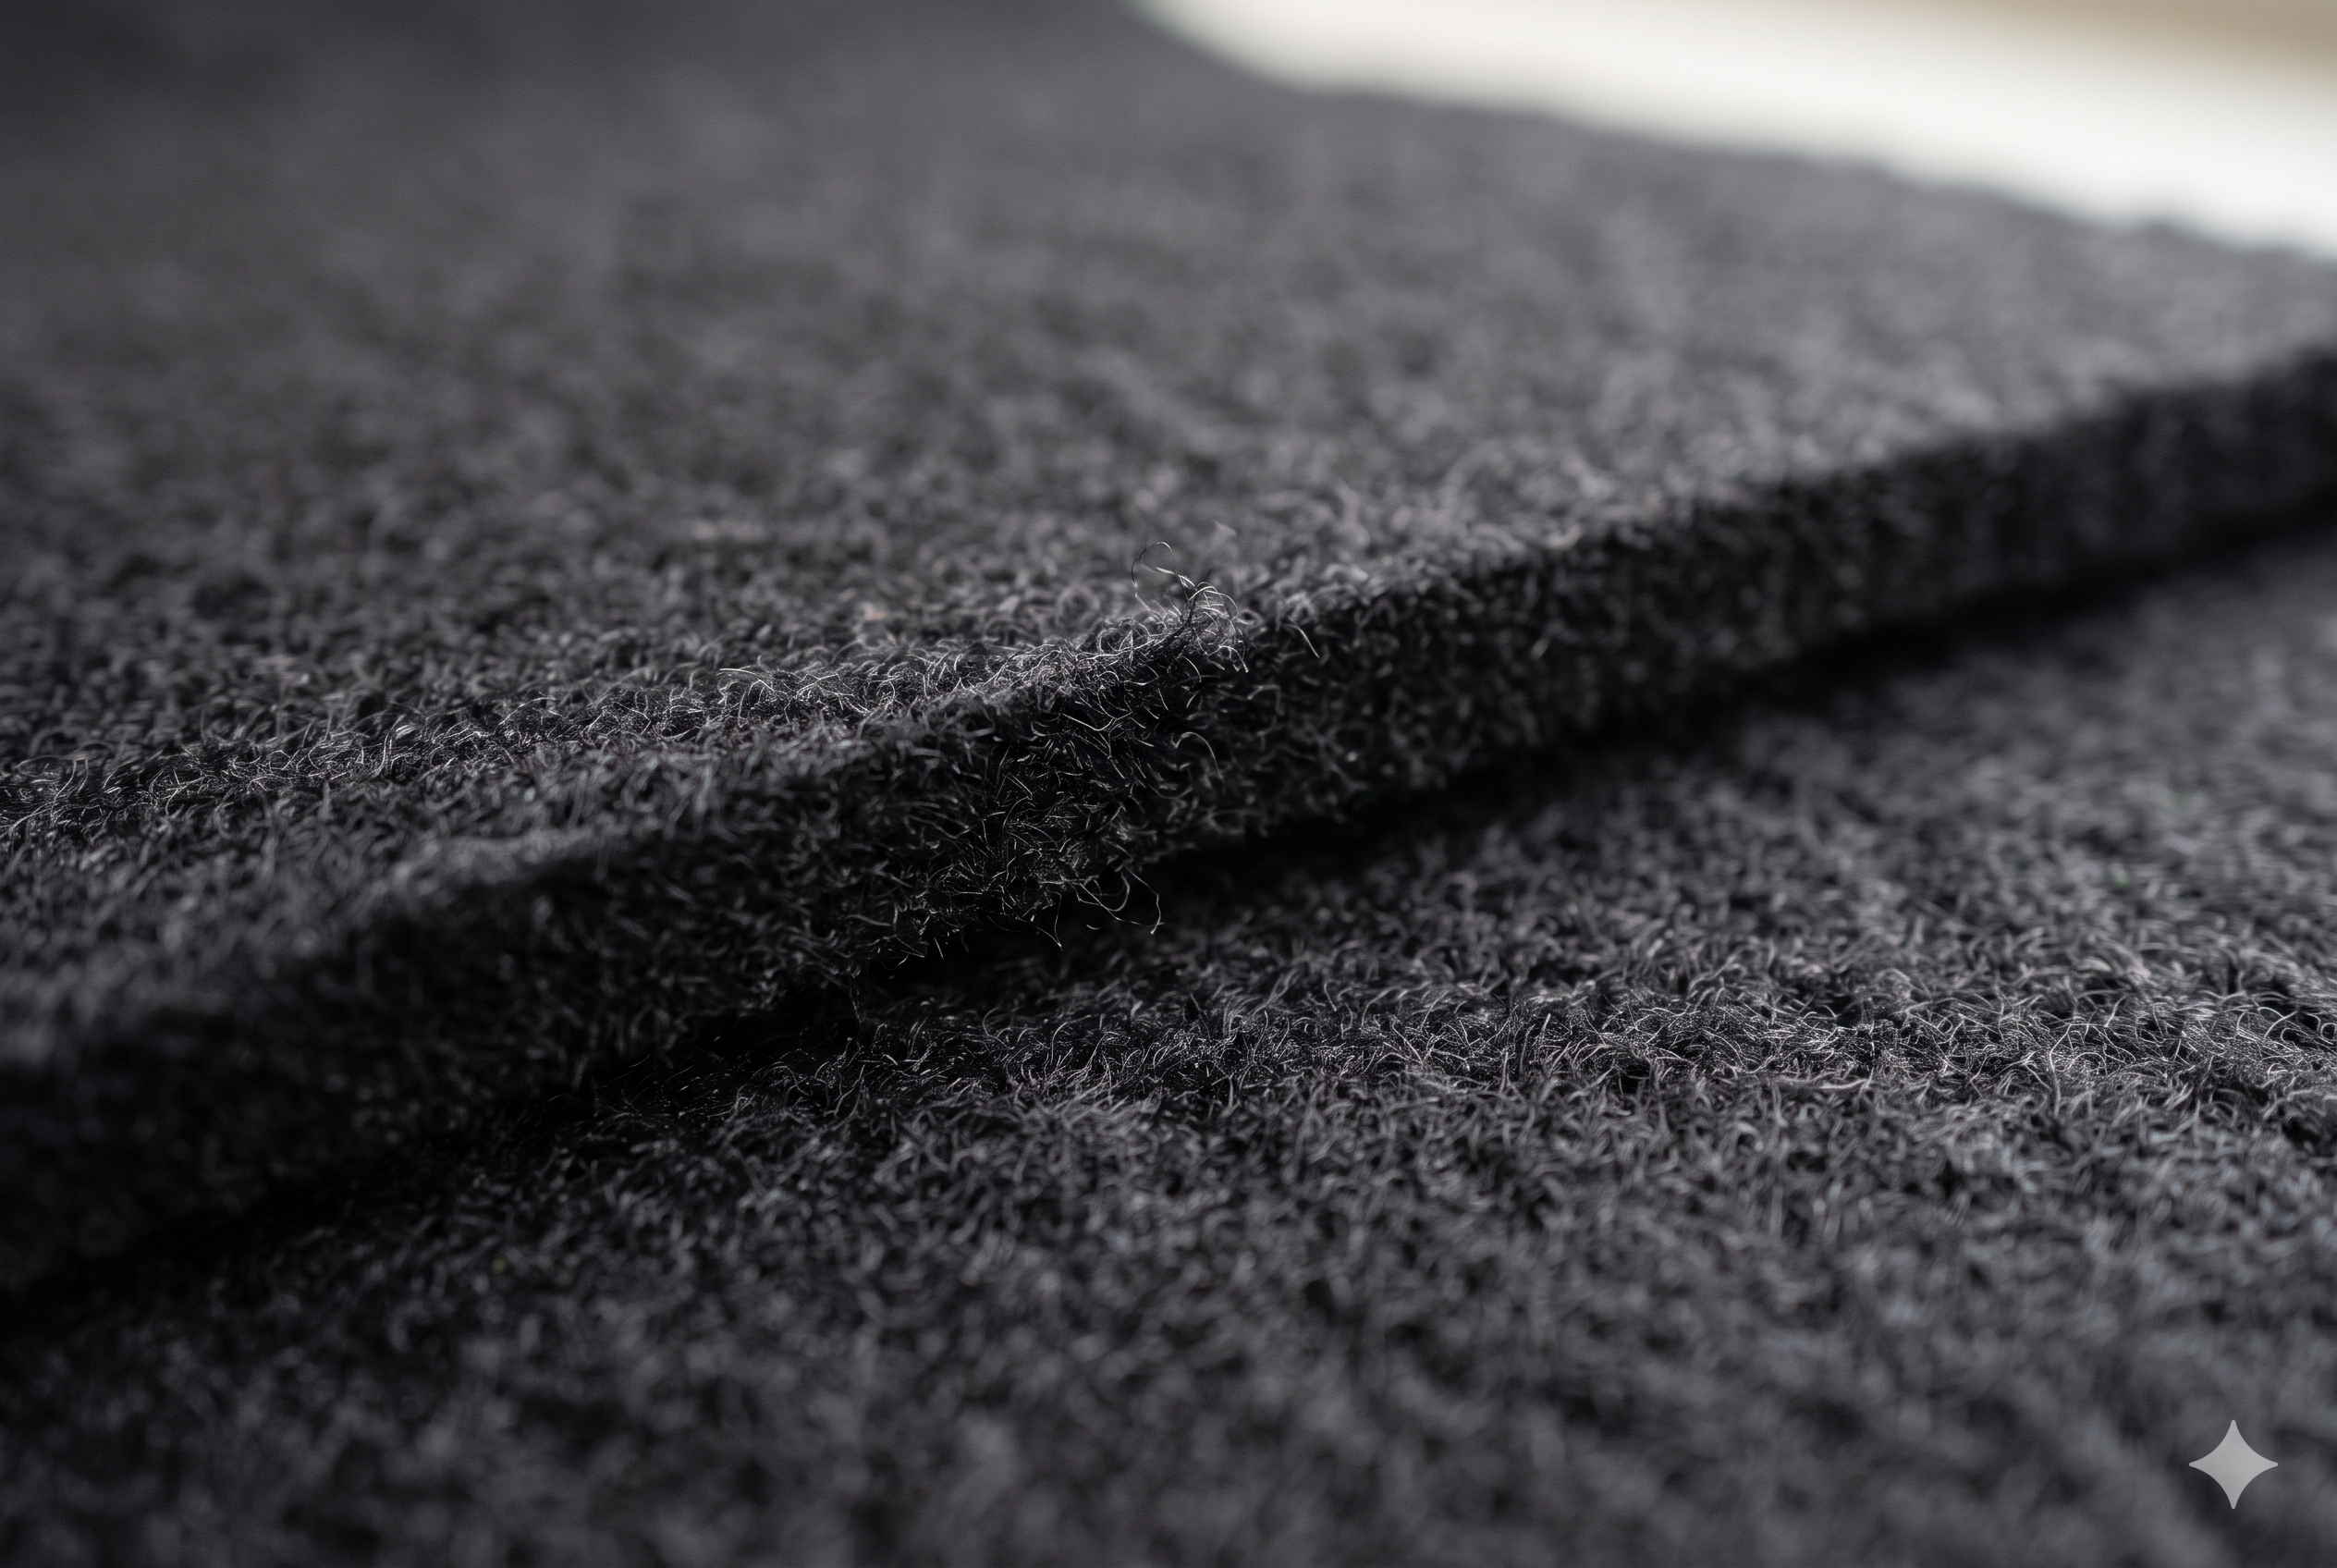
A woven fabric frays because its threads run in straight lines and slip out once they are cut. In boiled wool the fibres are tangled and locked together in every direction, so there is no loose thread to pull free. Cut it, and the edge stays exactly as you cut it.
Woven coating
Frays the moment it is cut
Every edge needs overlocking, binding or a turned hem, and every hem on a coat adds bulk at the bottom of the garment.
Boiled wool
Stays clean, stays flat
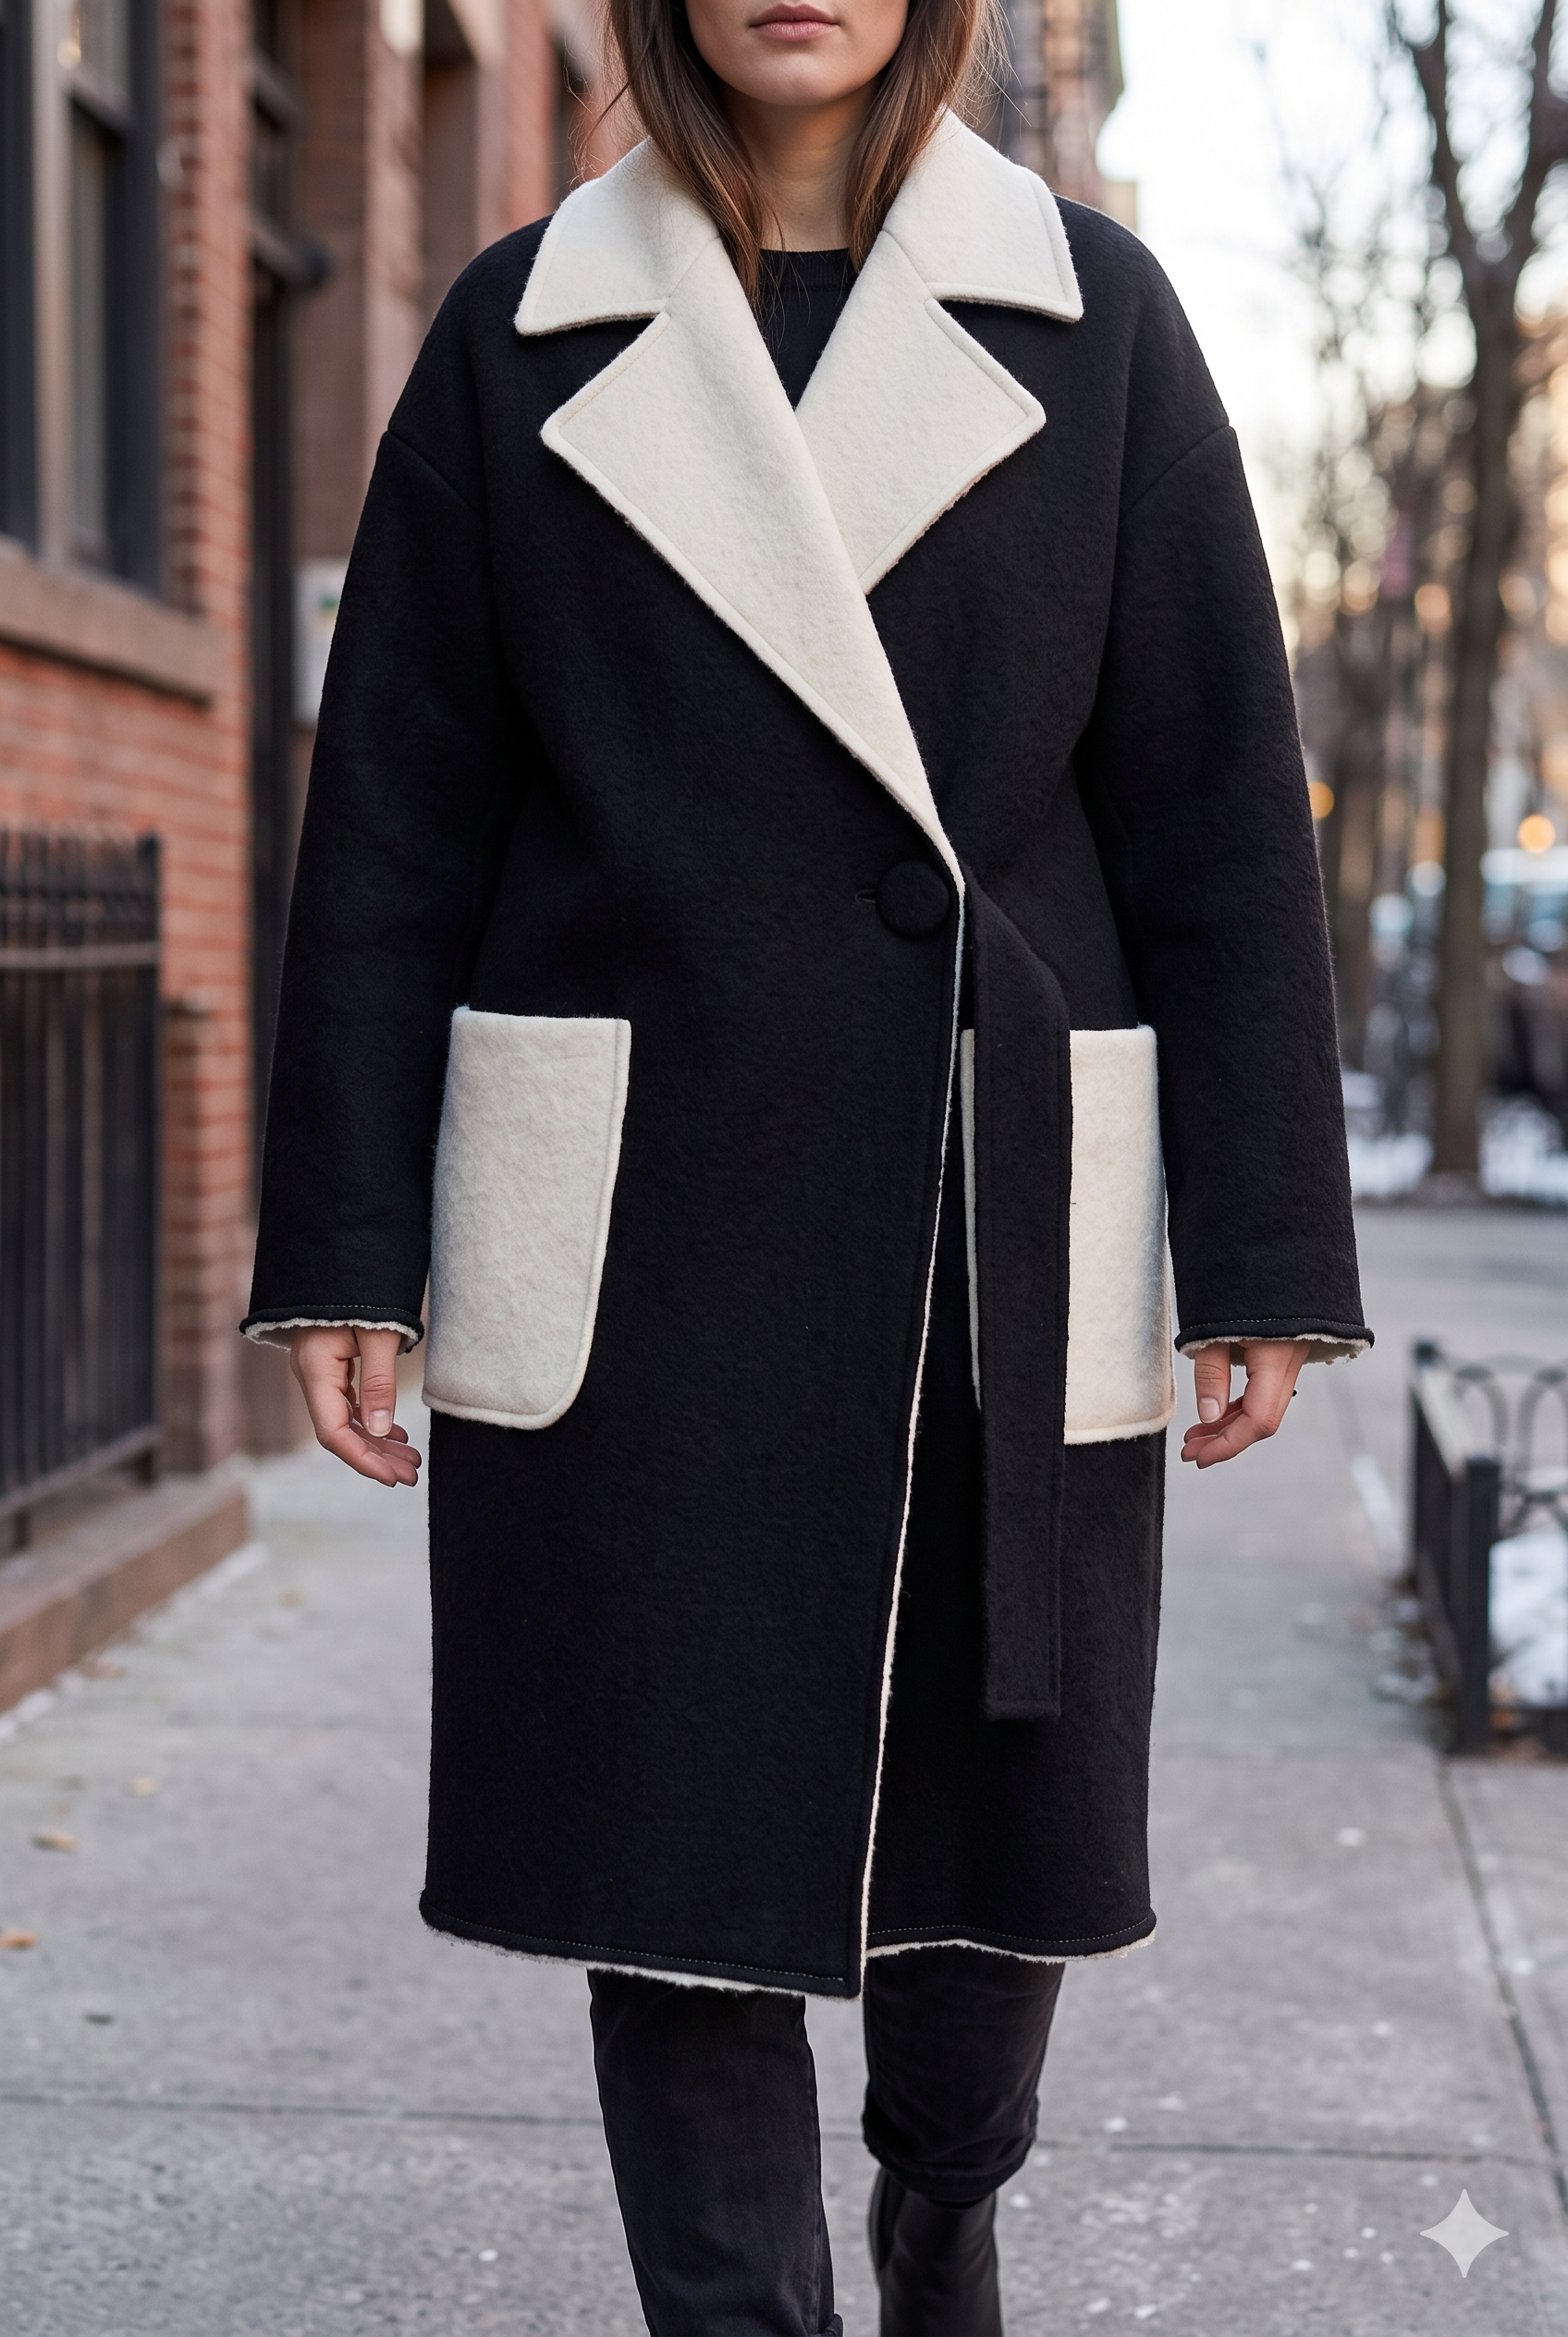
Leave the edge raw and it reads as a deliberate, modern finish. No turning, no pressing, no extra layers to sew through.
Where you can leave the edge raw on a coat
Hem
Cut to length and wear. No turned hem, no weight dragging the front down.
Cuffs
Trim the sleeve to the right length and leave it. Fold back for a turn-up.
Front edges
No facing needed on a wrap or edge-to-edge coat.
Collar
A single layer stands up on its own without interfacing.
Patch pockets
Cut to shape and topstitch straight onto the front.
Tip
The cleaner your cut, the better the raw edge looks, because that edge is now part of the design. Use a sharp rotary cutter and a long ruler for straight edges, and long-bladed shears in single smooth strokes for curves.
Managing bulk
Lapped vs traditional seams for bulk
Boiled wool is thick, so a standard seam stacks four layers of it on the inside of your coat. Because the edges do not fray, you have a second option most fabrics do not allow: overlap the pieces and sew them flat.
Lapped seamRecommended
Cross-section
One piece sits on top of the other with the cut edge showing. Two rows of topstitching hold it flat. Only two layers thick at any point.
- 1Trim the seam allowance off the top piece only.
- 2Lay it over the under piece, matching the seam lines.
- 3Topstitch 3mm from the edge, then again 1cm away.
- Bulk
- Lowest
- Look
- Modern, visible raw edge
- Best for
- Shoulders, side seams, sleeves
Traditional seamClassic finish
Cross-section
Right sides together, stitched, then the allowances are pressed open and topstitched down each side to flatten them.
- 1Sew right sides together at the full seam allowance.
- 2Trim allowances to 1cm and press open under a cloth.
- 3Topstitch down both sides to hold them flat.
- Bulk
- Higher
- Look
- Clean, conventional outside
- Best for
- Fitted coats, centre back seams
Tip
Test both seams on two offcuts before you start the coat. Thickness varies between boiled wools, and five minutes of testing tells you which seam lies flattest on your fabric and which stitch length looks best.
Machine setup
Needle and thread setup: 90/14 and strong polyester
Most problems sewing a thick felted fabric come from a machine set up for cotton. Change these six settings before the first seam and your machine will move through boiled wool without skipping, stalling or stretching the layers.
Needle
90/14A universal or jeans needle in size 90/14 has the strength to pierce felted layers cleanly. Fit a fresh one for the coat.
Thread
Strong polyesterCoat seams take strain every time you raise your arms. Polyester thread has the strength and a little give.
Stitch length
3 – 3.5mmLonger stitches sit neatly on a thick fabric and do not perforate it like a row of short ones.
Presser foot
Walking footFeeds the top and bottom layers at the same rate so lapped seams stay aligned along their length.
Foot pressure
LighterIf your machine allows it, ease off the pressure so the foot glides over the surface instead of flattening it.
Pressing
Steam + clothWool setting, a pressing cloth and plenty of steam. Never press boiled wool directly or it will go shiny.
Tip
On lapped seams the topstitching is the decoration, so it shows. Match the thread exactly to the wool for an understated coat, or choose a contrast colour and lengthen the stitch to 4mm to make the seams a feature.
Putting it together
Sewing the coat in the right order
Choose a simple coat pattern with few pieces, ideally a cocoon, wrap or edge-to-edge style with dropped shoulders. Then work in this order, which keeps the coat flat for as long as possible so every seam is easy to reach.
Step 1
Cut everything single layer
Boiled wool is too thick to cut accurately folded. Trace each piece, flip it for the mirror half, and cut with a rotary cutter for clean final edges.
Step 2
Join the shoulders
Lap the back over the fronts at the shoulder and topstitch. The coat now opens out as one flat piece.
Step 3
Set the sleeves in flat
Attach each sleeve to the armhole while the side seams are still open. It is far easier than setting a sleeve into a closed tube of thick fabric.
Step 4
Close side and underarm in one
Sew from the coat hem, up the side, under the arm and out to the cuff in a single continuous seam.
Step 5
Add the collar and pockets
Topstitch patch pockets onto the fronts and attach the collar as a single raw-edged layer.
Step 6
Trim the hem and cuffs to length
Try it on, mark the finished length, and cut. That is the hem done. Add a button, a toggle or a belt and it is ready to wear.
You will need
Boiled woolPer your pattern
Strong polyester thread2 reels
Needle90/14
Buttons or toggle1–4
Pressing cloth1
Check the pattern's fabric requirement against the width of your boiled wool before ordering, and allow a little extra for testing seams.
Shop Boiled WoolShop the guide
Everything for your boiled wool coat
Coat fabric
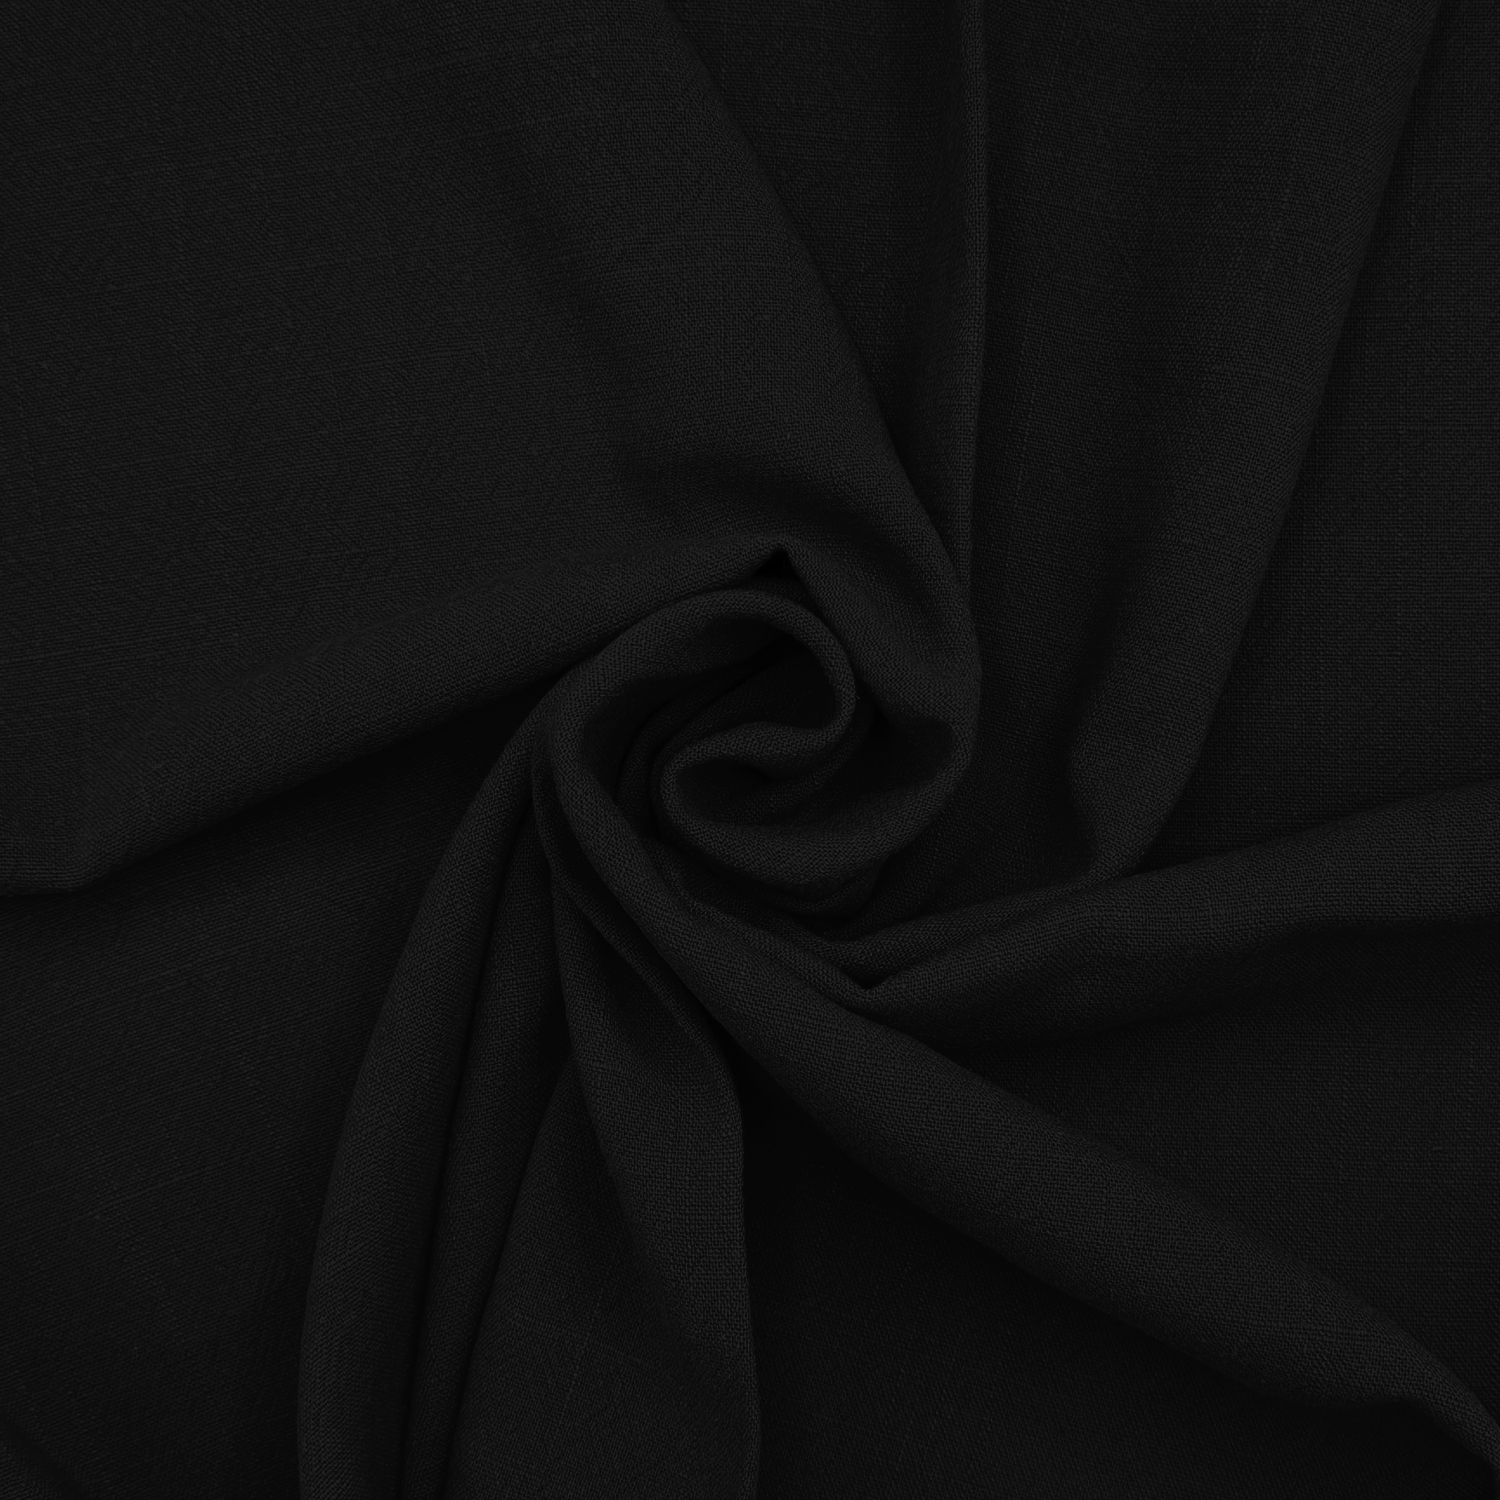
Heavy-duty thread

Gütermann Extra Strong Thread
Strong polyester for seams that take strain and bold topstitching.
Shop nowFinishing touch
Optional edge

Your winter coat, without a single hem
Boiled wool and heavy-duty thread, cut to the metre and dispatched the same day on orders placed before 2 PM.




 Patterns
